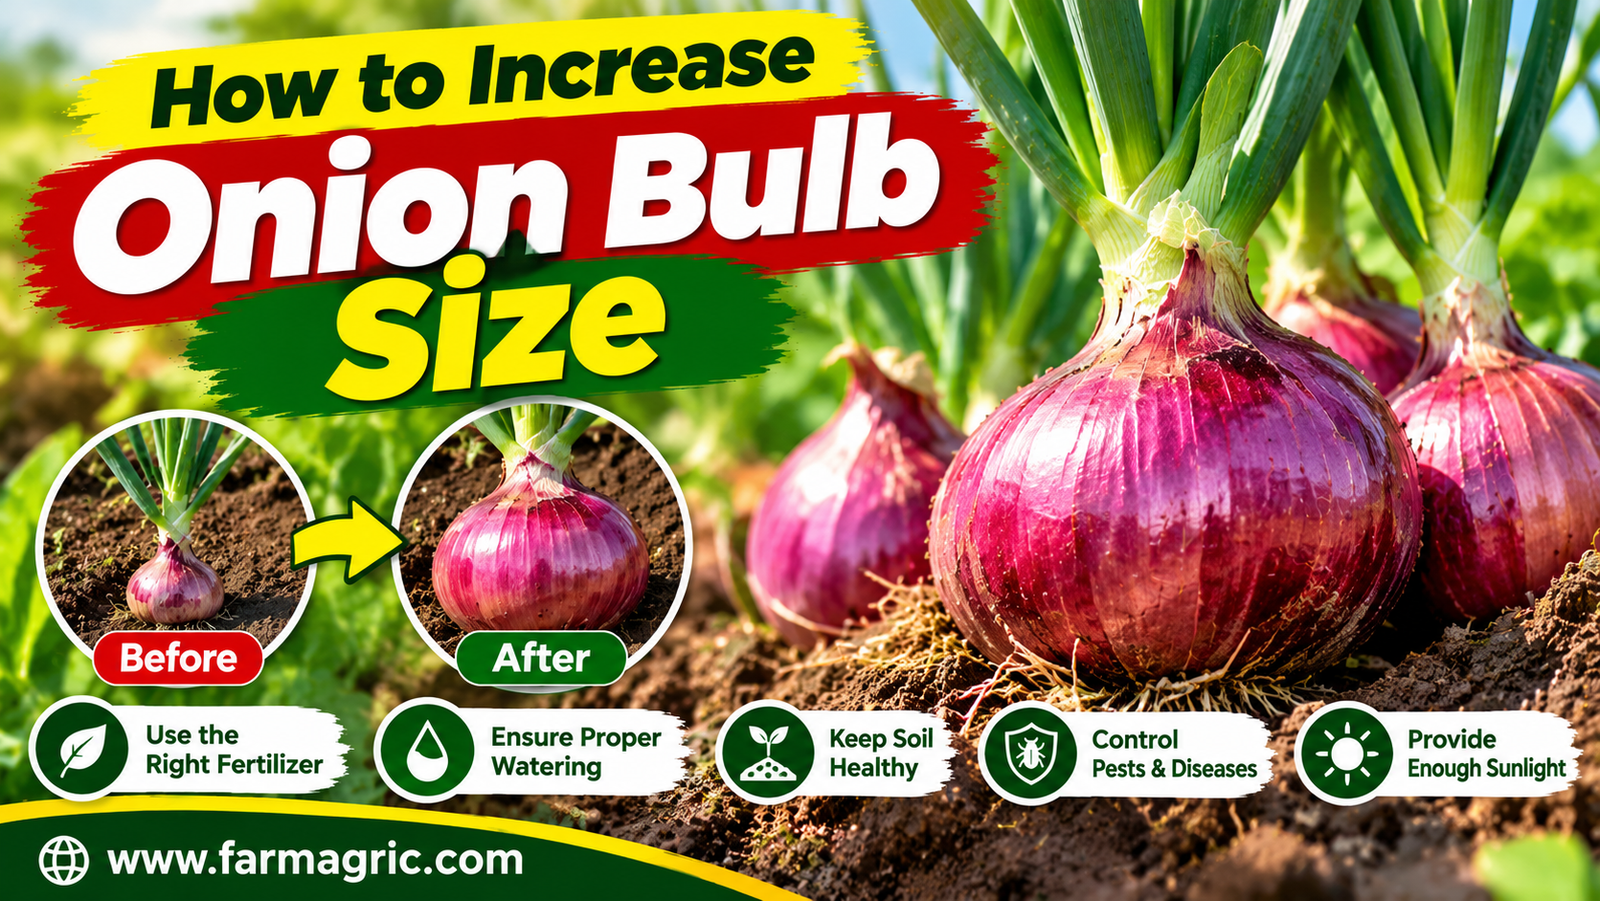
How to Increase Onion Bulb Size
How to Increase Onion Bulb Size
The first onions I was ever truly embarrassed by looked magnificent from a distance. The tops were tall, green and lush, the rows were neat, and I was already counting the money. Then I pulled them. Thick necks, small bulbs, hardly bigger than a golf ball. I had grown a fine crop of leaves and almost no onions. A farmer down the road who had planted the same week pulled bulbs twice the size from a plainer-looking field, and he told me something I have repeated ever since: “An onion bulb is just the leaves finishing their work. Make the leaves big first, and the bulb will follow.”
Here is the direct answer. To increase onion bulb size, you need to grow a large, healthy set of leaves before the plant starts to bulb, because every leaf adds to the final size. That means planting the right variety for your day length and climate, using good transplants, giving the plants enough space, loose fertile soil, steady water, and early feeding with nitrogen that you stop at the right time, then keeping weeds, thrips and diseases away from the leaves. Get those things right and you can often see a clear jump in bulb size without any special product.
The rest of this article explains each of those in plain terms, with the mistakes that cost farmers the most.
What most farmers get wrong
They plant the wrong type of onion for their area. Onions decide when to form bulbs based on day length and temperature. Short-day varieties start bulbing when days are shorter, and are suited to tropical and warm regions. Long-day varieties need long summer days and are suited to higher latitudes. If you plant a variety that does not match your day length, the plant either bulbs too early, when it is still small, or hardly bulbs at all. This is the single most common reason for small onions, and it cannot be fixed with fertilizer. Always ask your seed supplier or local extension service which varieties perform in your area.
They transplant weak or oversized seedlings. A seedling that is too small is slow to establish, and one that is too big, much thicker than a pencil, can bolt, which means it sends up a flower stalk instead of making a big bulb. The best transplants are healthy, sturdy and about the thickness of a pencil.
They plant too close. Crowding is a quiet bulb killer. Plants that are packed together compete for light, water and nutrients, and each ends up with a smaller bulb. Closer spacing gives you more onions but smaller ones, which may suit some markets, but if big bulbs are your goal, give them room.
They keep feeding nitrogen too late. Early nitrogen builds leaves, and that is good. But nitrogen applied after bulbing begins can delay maturity, produce thick necks and soft bulbs that store badly. The timing of feeding matters as much as the amount.
They let weeds take over. Onions have shallow roots and thin upright leaves, which makes them poor competitors. Weeds that grow among them steal water, nutrients and light, and the loss in bulb size can be large.
They water in extremes. Onions have shallow roots, so they suffer quickly in dry spells. But waterlogged soil breeds rot and disease. Swinging between the two stresses the plant and limits bulb growth.
They plant too deep. Burying the bulb part of the seedling in the soil restricts its ability to swell. Transplants should be set shallowly, so the base of the plant sits near the surface.
How an onion actually grows a big bulb
It helps to understand the plant so that every step makes sense. An onion first grows leaves. Each leaf is attached to a ring of the future bulb, and the bulb is made of the swollen bases of those leaves. When day length and temperature trigger the plant to start bulbing, the leaves send their stored energy down to swell those bases. So the number and size of leaves at the moment bulbing begins largely sets the ceiling for how big the bulb can become. A plant with few small leaves at that point will never make a big bulb, however well you care for it afterward.
This is why growers say you must build the plant first and the bulb second. Everything you do in the early weeks, the soil, the spacing, the water, the feeding, the weed control, builds that leaf canopy. Everything you do later should protect the leaves and let the bulb finish its job.
Step-by-step: how to grow bigger onions
Step 1: Choose the right variety. Pick a variety suited to your day length and climate, and known for good bulb size. Talk to local growers and your extension office, and look at what performs well in your area and market. In many tropical and warm regions, short-day types are the right choice. Buy seed from a reliable source, because poor or old seed gives weak seedlings.
Step 2: Raise strong seedlings. Sow seed in a well-prepared nursery bed with fertile, loose, well-drained soil. Keep the bed evenly moist, weed it, and protect the young plants from heavy rain, pests and disease. Transplant when the seedlings are about the thickness of a pencil, which is commonly around six to eight weeks after sowing, depending on conditions. Seedlings that are much bigger may bolt, and much smaller ones are slow to take off. Healthy, uniform transplants give you an even field with even bulbs.
Step 3: Prepare loose, fertile, well-drained soil. Onions like soil that is loose, crumbly and rich in organic matter, with good drainage. Heavy, compacted soil restricts the swelling bulb and holds water that causes rot. Dig or till the bed deeply, break up clods, remove stones and add well-rotted compost or manure before planting. A soil pH in the range of roughly 6.0 to 7.0 suits onions well. A soil test can tell you what your soil needs, and it is cheaper than guessing.
Step 4: Space them for the bulb size you want. For good-sized bulbs, a common spacing is roughly 10 to 15 centimeters between plants, with rows about 30 to 45 centimeters apart, though this varies with the variety and your market. Closer spacing produces more, smaller bulbs, and wider spacing produces fewer, larger ones. If you are targeting a premium large-bulb market, lean toward the wider end, and test a small block at two spacings to see what works best on your farm.
Step 5: Transplant correctly. Set each seedling shallowly, with the roots covered and the base of the plant near the surface, rather than buried deep. Firm the soil gently around the roots, and water right away. Transplant in the cool of the day, in the late afternoon if possible, so the plants settle before the heat. Trim long roots lightly if needed, and avoid damaging the leaves.
Step 6: Feed early and balanced, and stop nitrogen on time. Onions are shallow-rooted and need nutrients within easy reach. Work phosphorus and potassium into the soil before planting, since phosphorus supports root development and potassium supports bulb quality. Apply nitrogen in split doses during the early leaf-growing stage, for example at planting and again a few weeks later, following soil test advice or your local extension recommendations. Stop applying nitrogen once the plants begin to form bulbs. Late nitrogen leads to thick necks, delayed maturity and poor storage. Onions also respond to sulfur, and soils low in sulfur may benefit from it, so ask about local conditions.
Step 7: Water steadily and keep the soil evenly moist. Onions need regular water, particularly during establishment and bulb development, because their roots are shallow. Aim for steady moisture, roughly the equivalent of around 2.5 centimeters of water per week in the absence of rain, adjusting for your soil and weather. Light, frequent watering suits shallow roots better than occasional heavy flooding. Drip irrigation works very well. Mulching with straw or dry grass helps hold moisture, keeps soil cooler and reduces weeds. As the crop approaches maturity and the tops begin to fall over, reduce and then stop watering to help the bulbs mature and dry properly.
Step 8: Keep the field weed-free. This is one of the best things you can do for bulb size. Weed early and often, especially in the first eight to ten weeks, and be careful to use shallow hoeing or hand weeding so you do not damage the shallow roots. Mulch can reduce the workload. A clean field means the onions get all the water, light and nutrients.
Step 9: Protect the leaves from pests and disease. Because leaf area decides bulb size, anything that damages the leaves costs you size. Thrips are tiny insects that rasp the leaves, leaving silvery streaks and reducing the plant’s ability to feed the bulb. Scout the plants regularly, especially in dry weather, look inside the leaf folds, and control thrips early with gentle methods such as water sprays, insecticidal soap, neem or other products according to the label and local advice. Fungal and bacterial leaf diseases such as purple blotch and downy mildew can also strip leaf area, and are worse in humid, wet conditions. Good spacing, drip irrigation, crop rotation and clean seedlings reduce the risk. Avoid planting onions repeatedly in the same soil, as diseases and pests build up.
Step 10: Watch for bolting and deal with it. Plants that send up a flower stalk stop investing in the bulb, and bolted onions usually end up small, with a hard core. Bolting is often caused by too-large transplants, cold stress after planting, or an unsuitable variety. If you see seed stalks, remove the plants and use them first, because they will not store well. Choose bolt-resistant varieties where possible and transplant at the right size and time.
Step 11: Leave the tops alone until they fall naturally. Do not cut or bend the tops early in an attempt to force bulbing. The bulb is still taking energy from those leaves. When the plants mature, the necks soften and the tops fall over naturally. Wait until a good majority of the tops have fallen, then lift the bulbs on a dry day, cure them in a shaded, airy place until the necks are dry and tight and the outer skins are papery, and then trim and store.
Warning signs to watch for
A thick, stiff neck on a growing plant often means too much late nitrogen or that bulbing is being delayed. Seed stalks mean bolting. Silvery streaks on the leaves point to thrips. Yellowing and dying leaf tips early in the season can point to disease, water stress or nutrient problems. Plants that stay small and pale in a weedy, crowded bed are telling you the competition is too heavy. And if your onions form tiny bulbs very early, while the tops are still small, suspect the wrong variety for your day length.
What I would do differently if I were starting again today
I would spend more of my time and money before planting, on the right variety, a clean nursery, and deeply prepared soil. I would transplant pencil-thick seedlings at a wider spacing and keep the bed weed-free from the first week. I would feed nitrogen early in split doses and stop at the right moment, and I would never treat a lush green top as a sign of success. I would scout for thrips weekly, because I now know how much bulb size a few hungry insects can quietly steal. And I would run a small trial each season with two spacings or two varieties, and keep notes, so that every year my crop improved on the last.
The farmers who grow the biggest onions are rarely using secrets. They are simply the ones who build the plant first and protect it all the way to the end.
FAQ
Why are my onion bulbs small?
The most common causes are an unsuitable variety for your day length, crowded plants, weeds, thrips damage, not enough water or nutrients, or bolting. Check each of these in turn, since small bulbs usually have more than one cause.
Does fertilizer make onions bigger?
Balanced feeding helps, especially nitrogen early to build leaves, with enough phosphorus and potassium. But more fertilizer does not always mean bigger bulbs. Late nitrogen can delay bulbing and cause thick necks, and the wrong variety or poor spacing cannot be fixed by feeding.
How far apart should I plant onions for big bulbs?
A common guide is around 10 to 15 centimeters between plants with rows 30 to 45 centimeters apart. Wider spacing generally gives larger bulbs. Test small blocks to find what works best for your variety and market.
When should I stop watering onions?
Keep the soil evenly moist during growth and bulb development, then reduce and stop watering as the tops begin to fall over and the bulbs mature, so the bulbs can dry and cure well.
What is bolting and how do I prevent it?
Bolting is when the onion plant sends up a flower stalk instead of forming a good bulb. It is usually triggered by cold stress, oversized transplants or an unsuitable variety. Prevent it by choosing suitable varieties, transplanting pencil-thick seedlings at the right time, and avoiding stress.
know this
You do not grow a big onion by pushing the bulb, you grow it by building the leaves early and protecting them until the end.