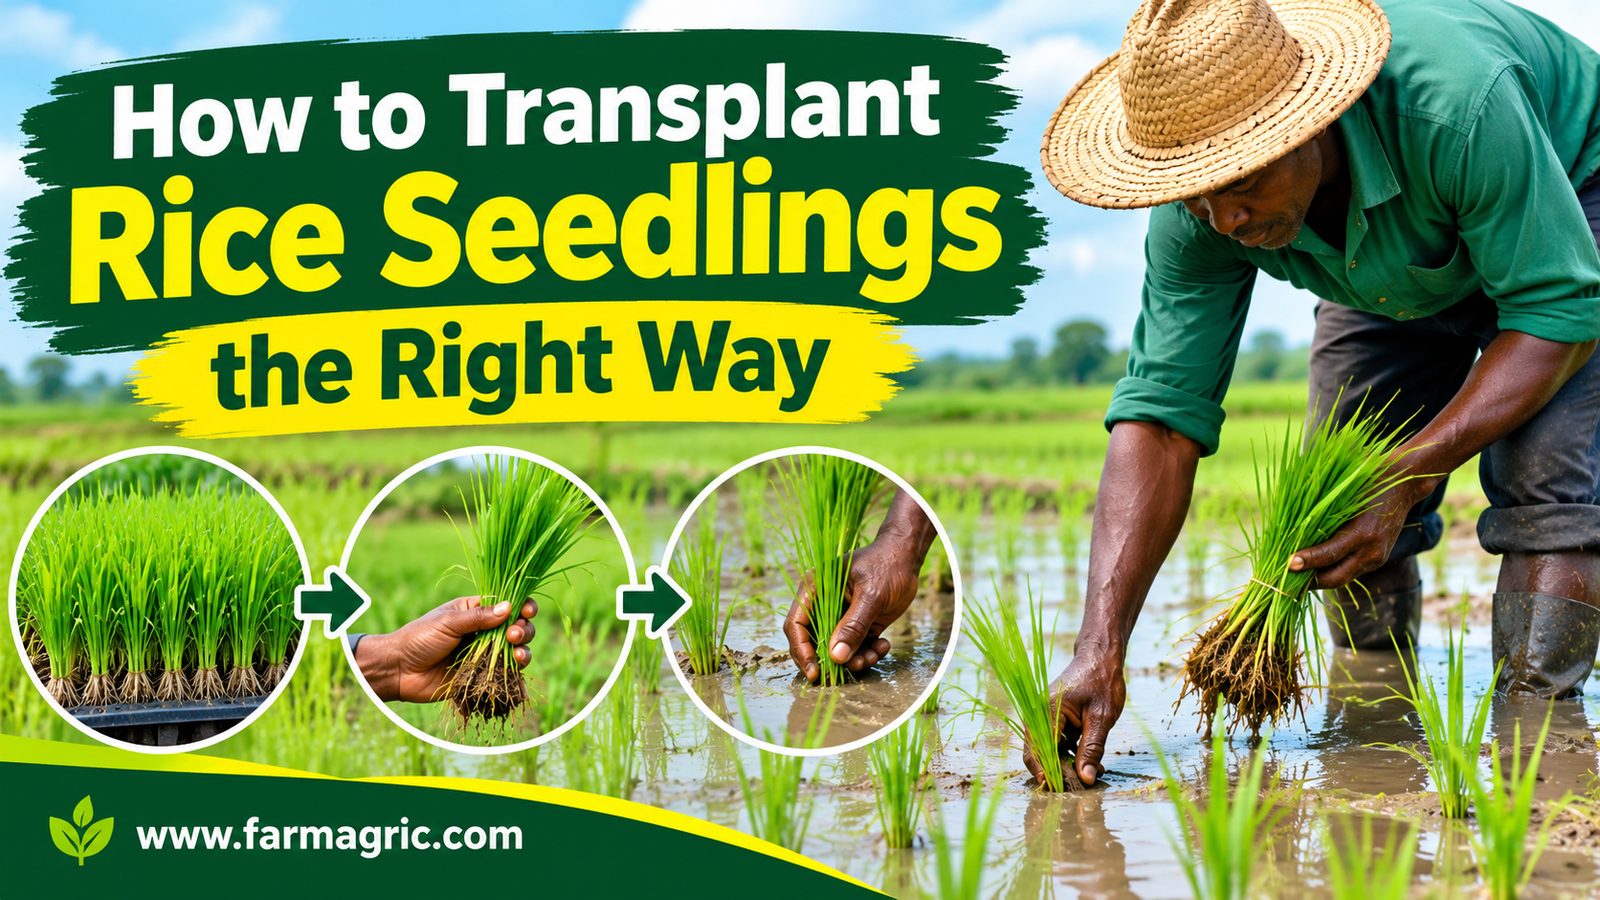
How to Transplant Rice Seedlings the Right Way
How to Transplant Rice Seedlings the Right Way: A Farmer’s Guide to Getting the Foundation Right
I remember a season early on when I transplanted an entire paddy in a single rushed afternoon because rain was threatening and I wanted the job done before it hit. I planted deep, buried each seedling well past where I should have, thinking deeper meant more secure against wind and water movement. Those seedlings sat there for almost two weeks looking stunted and yellow, barely tillering at all, while a smaller section I’d transplanted more carefully a few days earlier was already putting out new shoots and looking noticeably greener. That comparison, side by side in the same field, same water, same seed source, taught me that transplanting isn’t just about getting seedlings into the ground, it’s a skill with real technique behind it, and getting it wrong costs you weeks of recovery time the plant never fully makes up.
So let me answer you straight, because I know you’re standing over a nursery bed of seedlings right now trying to figure out exactly how to move them into the main field. Rice seedlings should be transplanted at the right age, typically eighteen to twenty-five days old depending on variety, planted shallow at around two to three centimeters deep rather than buried deeply, spaced consistently using a marked line or frame, handled gently to minimize root damage and transport stress, and moved into the main field on the same day they’re pulled whenever possible to reduce the shock that slows early establishment and tillering. Transplanting is the single moment where you can do the most damage to a rice crop’s early development in the shortest amount of time, and it’s also the moment most farmers rush through fastest, which is exactly backward from how much care that step actually deserves.
Why Transplanting Technique Matters So Much
The way a seedling is pulled, transported, and set into the main field directly determines how quickly it recovers from transplant shock and begins actively growing again, and every day spent recovering is a day not spent tillering, which ultimately affects how many productive stems and panicles that plant produces by the end of the season. A seedling transplanted carelessly, too deep, with damaged roots, left out of water too long before replanting, spends its first week or more in the main field simply trying to survive and re-establish rather than growing, while a carefully transplanted seedling of the same age and variety can begin producing new tillers within just a few days. That early gap in recovery time rarely closes completely over the rest of the season, which is exactly why the seedlings I rushed that one afternoon never quite caught up to the section I’d taken more time and care with.
What Most Farmers Get Wrong
The first mistake, the one that cost me those stunted seedlings, is planting too deep out of a mistaken belief that depth provides more stability or security against water movement. Deep planting actually delays the emergence of new tillers significantly, since the plant has to spend extra energy just reaching the surface again before it can begin producing the side shoots that determine its eventual yield potential.
The second mistake is transplanting seedlings that are either too young or too old for the variety being used. Very young seedlings are fragile and more vulnerable to transplant shock and pest damage in the main field, while seedlings left too long in the nursery become overgrown, root-bound, and often experience a harder transition with slower recovery than seedlings transplanted at the right age.
The third mistake is handling seedlings roughly during pulling and transport, damaging roots unnecessarily or leaving them out of water for extended periods before they go into the main field. Root damage and prolonged drying both significantly extend the recovery period once seedlings are actually planted, even if everything else about the transplanting process is done correctly.
The fourth mistake is inconsistent spacing from careless, by-eye planting rather than using a marked guide. This creates the same kind of uneven competition problems in transplanted rice that poor spacing causes in any crop, with some plants crowded and competing unnecessarily while other areas sit underutilized.
The fifth mistake is clumping too many seedlings together at each planting point, treating more seedlings per hill as extra insurance rather than recognizing the internal competition that dense clumping creates, competition that reduces the productivity of each individual seedling within that overcrowded hill.
Step-by-Step Guide to Transplanting Rice Correctly
1. Time your nursery so seedlings reach the right age at transplanting. Most varieties transplant best between eighteen and twenty-five days old, so plan your nursery seeding date working backward from your intended main field transplanting date, adjusting slightly based on your specific variety’s typical growth rate and the season’s temperature conditions.
2. Prepare the main field before pulling any seedlings. Complete land leveling, puddling, and initial water management in the main field ahead of time, so seedlings can go directly from the nursery into a properly prepared, ready field rather than sitting around waiting while field preparation catches up.
3. Water the nursery bed thoroughly before pulling seedlings. A well-watered nursery bed allows seedlings to be pulled with less root damage than a dry, compacted bed, since the softened soil releases roots more easily rather than tearing them during extraction.
4. Pull seedlings gently, working from one end of the bed systematically. Grip seedlings low near the base and pull with a gentle, steady motion rather than yanking, working through the bed in an organized way that minimizes unnecessary handling and root disturbance across the whole nursery area.
5. Wash excess soil from the roots carefully if needed, without exposing roots to air for long periods. A light rinse can help you assess root health and remove heavy soil clumps, but keep this step brief and keep seedlings in water or moist conditions throughout, since roots exposed to open air for extended periods dry out and lose vigor before ever reaching the main field.
6. Transport seedlings to the main field as quickly as possible, ideally the same day they’re pulled. Keep bundles of seedlings upright, in shallow water or wrapped in a way that keeps roots moist, and minimize the total time between pulling and replanting, since this gap is one of the most controllable factors influencing how well seedlings recover after transplanting.
7. Set water depth in the main field to shallow, around one to two centimeters, at the time of transplanting. Very deep water at the moment of transplanting can float young seedlings out of position or make it harder to plant them at a consistent, shallow depth, so keep water levels modest during the actual transplanting process itself.
8. Plant seedlings shallow, at around two to three centimeters deep, not buried deeply. Push each seedling into the soft, puddled soil just deep enough to hold it upright and stable, resisting the instinct to bury it more deeply for extra security, since shallow planting supports faster recovery and quicker onset of new tiller production.
9. Use a marked rope, string, or spacing frame to maintain consistent spacing. Space seedlings at roughly twenty by twenty centimeters for many varieties, adjusting based on your specific variety and soil fertility, and use a physical guide rather than planting by eye to keep spacing genuinely consistent across the whole field.
10. Transplant one to two seedlings per hill rather than clumping several together. Limiting each planting point to just one or two seedlings avoids the internal competition that dense clumping creates, allowing each seedling within a hill to develop and tiller more productively than it could surrounded by several competing neighbors at the same point.
11. Handle transplanting during cooler parts of the day where possible. Early morning or late afternoon transplanting reduces heat stress on seedlings during an already vulnerable transition period, compared to transplanting during the hottest, most intense sun of midday.
12. Maintain shallow water and monitor closely for the first several days after transplanting. Keep water shallow to support root establishment and early tillering, and watch for any seedlings that appear to be struggling, floating, or failing to establish, replacing gaps promptly with extra seedlings held in reserve from the same nursery batch.
Warning Signs of Poor Transplanting Technique
Seedlings that remain pale, yellow, or visibly stressed for more than a week after transplanting, well beyond a brief, normal adjustment period, often indicate planting depth was too deep or that root damage occurred during pulling and handling. Noticeably slower tillering in one section of a field compared to another, transplanted the same day from the same nursery, frequently traces back to inconsistent handling, transport delays, or depth differences between those sections rather than any difference in the seedlings themselves. Seedlings that float, lean, or fall over shortly after transplanting suggest they weren’t set deep or firmly enough into the puddled soil, a different problem from the opposite mistake of burying them too deep, but one that similarly delays proper establishment. And visibly uneven spacing across a field, some hills crowded close together and others left with unusually wide gaps, points to planting done by eye without a consistent measuring guide, an easily avoidable cause of uneven crop development later in the season.
What I’d Do Differently If Starting Again Today
If I were starting over, I’d plant shallow from my very first season instead of instinctively burying seedlings deeper out of a mistaken sense that it offered more security, since that one habit alone cost me real tillering time across several early seasons before that side-by-side comparison finally taught me otherwise. I’d commit to same-day transplanting as a hard rule rather than something I only aimed for loosely, since I now understand how much even an extra day’s delay between pulling and replanting extends recovery time afterward. I’d use a marked spacing guide from the beginning rather than trusting my eye the way I did in those early years, since the consistency alone would have improved my early tillering uniformity considerably. And I’d plan my nursery timing more deliberately around my intended transplanting date, rather than sometimes letting seedlings sit a bit longer in the nursery than ideal simply because the main field wasn’t quite ready yet, since I now know how much that seedling age at transplanting actually matters for how smoothly the whole transition goes.
Frequently Asked Questions About Transplanting Rice Seedlings
What is the best age for rice seedlings at transplanting?
Most varieties transplant best between eighteen and twenty-five days old, since younger seedlings can be fragile and slower to establish, while significantly older, overgrown seedlings often experience more transplant shock and a longer recovery period once moved to the main field.
How deep should rice seedlings be planted when transplanting?
Around two to three centimeters is ideal for most varieties, since planting significantly deeper delays new tiller emergence and slows early recovery, even though it might seem like it would provide more stability against wind or water movement.
Does it matter how many seedlings I plant per hill?
Yes, planting just one to two seedlings per hill generally outperforms dense clumping of several seedlings together, since clumping creates internal competition at each individual planting point that reduces the productivity of every seedling within that crowded hill.
Why do my transplanted seedlings look stressed and yellow for over a week after planting?
Prolonged yellowing or stress well beyond a brief initial adjustment period usually points to planting too deep, root damage from rough handling during pulling, or an extended delay between pulling seedlings from the nursery and getting them into the main field.
Is it better to transplant rice seedlings the same day they’re pulled from the nursery?
Yes, minimizing the time between pulling seedlings and replanting them significantly reduces transplant shock and supports faster recovery and earlier tillering, making same-day transplanting one of the most effective and controllable practices available to reduce early-season stress.
If there’s one thing I want you to remember from all this, it’s that transplanting is the one moment where gentle, careful, unhurried hands matter more than almost any other single decision you’ll make all season, because a seedling set shallow and handled kindly starts tillering while a rushed, deeply buried one is still fighting just to find the surface again.