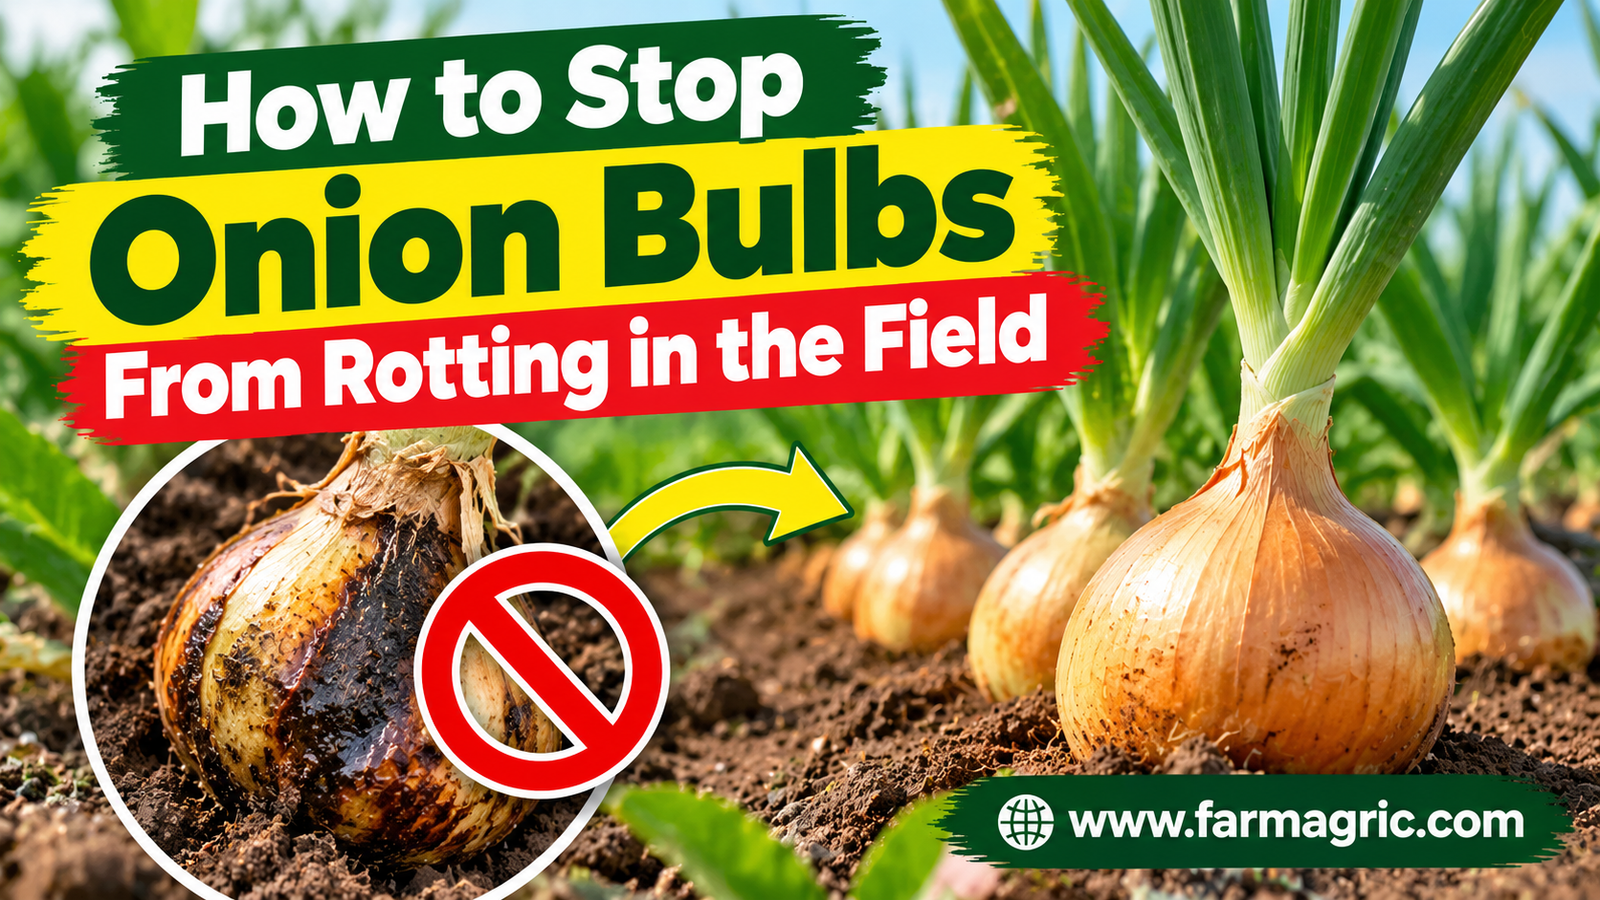
How to Stop Onion Bulbs From Rotting in the Field
How to Stop Onion Bulbs From Rotting in the Field
I once walked an onion field two weeks before harvest and felt like a rich man. The tops were tall, the bulbs were swelling, and the rows looked like a postcard. Then a week of warm, wet weather arrived. When I started pulling, a good number of bulbs came up with soft, watery necks, a sour smell, and brown, mushy layers inside. Some looked perfectly fine on the outside until I cut them open. I had thought rot was something that happened in the store. That season taught me it begins in the field, and by the time you smell it, it is already late.
Here is the plain answer. Onion bulbs rot in the field because of waterlogged soil, warm wet weather late in the season, wounds on the bulbs and necks, too much nitrogen, and soil-borne diseases that build up when onions are grown on the same ground year after year. Most field rots are caused by fungi or bacteria that wait in the soil or crop residue and get in through wet, damaged, or soft tissue. You stop them by planting on well-drained raised beds, rotating with cereals for at least three years, using clean seed or healthy sets, feeding nitrogen early and not late, watering steadily and then easing off as the tops begin to fall, controlling thrips and onion fly, handling bulbs gently, and harvesting on time in dry weather.
The short version of what I do is this. I plant on ridges in a field that has not grown onions or garlic for three years, I stop nitrogen by the time bulbing starts, I keep the soil evenly moist until the necks begin to soften, then I cut back the water, I scout for pests, I pull and bury any sick plants right away, and I lift the crop when about half to three quarters of the tops have fallen over, on a dry day. The rest of this article explains how to tell the rots apart, what most farmers get wrong, and how to put each step into practice.
What Most Farmers Get Wrong
The first mistake is planting onions in the same ground again and again. Many of the rot organisms survive in the soil and old residue for years. Planting onions, garlic, shallots, or leeks in the same place keeps feeding them. Rotation is the cheapest rot control there is, and most farmers skip it because land is short.
The second mistake is overwatering near maturity. Farmers keep watering as the bulbs fatten because the crop looks thirsty. Late irrigation and heavy rain keep the soil wet around the necks and bulbs, which is exactly what the rot organisms want. Easing off the water as the crop matures is one of the best habits you can build.
The third mistake is feeding too much nitrogen, especially late. Heavy nitrogen gives thick, soft necks and lush tops that stay green too long and delay maturity. Those soft tissues rot easily. Nitrogen belongs early in the crop’s life, not in the last weeks.
The fourth mistake is ignoring wounds. Thrips, onion fly maggots, hoe cuts, and rough handling all make openings, and rot enters through them. A bulb with a wounded neck is a bulb on its way to rot.
The fifth mistake is planting in low, heavy, or poorly drained ground. Standing water around bulbs is the single fastest route to rot. No spray fixes a field that drowns.
The sixth mistake is harvesting late, or in wet weather. Bulbs left in wet soil after they are mature rot quickly, and bulbs lifted in rain carry that wetness into the heap.
The seventh mistake is leaving rotten bulbs in the field. Each one releases bacteria and spores that spread to healthy neighbors with the next rain or irrigation.
Know Which Rot You Have
Several different problems all end in a rotten onion, and the fix depends on the cause.
Bacterial soft rot makes the bulb watery, slimy, and foul smelling, often starting at the neck or in a wound. The inner scales turn to mush while the outer skin may still look intact. It thrives in warm, wet conditions and is worse where nitrogen is high and drainage is poor.
Fusarium basal rot starts at the base of the bulb. The basal plate turns brown and soft, and the roots die. Leaves yellow and die back from the tips, and plants may pull out of the ground easily. White or pinkish fungal growth can appear at the base. It likes warm soil and builds up in fields where onions are grown repeatedly.
White rot shows as yellowing and dying leaves, with a fluffy white fungal growth at the base of the bulb and small black seed-like bodies called sclerotia. Those sclerotia can live in the soil for many years. It is most serious in cool weather and is very hard to clear once it is in a field.
Neck rot, caused by Botrytis, starts at the neck and moves down into the bulb, which turns soft and gray, and often shows gray mold and black sclerotia at the neck. It is often seen after harvest, but infection begins in the field, especially in wet weather and with high nitrogen.
Pink root turns roots pink, then shriveled, and stunts the plants and reduces bulb size, mainly in warm soils.
Downy mildew and purple blotch damage the leaves, which weakens bulb development and opens the way for rots. Look for pale or purplish patches on the tops in humid weather.
If you cannot tell which one you have, dig up a few affected plants, cut the bulbs through the middle, and take clear samples or photos to your extension officer or a plant clinic. A correct diagnosis is cheap compared with a lost crop.
Choose the Right Field and Prepare It
Start with the ground. Pick a well-drained field with light to medium soil, and avoid low spots that hold water. Do not plant onions, garlic, shallots, or leeks where they have grown in the last three years, and where white rot has appeared, leave it out of onions for much longer.
Loosen the soil deeply and mix in well-rotted compost, which improves drainage and gives steady nutrition. Avoid fresh manure, which can carry disease and cause soft growth. Make raised beds or ridges so excess water drains away from the bulbs. A soil test is worth doing, because onions prefer a pH of roughly 6.0 to 7.0, and acidic or poorly balanced soil causes weak plants that rot more readily.
Control weeds before planting. Weeds crowd onions, keep the base of the plants damp, and hide thrips.
Start With Clean Seed and Healthy Transplants
Buy certified seed or sets from a trusted dealer, and avoid unlabeled seed from a market heap. Many rots arrive with the planting material. If you raise your own seedlings, use clean soil or a sterile mix in a spot where onions have not grown recently, and wash trays before reuse.
Examine transplants before you plant. Throw away any with soft bases, brown roots, or yellowing tops. A single infected seedling can start a patch in a clean field. Handle seedlings gently, and plant at the right depth, with the base just covered, since planting too deep keeps the neck wet and invites rot.
Choose varieties suited to your area and season. Some varieties handle wet weather and have firmer necks, and your extension office or seed dealer can tell you which ones perform locally.
Spacing and Airflow
Crowded onions stay wet longer, and the humid air around them is perfect for rot and leaf diseases. Follow the spacing recommended for your variety, commonly around 10 to 15 centimeters between plants and 30 to 40 centimeters between rows, adjusting for bulb size. Keep the field weed free so air can move between the rows.
Feeding: Early Nitrogen, Balanced Nutrition
Give onions the nitrogen they need in the first weeks, when the plant is building leaves, because each leaf becomes a ring of the bulb. Split the nitrogen into small doses, and stop feeding nitrogen when bulbing starts, usually around six to eight weeks after transplanting depending on variety and day length. Late nitrogen delays maturity and makes necks thick and soft.
Make sure potassium and phosphorus are in good supply, since they support firm, well-cured bulbs. Sulfur also helps onion quality and can reduce disease pressure in sulfur-poor soils. Follow the rates on the fertilizer label or from a soil test, and never double up because a plant “looks pale.”
Water: Steady, Then Ease Off
Onions have shallow roots and need regular moisture, so do not let them dry out between waterings in the growing stage. Check by pushing a finger a knuckle deep into the soil, and water when it is dry at that depth. Drip irrigation is the best choice, since it keeps the leaves and necks dry.
As the bulbs reach full size and the tops begin to weaken and fall over, cut back on watering and then stop it about two weeks before harvest. This lets the bulbs mature, the necks dry, and the skins begin to cure. Keep the soil from swinging between very dry and very wet, since sudden changes can split bulbs and open them to rot.
Do not irrigate in the evening, and avoid overhead watering in humid weather. Mulch lightly between rows if your soil dries quickly, but keep mulch away from the necks.
Control Thrips, Onion Fly, and Other Pests
Pests weaken plants and make wounds. Thrips scrape the leaves, which gives silvery streaks and lets diseases in. Onion fly maggots tunnel into the base of young plants and the bulb, and rot follows quickly. Scout twice a week by checking the leaf bases, the inside of the leaf folds, and the soil around the plants. Tap leaves over white paper to look for tiny thrips.
Treat early with products approved for onions in your area, following the label and the days to wait before harvest. Soap-based sprays or neem extracts may be enough for light thrips populations. Rotate between different kinds of products so the pests do not become resistant. Remove and destroy wilted or yellowing plants that show maggots at the base.
Handle the crop with care during weeding. Shallow hoeing or hand weeding avoids cutting bulbs and roots, and every wound you avoid is a rot you prevent.
Removing Sick Plants
Walk the field every few days, especially after rain. When you see plants yellowing, wilting, with soft bases, or with white fungal growth at the base, pull them out gently, put them in a bag or bucket, and carry them out of the field. Bury them deeply or burn them, and do not compost them. Do not leave them on the field edge.
If white rot is confirmed, do not move soil, tools, or boots from that area to clean fields without washing them, since sclerotia travel on soil. Wash tools and boots when you finish working in a sick patch.
Harvest at the Right Time and in the Right Way
Harvest when most of the tops, roughly half to three quarters, have fallen over and the necks have softened and tightened. Check by gently pulling a few bulbs. Mature bulbs have firm bodies and dry outer skins that rustle. Bulbs harvested too early are watery and cure poorly, while bulbs left in wet soil after maturity rot.
Choose a dry day, and lift the bulbs carefully with a fork or by hand, without cutting or bruising them. Do not throw them into heaps or crates. Leave them in the field to dry for a few days only if the weather is dry and sunny, with tops laid over the bulbs to protect them from sunburn. Bring them under cover if rain threatens, and never leave harvested onions in wet soil.
Cure the bulbs for one to three weeks in a dry, shaded, well-ventilated place, such as a raised rack or a covered shed, until the necks are completely dry and tight and the outer skins are papery. Then trim the roots and tops, sort out any bulbs with soft necks, wounds, or signs of rot, and store only the sound ones in a cool, dry, well-ventilated space.
Step-by-Step Practical Plan
If I were planning your next crop, it would run like this.
Choose a well-drained field that has not grown onions, garlic, shallots, or leeks for at least three years.
Prepare deep soil with compost, shape raised beds or ridges, and control weeds.
Buy certified seed or sets, inspect transplants, and discard any that look doubtful.
Plant at the recommended spacing and shallow depth, with the base just covered.
Apply nitrogen in small early doses and stop when bulbing begins, with balanced potassium and phosphorus.
Water steadily using the knuckle test, ideally with drip, and stop watering about two weeks before harvest.
Scout twice a week for thrips, onion fly, and leaf diseases, and treat early with approved products.
Pull and bury sick plants right away, and keep tools clean.
Harvest in dry weather when most tops have fallen, handle gently, and cure in a shaded, ventilated place.
Sort out bad bulbs before storage and record dates, weather, and losses for next season.
Warning Signs to Watch For
Learn to catch the problem early. Yellowing tops that die from the tips, especially in patches, can mean basal or white rot. Plants that pull out of the ground easily with brown, soft bases are in trouble. White fluffy growth and black pinhead specks at the bulb base point to white rot. A soft, watery neck and a sour smell mean bacterial rot. Gray mold at the neck suggests Botrytis. Silvery leaf streaks and tiny insects point to thrips, which open the door to rot. Weeks of warm, wet weather close to harvest are a high-risk period, so check the field more often.
If you see any of these, act that week, not next month.
What I Would Do Differently If Starting Again Today
If I were starting fresh, I would keep a map of every field and what grew there each year, so onions never returned within three years. I would put in raised beds and drip irrigation before the first transplant. I would stop my nitrogen earlier than I thought was safe, and I would cut the water back two weeks before harvest, even when the plants looked thirsty. I would inspect every seedling before planting, and I would pull the first sick plant on the day I found it. I would also plan the harvest around the forecast, and keep a notebook of rain, feeding dates, and rot outbreaks, because patterns show up on paper that memory never catches.
I would also stop waiting for the perfect bulb size. A mature onion cut on time and cured well is worth more than a bigger one that rots in wet soil.
FAQ
Why are my onions rotting in the ground?
The usual causes are waterlogged soil, warm wet weather near maturity, too much nitrogen, wounds from pests or tools, and soil diseases that build up when onions are grown repeatedly in the same field. Check the roots and base of the bulb to see which rot you have.
Can I save onions that have started to rot?
Not the rotten bulbs. Remove and bury them. Healthy bulbs nearby should be lifted soon in dry weather, cured well, and sorted carefully before storage, because rot can spread.
How long should I rotate onions to avoid rot?
At least three years away from onions, garlic, shallots, and leeks, and much longer if white rot has been confirmed in the field, since its sclerotia can survive for many years.
Should I stop watering onions before harvest?
Yes. Ease off as the tops begin to fall and stop about two weeks before harvest, so the bulbs mature and the necks dry. Late watering raises the risk of rot.
Does fungicide stop onion bulb rot?
Fungicides may help with leaf diseases and some fungal problems where approved, but they do not cure bacterial rot or rotten bulbs. Drainage, rotation, clean planting material, balanced feeding, and careful harvest do most of the work.
The Advice Worth Bookmarking
An onion rots where the water stands and the ground is tired. Give it drained, rested soil, and let it dry down before you lift it.