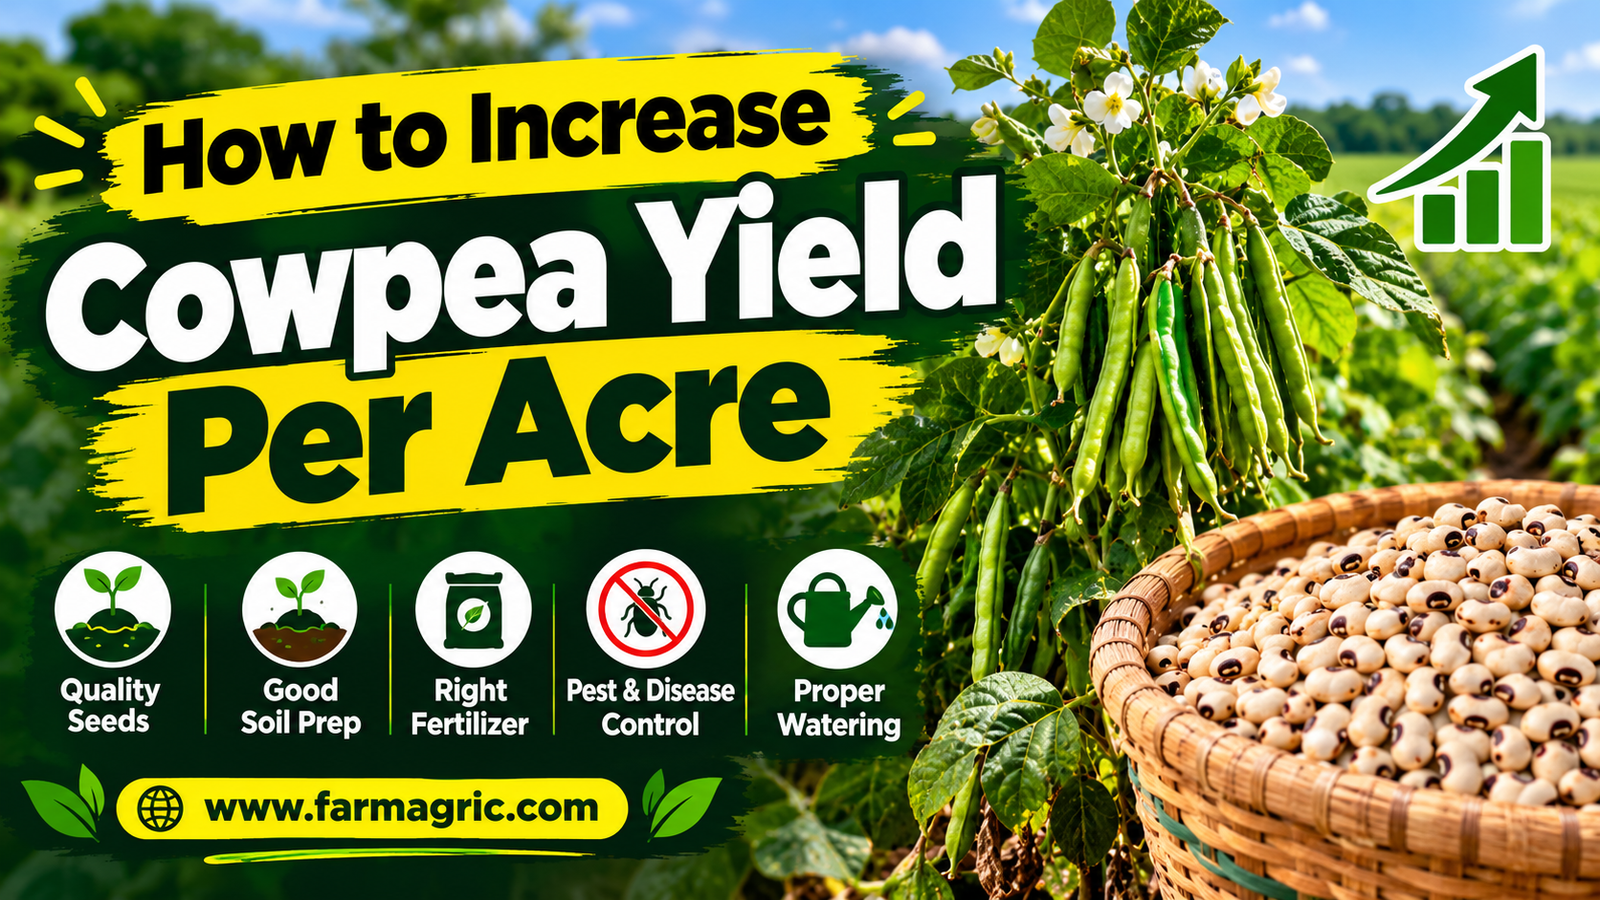
How to Increase Cowpea Yield Per Acre
How to Increase Cowpea Yield Per Acre
For my first ten years of growing cowpea, I harvested the same disappointing amount every season and told myself that was just what the crop gave. A neighbour of mine, an older man who never went to any school of agriculture, harvested nearly double what I did from the same size of land, in the same village, under the same rain. I was annoyed for a whole season. Then I swallowed my pride, walked his field with him, and asked him what he did.
He did not have a secret. He had about six habits, done on time, every single year. I copied them, kept the ones that worked in my own soil, and over the years my yield per acre more than doubled. This is what I learned.
The short answer
To increase cowpea yield per acre, plant an improved variety suited to your area, sow at the right time with correct spacing, supply phosphorus instead of heavy nitrogen, weed early, protect the flowers from pests before damage shows, and harvest and dry carefully to avoid field and storage losses. No single trick does it. Yield comes from getting the whole chain right, because a weak link anywhere costs you more than a strong link elsewhere can repay.
A typical farmer who plants local seed with little care often harvests a small fraction of what the crop can really produce. Improved varieties, properly managed, can give several times more. The gap between those two numbers is your opportunity, and most of it is closed by management, not money.
What most farmers get wrong
I made every one of these mistakes, so please read them as friendly warnings and not as criticism.
They save seed from the weakest part of the harvest. Many farmers keep the leftovers, the small and broken beans nobody wanted to sell, and plant those next season. Weak seed gives weak plants. I now set aside the best, biggest, cleanest pods for seed before anything else is sold or eaten.
They plant whenever they have time and not when the weather is right. Cowpea does not care about your schedule. If flowering lands in the wrong week, no amount of care later can rescue it.
They crowd the plants, thinking more stands means more beans. In my experience, a thick field produces tall plants with fewer pods, more disease and more pests, because the lower flowers never see the sun.
They feed the crop like maize. Heavy nitrogen fertiliser gives a beautiful green field and a poor harvest. Cowpea makes its own nitrogen. What it actually needs is phosphorus.
They weed too late. By the time the weeds look serious, the damage to the young crop has already been done.
They wait to see pests before they act. By then the flowers are already lost, and the yield for that stretch of the season is gone.
Where the yield really comes from
It helps to think about how a cowpea plant actually makes a harvest, because once you see it, the management choices become obvious.
Yield per acre is basically the number of plants, multiplied by the number of pods on each plant, multiplied by the number of seeds in each pod, multiplied by the weight of each seed. Every decision you make touches one of those four numbers. Spacing and good germination set the plant count. Flower protection, moisture and phosphorus set how many pods are kept on each plant. Variety and pest control at pod fill set how many seeds are in the pod and how heavy they are. If you lose ground on one number, you must win it back on another, and that is much harder than simply protecting all four.
Step by step: how I raise my yield every season
Step 1: Choose the right variety
This is the biggest single decision you will make. Improved varieties bred by agricultural research institutes are usually earlier, more disease tolerant, and higher yielding than the old local types. Some are bred for resistance to common problems such as certain leaf diseases, and some mature quickly enough to escape late season drought.
Visit your nearest agricultural extension office or a trusted seed company and ask which varieties perform best in your area and on your type of land. Then buy certified seed from a reliable source, not grain from the market. Market grain may be old, mixed or infested, and it often germinates poorly. Certified seed costs more per bag, but it pays for itself in the first harvest.
Step 2: Prepare the land well
Cowpea hates waterlogging, so choose well drained land, and if your field tends to hold water, plant on ridges or raised beds. Clear the old crop residue and weeds, and till or hoe the soil until it is loose enough for roots to grow deep. A rough, compacted seedbed gives poor germination and shallow roots, and shallow roots make a plant that suffers at the first dry spell.
If you farmed maize or sorghum on the land the season before, that is ideal. Cereals and cowpea rotate well. If you planted beans on the same plot last season, rotate to a different crop first, because diseases and pests build up in the soil and carry over.
Step 3: Plant at the right time and depth
Plant at the start of reliable rains, timing your sowing so the flowering stage does not fall into the heaviest downpour or a hot dry spell. Count back from your variety’s flowering time, which is usually five to seven weeks after planting for early types.
Sow the seed about two to four centimetres deep. Too shallow and birds, ants or drying wind get it. Too deep and the seedling struggles to come out. Plant when the soil has moisture, and avoid planting into dry dust and hoping for rain.
Step 4: Get spacing and plant population right
For many erect or semi erect improved varieties, a spacing of around seventy five centimetres between rows and about twenty centimetres between plants is a common starting point. Spreading types need a little more room, and bushy early types can take it tighter. Always check the recommendation for your specific variety, because spacing is one of those details that changes with the plant type.
In practical terms, an acre needs roughly eight to ten kilograms of seed for many erect types, though the figure depends on seed size and spacing. Sow two seeds per hill, and thin to one or two healthy plants once they are up. Count your stands a week after emergence and fill gaps quickly with fresh seed, because every empty spot is yield you will never get back.
Step 5: Feed for pods, not for leaves
Cowpea responds best to phosphorus. A phosphorus source such as single super phosphate applied at planting, in the amount advised for your area, strengthens roots, encourages nodule formation and improves flowering and pod set. If your soil is acidic or low in nutrients, a soil test from the extension service will tell you exactly what is missing, and it is worth the small cost.
Do not pour nitrogen on the crop. A very small starter dose is sometimes used on very poor soil, but heavy nitrogen only gives you vines. Well rotted compost or manure worked into the soil before planting helps build the soil over time, and it supports the root bacteria that give the plant its free nitrogen. Check that your plants are nodulating by gently digging one up about four to five weeks after planting. Pink or reddish nodules inside mean the nitrogen factory is working. White or green ones usually mean it is not doing much.
Step 6: Weed early and keep it clean
The first three to six weeks decide how much of the season’s potential you capture. Weeds compete for light, water and nutrients exactly when the young crop is weakest. I weed at about two weeks after planting, and again at about four to five weeks, before the canopy closes. Take care not to damage the roots or knock off flowers when hoeing late.
Mulching between rows with dry grass or crop residue helps hold moisture, keeps the soil cooler, and holds back late weeds. It is cheap and it works.
Step 7: Protect the flowers and pods from pests
Pests are the biggest yield thief in cowpea, and most of the damage happens quietly. Flower thrips, the legume pod borer, aphids and pod sucking bugs can each strip a field of its potential if they are left alone.
Scout from the first flower bud. Walk the field early in the morning, open a handful of buds, and look for thrips, webbed buds and caterpillars. Check stems and leaf undersides for aphids, and check pods for bugs. If you find pests, treat at flower bud stage, again at peak flowering, and again at podding if they persist, using a product registered for cowpea in your country and following the label for dose, timing and waiting period. Spray in the cool of the evening or very early morning, never over open flowers at midday.
Where you can, choose varieties with some tolerance, rotate your crops, clean away old residue, and avoid planting your cowpea next to an older bean field that carries pests over. These small habits cut your pest pressure before you ever touch a sprayer.
Step 8: Manage water through flowering and pod fill
Cowpea handles dry spells better than many crops, but it still needs moisture during flowering and while the pods fill. Where I can irrigate, I give light, regular watering during these two stages, and I do not flood the field. Where I cannot, I rely on mulch, good timing and drainage to see the crop through. A single stretch of stress at flowering can cancel weeks of good work.
Step 9: Harvest on time and dry carefully
Harvest when the pods have turned dry and brown, and pick in the morning to avoid shattering. If you leave mature pods on the plant too long, you lose beans to shattering, birds and field pests. Many improved varieties mature unevenly, so I pick in two or three rounds, taking the dry pods each time.
Dry the pods fully in the sun before threshing, and dry the threshed beans well before storage. Poor drying and poor storage can destroy a large part of the harvest you worked all season to build, so treat the last step with the same respect as the first.
Warning signs your yield is slipping
The earlier you catch trouble, the more of the harvest you keep. Patchy germination with empty gaps in the rows means poor seed, poor seedbed or birds and ants taking the seed. Pale, stunted plants with few nodules point to low phosphorus or a poor nodulation. Very dark green, rank vines with few flowers tell you there is too much nitrogen or too much shade. Plenty of flowers that fall without pods usually point to thrips, heat or moisture stress. Yellowing leaves after heavy rain suggest waterlogging. Distorted, shrivelled pods with small seeds suggest pod sucking bugs. And a thick mat of weeds around young plants tells you that you waited too long to weed.
What I would do differently if I started again today
If I were starting my first cowpea field this season, I would begin with the seed. I would buy certified seed of a proven improved variety before spending a single naira or dollar on anything else.
I would take a soil test and fix phosphorus first, and I would never waste money on nitrogen for this crop.
I would mark my planting date against the rainfall pattern and count forward to flowering, so the most delicate weeks fall in settled weather.
I would plant a little thinner than my fear told me to, and I would count my stands after emergence and fill the gaps.
And I would keep a simple notebook with every date, every input and every result. After three seasons, my own records would teach me more than any training I ever attended.
Frequently asked questions
How many bags of cowpea can I get per acre?
It depends heavily on variety, soil, rainfall and management. Farmers using local seed with little care often get a modest harvest, while those who use improved varieties and follow good practice can harvest several times more. Your local extension office can give you realistic figures for your area.
What is the best fertiliser for cowpea?
Phosphorus is the most important nutrient for cowpea. Apply a phosphorus source such as single super phosphate at planting, in the amount recommended for your soil, and avoid heavy nitrogen fertiliser because the plant makes its own.
What spacing is best for cowpea?
For many erect improved varieties, around seventy five centimetres between rows and twenty centimetres between plants works well. Spreading types need more room. Follow the spacing advised for your specific variety.
How many times should I weed cowpea?
At least two times, the first at about two weeks after planting and the second at around four to five weeks, before the canopy closes. Keep the crop clean through flowering as much as you can.
When is the best time to plant cowpea?
Plant at the start of reliable rains, timed so your variety flowers in settled weather and not during the heaviest rain or a hot dry spell. Count back from your variety’s flowering date to choose your planting week.
The one thing to bookmark
Cowpea does not reward the farmer who works hardest, it rewards the farmer who works at the right time, so get the seed, the timing and the flowers right and the acre takes care of the rest.