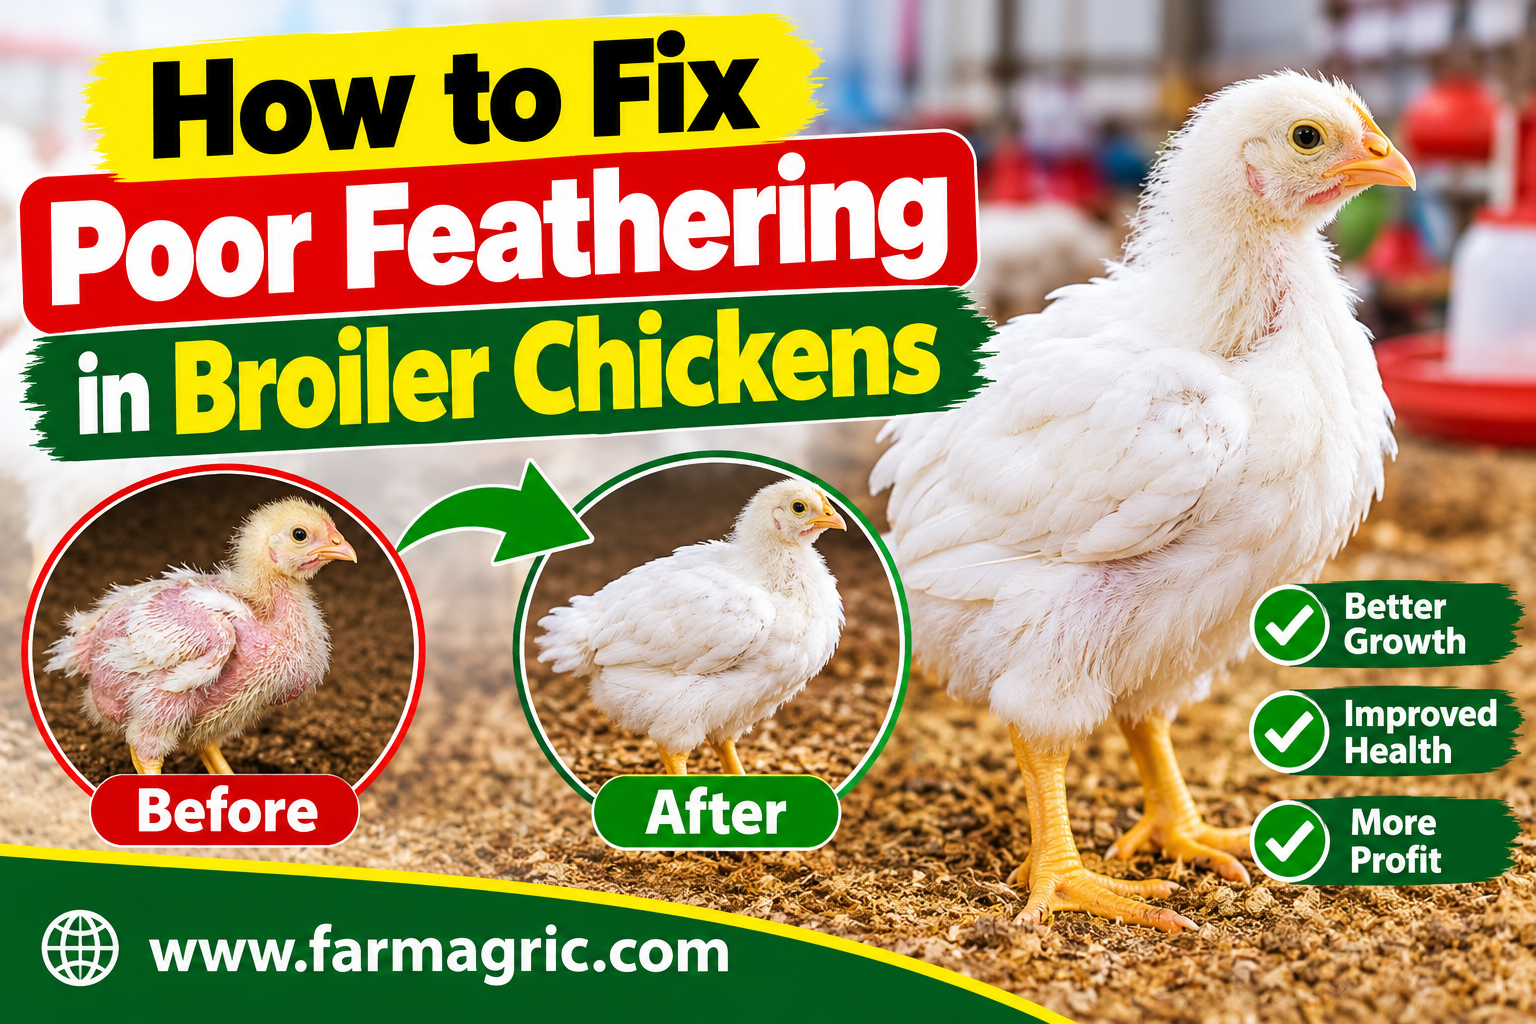
How to Fix Poor Feathering in Broiler Chickens
The first time I walked into a broiler house and saw birds with bare, pink backs and thin, patchy chests at four weeks old, my stomach dropped. They looked sick, even though most of them were eating and growing. I did what many farmers do, which was to blame the day-old chicks and the hatchery. It took me a while, and a few more bad batches, to understand that feathering is a kind of report card. The birds were telling me something about their feed, their house, their health or their stress, and I had not been listening.
Here is the direct answer. Poor feathering in broilers usually comes from a handful of causes that often overlap: feed that is short on protein and especially on sulfur-containing amino acids like methionine, along with certain vitamins and minerals; stress and crowding that lead to feather pecking; external parasites such as mites and lice; poor brooding temperatures and ventilation; wet, ammonia-heavy litter; diseases and toxins in feed that slow growth; and genetics, since some strains feather slowly. To fix it, you first work out which pattern you have, then correct the feed, the house conditions, the stocking density and the parasite or disease problem, working with a veterinarian or poultry nutritionist where needed. Most flocks improve when the cause is found and removed, and the next batch benefits even more if you correct the problem from day one.
The rest of this article explains how to diagnose the cause and what to do about it, step by step.
Why feathering matters
Feathers are not just decoration. They insulate the bird, protect the skin from scratches and sunburn, and help broilers cope with temperature swings. Birds with poor feather cover lose heat faster in cool weather, burn more feed to stay warm, and have more skin damage, which leads to downgraded carcasses and lost income. Bare skin is also easier to scratch and infect, and bare patches on the back and breast show up clearly at the processing stage. Feather growth also draws on the same nutrients the bird needs for muscle, so it competes with growth when the diet is short.
Feathers are made almost entirely of protein, a tough material called keratin, which is rich in the amino acid cystine, built partly from methionine. That is why feed protein quality matters so much for feathering, and why a bird can look fine on weight yet show thin feather cover if the amino acid balance is off.
What most farmers get wrong
They blame the chicks and stop there. Genetics matter, and some strains do feather slowly, but most feathering problems on a farm are caused or worsened by feed, environment or health. Pointing at the hatchery without checking your own management means the problem repeats.
They assume feed that looks fine is fine. Feed can look and smell normal and still be short on protein, short on methionine, poorly mixed, stale, moldy or contaminated with toxins. Many farmers buy cheaper feed or mix their own without checking the formulation and quality, and feathering is often the first place the shortfall shows.
They overlook feather pecking. Birds that are crowded, bored, too hot, too bright, or short of feed or water start pecking each other’s feathers. What looks like poor feathering can really be damage done by flockmates. Look for broken feathers, bare patches, bloody skin and birds chasing others.
They miss external parasites. Mites and lice irritate the skin, so birds scratch, pull and damage their feathers, and the damage can look like a feathering problem. Many farmers never look closely at the skin and vent area.
They ignore the litter and the air. Wet litter and ammonia irritate the skin, stress the birds and reduce feed intake. Wet litter also causes bare, scabby patches on the breast and hocks that look like poor feathering.
They crowd the birds to save money. More birds per square meter means more competition at feeders and drinkers, more heat, more humidity, more stress and more pecking. The extra birds rarely pay for the losses they cause.
They treat before they diagnose. Dumping vitamins, antibiotics or growth boosters into the water without knowing the cause wastes money and can cause new problems. Diagnosis first, treatment second.
Step-by-step: how to find and fix the cause
Step 1: Look at the pattern, not just the bare patch. Spend time in the house and walk through the flock slowly. Ask yourself where the feathers are missing: the back, the breast, the neck, the tail, or the whole body. Ask whether the problem affects most of the flock or a few birds. Ask whether the skin underneath is clean and healthy, or red, scabby, bloody or covered in parasites. Ask whether the bare patches look like they never grew, or like feathers were broken, pulled out or rubbed off. A uniform, flock-wide thinness suggests nutrition, genetics or a systemic problem. Patchy damage with broken feathers and red skin suggests pecking or parasites. Bare, damp, scabby breasts suggest wet litter. Write down what you see, because patterns across batches are valuable.
Step 2: Check the birds for external parasites. Handle several birds in good light. Part the feathers around the vent, under the wings and along the back, and look for tiny moving mites, lice, eggs on the feather shafts, scabs or irritated skin. Check the house too, especially cracks in walls, perches and nest areas, where mites hide during the day. If you find parasites, treat the birds and the house with a product approved for poultry in your country, following the label and the advice of a veterinarian or extension officer, including withdrawal periods before slaughter. Clean out and disinfect the house between batches to break the cycle.
Step 3: Look hard at the feed. Feed is the most common cause, so spend real time on it. Ask your supplier for the feed’s formulation or nutrient analysis for each stage, and compare it with the recommendations for your broiler strain. A typical broiler starter diet contains roughly 21 to 23 percent crude protein, with the level easing down in grower and finisher feeds, but your strain’s guidelines are what count. Check that the amino acids, particularly methionine and cystine, along with lysine, threonine and the other essential ones, meet the strain’s recommended levels. Ask about vitamins and trace minerals such as biotin, riboflavin, zinc and copper, which support feather and skin health. If you mix feed yourself, make sure your ingredients are of good quality, your premix is correct and fresh, your mixing is thorough, and your formula was designed by someone qualified. Do not dilute a balanced feed with extra grain to save money.
Step 4: Check feed quality and storage. Feed that is moldy, stale, wet or stored in hot, damp conditions can contain mycotoxins and spoiled fats, which damage the gut and liver, reduce feed intake and slow growth, including feather growth. Store feed in a cool, dry, ventilated place, off the floor, use it fresh, and discard anything musty or caked. Clean feeders regularly. If you suspect mycotoxins, talk to your feed supplier or a laboratory about testing, and consider whether a binder is appropriate on professional advice.
Step 5: Make sure the birds can eat and drink enough. Count the feeder and drinker space against the number of birds, and watch at feeding time. If birds queue, fight or leave hungry, increase space. Check that water is clean, cool and always available, since birds that cannot drink do not eat. Hot, thirsty birds eat less, and less feed means less protein reaching the feathers.
Step 6: Review your stocking density. Crowding is one of the biggest hidden causes. Stay within the recommended density for your housing type and climate, which is usually lower in hot, open-sided houses than in well-ventilated, controlled houses. When in doubt, ask your extension officer or the breeder’s guide, and be willing to stock a little lighter. Fewer birds with better feather cover and lower losses often earn the same or more.
Step 7: Get the brooding temperature right. Chicks that are chilled or overheated in the first weeks grow unevenly and feather poorly. In the first week, brooding temperature is typically kept in the range of about 32 to 35 degrees Celsius at chick level, and then reduced gradually by roughly two to three degrees each week until it matches the outside temperature or the target for the strain. Watch the chicks. If they huddle under the heat, they are cold. If they pant and crowd away from the heater, they are too hot. Chicks that are evenly spread and active are comfortable.
Step 8: Fix ventilation, humidity and litter. Good airflow removes moisture, heat and ammonia. If you smell ammonia when you walk in, or your eyes sting, the birds are suffering too. Open vents, add fans where possible, and avoid drafts directly on young chicks. Keep the litter dry and crumbly, stir it regularly, fix leaking drinkers, and add fresh dry litter where it cakes. Wet, dirty litter causes skin irritation and bare patches, and increases disease.
Step 9: Reduce stress and pecking. Keep light intensity moderate, especially after the first week, because very bright light increases activity and pecking. Keep the flock quiet, avoid sudden disturbances, and provide enough space. Some farmers hang objects or scatter fresh material to give the birds something to peck at, and this can help in some systems. Remove and separate injured birds quickly, because pecking spreads once blood appears. If feather pecking is severe, look at the feed and density first, because they are the usual triggers.
Step 10: Rule out disease. Diseases that damage the immune system or reduce growth, such as infectious bursal disease, chicken anemia virus, coccidiosis and others, can delay or damage feather growth. Follow a sound vaccination program for your area, keep strict biosecurity, and call a veterinarian if you see poor growth, unevenness, diarrhea, unusual deaths or a drop in feed intake alongside poor feathering. If birds die, have a few examined at a laboratory or by a vet. Self-medicating the whole flock without a diagnosis wastes money and can create resistance.
Step 11: Consider the strain. Some broiler strains are known to feather more slowly, and there are genetic differences within a strain too. Slow feathering can show as short wing feathers and sparse body cover in early weeks, and it is often more noticeable in some sexes. Check with your hatchery about the feathering characteristics of the strain you are using, and compare notes with other farmers. If you have excluded feed, parasites, stress and disease and the problem still repeats batch after batch, ask about a different strain or supplier.
Step 12: Correct, then record and compare. Once you have made your changes, keep notes on feed batches, stocking density, temperatures, any treatments and what you saw at each week. Compare the feather cover in the next batch with the last. Improvements will often show in the new feathers growing in over the following weeks, since feathers already damaged will not repair themselves. Patterns across several batches are the best evidence of what is really going on.
Warning signs to watch for
Pay attention to bare or thin patches on the back, breast, neck or tail, red or scabby skin, broken and frayed feathers, and birds scratching or pulling at themselves. Watch for birds chasing and pecking others, uneven growth in the flock, damp or caked litter, strong ammonia smell, and lowered feed intake. Bare, shiny patches with healthy skin point toward nutrition or genetics. Red, scratched skin points toward parasites or pecking. Damp, scabby skin points toward litter. If several signs appear together, work through the steps above in order.
What I would do differently if I were starting again today
I would start every batch by checking the basics before the chicks arrived: a clean, dry, disinfected house, tested heating, fresh litter, working drinkers and feeders, and a feed formulation I had actually compared with the strain’s guidelines. I would stock a little lighter than I used to, and I would take temperature and ventilation seriously from the first day. I would also keep a simple notebook of every batch, so I could see patterns instead of guessing, and I would call a vet or poultry nutritionist at the first sign of trouble instead of after the third bad batch.
Feathering is a message from the birds, not a mystery. Farmers who learn to read it fix problems early and rarely repeat them.
FAQ
What causes poor feathering in broilers?
The main causes are inadequate protein or amino acids in the feed, stress and crowding leading to feather pecking, external parasites, poor brooding temperature and ventilation, wet litter, disease or toxins that slow growth, and genetics.
Which nutrient is most important for feather growth?
Protein is essential, and sulfur-containing amino acids such as methionine and cystine are especially important because feathers are made of keratin, which is rich in them. Biotin, zinc and some other vitamins and minerals also support feather and skin health.
How can I tell feather pecking from poor feather growth?
Pecking usually leaves broken or frayed feathers, red or bloody skin, and birds chasing or picking at others, while poor growth shows as feathers that never developed properly. Close observation of behavior and skin condition helps tell them apart.
Can wet litter cause bare patches on broilers?
Yes. Wet, dirty litter irritates the skin and can cause scabby, bare patches on the breast and hocks. Keeping the litter dry and fixing leaking drinkers prevents this.
Is slow feathering genetic?
It can be. Some strains feather more slowly than others, and slow feathering is a known genetic trait. If you have ruled out feed, parasites, stress and disease and the problem keeps appearing, ask your hatchery about the strain.
Bookmark this
Poor feathering is the flock talking: fix the feed, the air, the space and the parasites, and the feathers will follow.ย