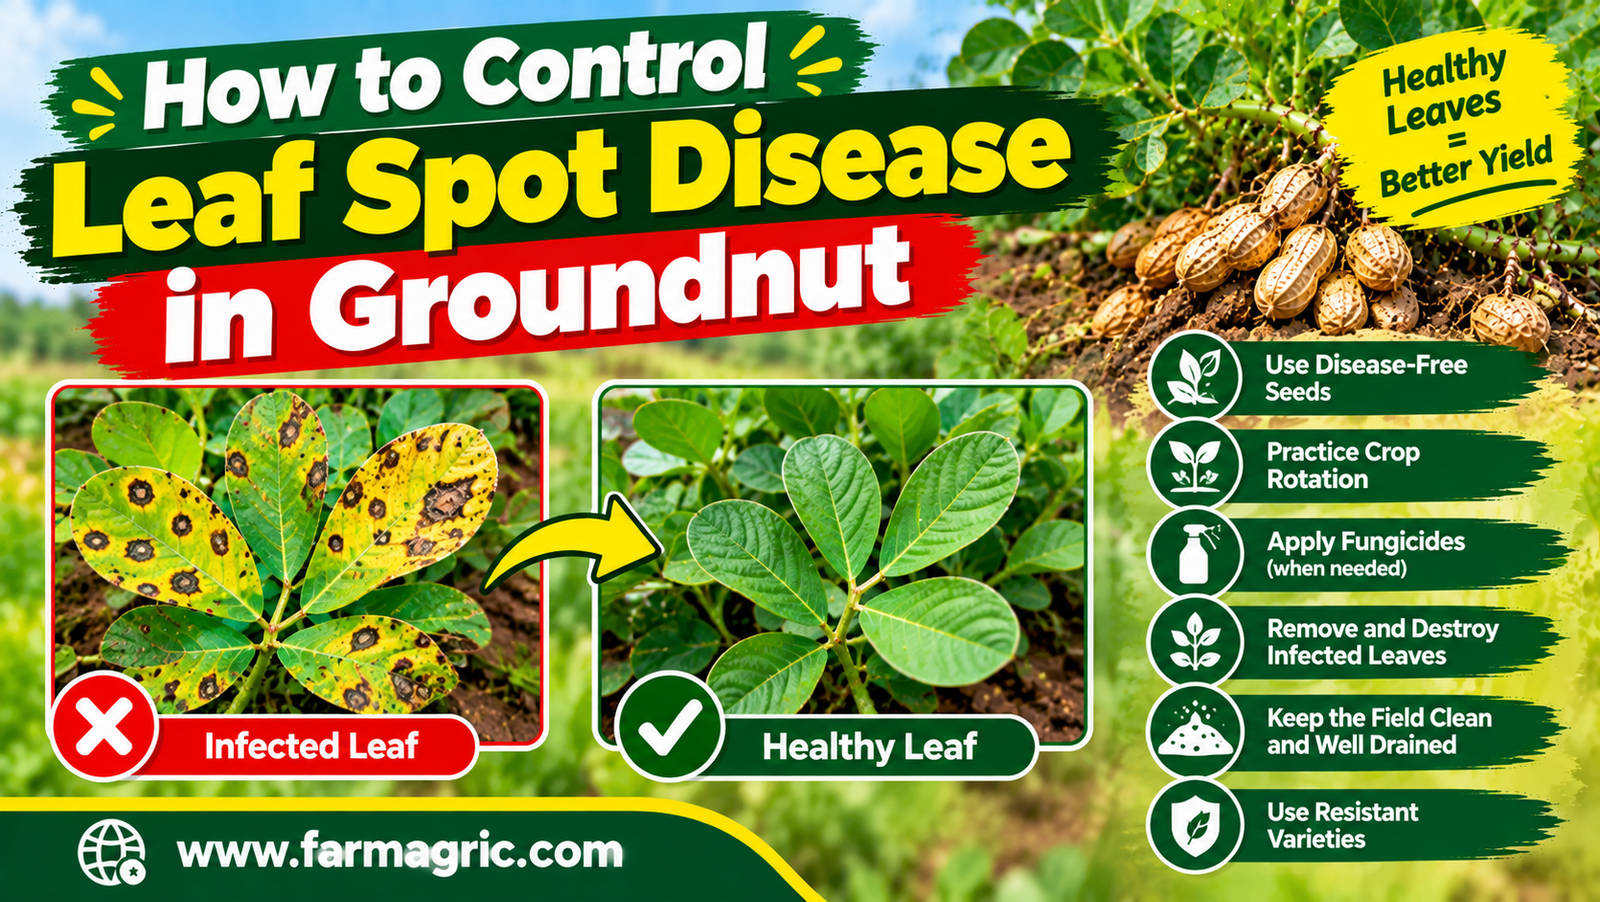
How to Control Leaf Spot Disease in Groundnut
How to Control Leaf Spot Disease in Groundnut
I once stood at the edge of a groundnut field in the ninth week and thought the crop looked a little tired. A few brown spots on the lower leaves, nothing dramatic. Two weeks later the plants were half bare, the leaves were falling in drifts between the rows, and when I dug, a lot of pods stayed behind in the soil because the stems had weakened and snapped. I had lost close to a third of the crop to something I had called “a bit of spotting.” That season taught me that leaf spot is slow, quiet, and expensive, and that the farmer who waits to see the damage has already waited too long.
Here is the plain answer. Leaf spot in groundnut is caused by two closely related fungi that live on old crop residue and volunteer plants, and spread by wind and rain splash in warm, humid weather. You control it by combining several habits: plant resistant or tolerant varieties, rotate with cereals, destroy old residue and volunteers, plant at the right time and spacing, and begin a protective fungicide program around four to six weeks after planting, before the disease takes hold. Once most leaves are spotted, spraying cannot bring them back, so timing matters more than the product.
The short version of what I do is this. I clear last season’s groundnut trash, never plant groundnut after groundnut, choose a variety with some tolerance, plant at a sensible spacing so air moves through the crop, scout weekly from the fourth week, and spray a recommended fungicide on a schedule that starts early. The rest of this article explains how to recognize the disease, what most farmers get wrong, and how to put the control steps into practice.
What Most Farmers Get Wrong
The first mistake is ignoring the early spots. Because the first spots appear on the older, lower leaves, farmers dismiss them. But every spot produces thousands of spores that blow and splash to the leaves above and to the plants next door. By the time the whole canopy is spotted, the disease has been multiplying for weeks.
The second mistake is spraying only after the leaves are falling. Fungicides protect healthy leaf tissue. They do not repair a leaf that is already dying, so a late spray is mostly money wasted. The farmers who get good results begin before the disease is serious.
The third mistake is planting groundnut in the same field year after year. The fungi survive on dead leaves and stems left in the field, and on volunteer groundnut plants that sprout from missed pods. Planting groundnut into that ground is like putting seed into a field already carrying the infection.
The fourth mistake is leaving the residue. After harvest, many farmers leave the vines and fallen leaves in the field, or pile them at the edge next to the next season’s plot. Those trash piles are a spore bank.
The fifth mistake is planting too late or too densely. A late crop meets the humid, spore-heavy weeks of the season at its most vulnerable stage. Over-crowded plants stay wet after rain and dew, and the disease loves that.
The sixth mistake is mixing up leaf spot with other problems. Not every brown spot is leaf spot, and a wrong diagnosis leads to the wrong spray. Rust, drought stress, nutrient shortage, and pest damage can all look similar from a distance.
Know What You Are Looking At
There are two common forms, and they often occur together in the same field.
Early leaf spot shows as roundish spots, light to reddish brown, usually with a clear yellow ring or halo around them. The spots are often most visible on the upper surface of the leaf. They start small and grow, and in warm, wet weather they merge into larger patches.
Late leaf spot gives darker spots, brown to nearly black, usually without a strong yellow halo or with only a faint one. They are often more obvious on the underside of the leaf, where the surface looks rough and speckled with tiny dark spore clusters. Late leaf spot tends to cause heavier defoliation and is the more damaging of the two in many areas.
In both cases the damage comes from lost leaf area. Spots reduce the plant’s ability to feed the pods, and heavy infection makes leaves yellow and drop. Stems and pegs can be spotted too, and weakened pegs break at harvest, leaving pods in the ground.
Groundnut rust is the main look-alike. Rust produces small orange-brown pustules, often on the underside of leaves, which release a rusty powder when rubbed. If you find powdery orange pustules, you are dealing with rust, not leaf spot, though many of the control steps overlap. If you are not sure, take a few fresh leaves in a paper bag to your extension officer or a research institute.
Choose Tolerant Varieties and Clean Seed
A variety with some tolerance to leaf spot will not be immune, but it will lose less yield and take longer to build up the disease. Plant breeders in Africa and elsewhere have released groundnut varieties with partial resistance to leaf spots and rust, but what is available differs from country to country. Ask your extension office, research institute, or certified seed dealer what is recommended in your area, and buy certified seed instead of unlabeled seed from a market heap.
Early maturing varieties can also help, since a crop that finishes sooner has less exposure to the humid late-season weeks. Do not choose a variety on tolerance alone, though. It must also suit your rainfall, your soil, and your market.
Rotation, Residue, and Volunteers
Rotation is one of the cheapest controls. Do not plant groundnut after groundnut. Grow a cereal such as maize, sorghum, or millet in between, ideally for at least two seasons before groundnut returns to that ground. Cereals do not carry the leaf spot fungi, so the spores on old residue slowly die out. Where land is short and rotation is hard, even one season of a different crop helps.
Clean up after harvest. Collect the groundnut vines and fallen leaves. If you feed the vines to livestock as hay, store them away from the next groundnut field. Otherwise bury, burn, or compost the residue thoroughly. Do not leave heaps beside the plot where you will plant next.
Pull out volunteer groundnut plants that sprout from forgotten pods before the new crop is planted. These volunteers are often the first infected plants of the season, and they pass spores to the new crop. Also keep the field and borders free of weeds that slow air movement and keep the leaves damp.
Avoid planting a new groundnut field right next to an old one that is already full of diseased plants, especially downwind. Spores travel on wind and rain.
Planting Time, Spacing, and Field Conditions
Plant at the first dependable rains, so the crop is well developed before the disease reaches peak pressure. A late planting meets the heaviest spore load while the plants are young and soft.
Spacing is a balance. Groundnut does best with a reasonably close stand, as I explained for rosette and yield, but a very crowded canopy that stays damp after rain invites leaf spot. Stay within the recommended range for your variety, usually around 45 to 50 centimeters between rows and 10 to 20 centimeters between plants for common types, and avoid pushing density beyond that. Straight rows with even plant spacing let air move and leaves dry faster.
Keep the soil healthy. Plants that are stressed by drought, weeds, or poor nutrition are more vulnerable. Apply calcium as gypsum at flowering if recommended in your area, since good pod filling helps the plant carry some leaf loss without such a heavy yield penalty. Avoid heavy nitrogen, which produces soft, lush foliage that the fungus likes.
Weed early and keep the field clean through the season, being careful not to disturb the soil once the pegs begin to enter it.
Scouting: Catch It Before It Spreads
Begin scouting about three to four weeks after planting, and repeat weekly. Walk a zigzag across the field and look at the lower and middle leaves of at least twenty plants in different places. Check both sides of the leaves. Look for the first small spots with or without a yellow halo, and note whether they are on only a few plants or spreading.
Weather is a guide. Spots multiply fast during warm weather with frequent rain, heavy dews, or fog. After a few humid, drizzly days, check the field more often than usual.
If you find spots on a few lower leaves, that is your signal to begin protection if you have not already. If you find them on most plants and the upper leaves are being hit, you are already behind, and you should act at once to protect what remains.
Fungicide Use
Fungicides do not cure existing spots, but they protect new growth. Where leaf spot is a regular problem, a spray program is often worth the cost. Many recommendations call for a first spray about four to six weeks after planting, or at the first sign of spots, followed by repeat sprays every 10 to 14 days during humid weather, usually for two to four applications depending on the season.
Several types of fungicide are commonly used on groundnut, including protectant products and systemic products. Which ones are approved, legal, and available in your country differs, so ask your extension office or a trusted agro-dealer for the products registered for groundnut in your area. Read the label carefully for the correct rate, water volume, spray interval, and the number of days to wait before harvest. Groundnut vines are often used as animal feed, so the waiting period matters for them too.
Good coverage is important. Spray the underside of the leaves as well as the top, since late leaf spot often shows there. Spray in the cool part of the day, avoid spraying just before rain, and wear protective clothing. Rotate between different types of fungicide, as the label advises, so the fungus does not become resistant. Buy only from reputable shops, since fake or diluted chemicals are a real problem and a failed spray costs you the whole season.
If money is limited, spray the fields where yield matters most, start on time, and do the first two sprays properly instead of spreading a thin effort across the entire farm.
Harvest Timing
Do not let a defoliated crop stand too long. When leaf spot has stripped the plants, stems weaken and pegs break more easily, and pods are left in the ground. Check maturity by pulling a few plants and examining the pods. If the crop has lost most of its leaves and the pods are mature, harvest promptly, lift carefully, and collect fallen pods.
Dry the pods quickly on clean sheets, as I described for aflatoxin control, and handle the vines carefully. Disease-damaged plants can also be more vulnerable to storage problems if pod filling was poor.
Step-by-Step Practical Plan
If I were planning your next season, it would run like this.
After harvest, collect and destroy groundnut residue, and keep the field clear of volunteers.
Rotate with a cereal for at least one, and preferably two, seasons before returning to groundnut.
Choose certified seed of a variety with some tolerance to leaf spot and rust, suited to your area.
Plant at the first dependable rains, using the recommended spacing, and keep the stand even.
Apply gypsum at flowering if advised, and avoid heavy nitrogen.
Begin weekly scouting at three to four weeks, checking both sides of the lower and middle leaves.
Start your fungicide program at the first spots or at four to six weeks, and repeat at the label interval during humid weather.
Rotate fungicide types and respect the waiting period before harvest.
Harvest on time and collect the residue again afterward.
Warning Signs to Watch For
Small brown spots on the lower leaves are the first warning, even if only a few plants show them. Yellow halos around reddish brown spots point to early leaf spot. Dark, almost black spots with rough speckles on the underside point to late leaf spot. Leaves yellowing and dropping from the bottom of the plant upward show the disease is advancing. Spots on stems and pegs mean heavy infection. Orange powdery pustules suggest rust instead. Humid weather, heavy dews, and several days of drizzle mean you should check the field immediately.
If you see any of these, act that week, not next month.
What I Would Do Differently If Starting Again Today
If I were starting fresh, I would treat leaf spot as something I plan for, not something I discover. I would rotate every season without exception, and clear the field of old vines and volunteers before the first rains. I would buy a tolerant variety and set aside a small budget for fungicide before planting, so that I was never trying to find money while the leaves were already falling. I would scout every week from the fourth week and keep a notebook of the first spot date, spray dates, and yield, so I could improve the timing every year.
I would also stop trusting the look of the crop from the road. The disease begins on the lower leaves, where you cannot see it from a distance, and the farmer who walks the rows and turns the leaves over beats the one who waits for the field to look sick.
FAQ
What causes leaf spot in groundnut?
Two fungi, one causing early leaf spot and one causing late leaf spot. They survive on old groundnut residue and volunteer plants and spread by wind and rain splash, especially in warm, humid weather.
Can leaf spot be cured once it appears?
Spots that have already formed cannot be reversed. Fungicides and good management protect new leaves and slow the spread, which is why starting early is so important.
When should I start spraying groundnut for leaf spot?
Many programs start around four to six weeks after planting, or at the first signs of spots, then repeat every 10 to 14 days in humid weather. Follow the label and your local extension advice.
How much yield can leaf spot cost me?
In bad seasons and untreated fields, losses can be very large, often a third or more of the crop and sometimes much higher. Early control and tolerant varieties reduce the loss.
Can I feed leaf spot infected groundnut vines to animals?
Vines with leaf spot are usually safe to feed if they are dry and free from mold, but vines from fields sprayed with fungicide should only be fed after the waiting period on the label. Do not feed moldy vines or nuts, because of the risk of aflatoxin.
The Advice Worth Bookmarking
Leaf spot is won with the spade and the calendar, not the sprayer alone. Clean the field, rotate the crop, and start protecting before the first spot becomes a thousand.