How to Know When Yam Is Ready for Harvest
How to Increase Yam Tuber Size
My second year farming yams, I planted a whole field with small, cheap seed yams and let the vines crawl on the ground. By harvest, I had hundreds of tubers the size of a man’s forearm, when buyers were asking for the big ones. The buyer paid for size, and I had nothing to sell him. That season taught me that big yams are not an accident. They are built from the day you choose the seed.
Here is the direct answer. To increase yam tuber size, plant a healthy, properly sized seed yam (setts of roughly 200 to 500 grams for most varieties) on a tall, loose mound in deep, well-drained soil, plant early enough to use the full rainy season, stake the vines so the leaves catch sunlight, keep the field weed-free, feed with a balanced fertilizer that is rich in potassium without overdoing nitrogen, and protect the plant from nematodes, beetles, and virus. Variety and soil set the ceiling, but these habits decide how close to that ceiling you get.
That is the short version. Now let me walk you through what has worked for me over 30 years.
What Most Farmers Get Wrong
The biggest mistake is planting tiny seed yams to save money. A small sett carries little food, so the young plant starts weak and spends the season catching up. The tuber it produces is usually smaller too. The money saved at planting is lost at harvest, and the loss is bigger.
The second mistake is flat planting or low mounds. Yam tubers need loose soil to swell. When the soil is hard or shallow, the tuber twists, forks, or stays small. A tall, well-made mound gives it room to grow down and out.
The third mistake is leaving vines on the ground. A yam plant makes its food in its leaves. Vines sprawling on the soil bunch up, shade each other, catch disease, and capture less sunlight. Staked vines climb into the light, and more light means more food sent down to the tuber.
The fourth mistake is feeding with too much nitrogen. A farmer sees weak vines and pours on urea. The plant makes a jungle of leaves and a modest tuber. Yams need balance, and potassium especially helps tuber filling.
The fifth mistake is planting late and hoping for the best. A yam plant needs months of good growing weather to bulk up. Plant it late, and the dry season catches it before the tuber is done.
The sixth mistake is ignoring pests and disease underground. You cannot see nematodes, and they can quietly shrink a crop by damaging the tuber and the roots. A farmer who never checks will blame the weather.
What Decides How Big a Yam Gets
Four things work together, and you control most of them.
The variety. Some yam varieties naturally produce bigger tubers than others. Choose a variety known for good size in your area, and one that your buyers want.
The seed. Healthy, well-sized, disease-free seed yam gives a strong start.
The soil and water. Deep, loose, well-drained, fertile soil with steady moisture lets tubers swell.
The care. Staking, weeding, feeding, and pest control during the 6 to 8 months of growth.
If you get all four right, size follows. If one is wrong, the others cannot fully make up for it.
Step-by-Step: How I Grow Bigger Yams
Step 1: Choose the right field. Pick well-drained land with deep, loose, loamy soil that is rich in organic matter. Avoid places that flood or hold water, because wet feet cause rot. Avoid heavy clay that sets like cement. Do not plant yam where yam, or related crops that carry the same pests, grew last season. I rotate with maize, sorghum, or legumes so that nematodes and soil diseases do not pile up.
Step 2: Prepare the land early. I clear and till well before planting, and I add compost or well-rotted manure to the soil. Organic matter loosens the ground and feeds the plant slowly through the long season. A tuber growing in crumbly, rich soil swells much better than one pushing through hard ground.
Step 3: Build proper mounds or ridges. Make mounds roughly knee-high or a little more, about 1 meter apart in each direction for the common spacing, though your variety and local advice may differ. Break up the soil well and remove stones, roots, and clods. A loose, tall mound is the single biggest gift you can give a yam tuber.
Step 4: Select quality seed. Use seed yams or setts from healthy, mature plants with no rot, no sunken patches, and no signs of nematode damage. For many farmers, setts of about 200 to 500 grams give a strong start, while very small pieces give weak plants. Larger setts usually give larger tubers, but cost more, so find the balance for your budget and your market.
Step 5: Cure and treat the seed. After cutting, let the setts dry in the shade for a day or two so the cut surfaces heal. Dusting the cut ends with dry wood ash helps. Where a registered fungicide or insecticide dip is recommended in your area, follow the label exactly. Planting wet, freshly cut pieces invites rot.
Step 6: Plant at the right time. Plant early in the season so that the crop has the maximum rainy months to grow. Place the sett a few centimeters deep on the mound with the cut side up or according to your local practice, and cover with loose soil. I check for sprouting, and if a sett fails, I replace it quickly.
Step 7: Mulch the mound. Cover the mound with dry grass, leaves, or crop residue. Mulch holds moisture, keeps soil cooler, and reduces weeds. It also protects the young shoot from the sun during early growth.
Step 8: Stake the vines early. Once the vine appears, usually within a few weeks, give it a strong stake or a trellis about 2 to 3 meters tall. Tie it gently so it climbs. A vine that reaches the sunlight can feed the tuber far better than a vine lying in the dirt. This is one of the cheapest ways to improve tuber size, and one of the most ignored.
Step 9: Keep one strong vine. If several shoots come from one sett, I keep the strongest and remove the weaker ones. The plant puts its energy into one good vine and one good tuber, and not many small ones.
Step 10: Weed carefully. Weeds compete for water, light, and nutrients, especially in the first 3 months. I weed by hand or with a light hoe, and I am careful not to cut into the mound or damage the shallow roots. Deep hoeing near the tuber causes wounds and rot.
Step 11: Feed the plant properly. After the vine is established, I apply a balanced fertilizer, and I lean towards potassium during tuber filling. I use a split approach: a modest dose a few weeks after sprouting, and a second dose later in the season. Place fertilizer in a ring around the mound, a hand’s width from the vine, and cover with soil. Do not overdo nitrogen. Soil testing, or advice from your local extension office, tells you the right rate for your field, because soils differ a lot.
Step 12: Keep the water steady. Yams need regular moisture while the tuber is swelling. In a dry spell, water at the base. Avoid flooding the mound, because standing water rots the tuber. Mulch helps both ways, holding moisture in dry weather and protecting the mound in heavy rain.
Step 13: Watch for pests and disease. Inspect the leaves weekly. Yellow, twisted, or mottled leaves may signal virus or nutrient problems. Check for yam beetles and scale insects, and control them early. Remove and destroy badly diseased plants so they do not infect neighbors. Underground, nematodes are the quiet thief, so rotation, clean seed, and organic matter are the main defenses.
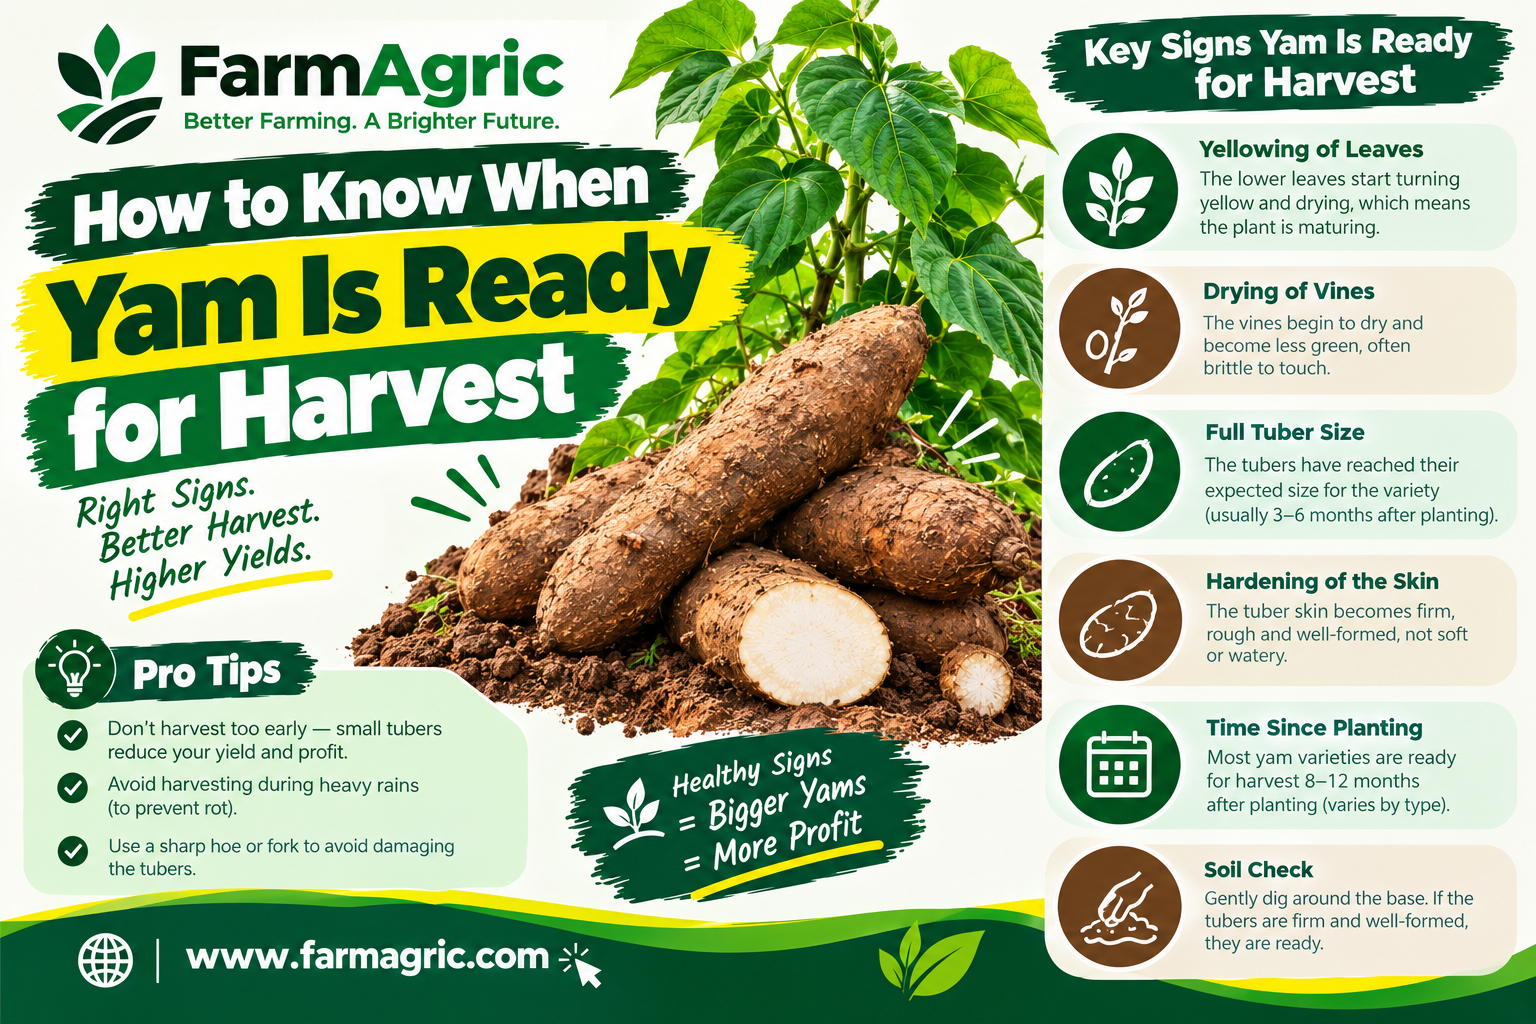
Step 14: Harvest at the right time. Let the tuber finish growing. For tubers meant for storage, wait until the vines have dried and the skin is firm, as I explained in my storage article. Harvest too early, and you cut growth short, giving up size you worked all season to earn.
About Double Harvesting and Early Harvest
Many farmers in yam country do an early harvest from the same plant, often called “milking.” You dig carefully, remove the first tuber, and let the plant produce a second, smaller one. This gives you a quick sale, but it usually reduces the size and quality of the final tuber.
If your goal is large, store-ready tubers, I avoid milking on the plots I want to be big. I may milk a small portion for early cash and let the main field grow undisturbed. Decide what each plot is for, and do not mix the goals.
What About Fertilizer Types?
Farmers always ask me for one magic fertilizer. There is none, but here is how I think about it.
Organic matter such as compost or well-rotted manure improves soil structure and feeds slowly. It is the foundation of big tubers, and I use it every season.
Nitrogen helps vine growth early, but too much late in the season produces leaves at the tuber’s expense.
Phosphorus supports root development, which is useful early on.
Potassium supports tuber filling and quality, so it matters during the swelling months.
Wood ash carries some potassium, and many smallholders use it as a low-cost supplement, but do not overuse it on soil that is already alkaline.
Because rates depend on your soil, your variety, and your local conditions, I recommend a soil test and advice from your local agricultural extension officer before spending heavily on fertilizer.
Warning Signs Your Tubers Will Stay Small
Watch for these during the season.
Weak, thin vines that stop climbing. The plant is starved of food, light, or water.
Yellowing leaves early in the season. This may point to nutrient shortage, waterlogging, or disease.
Leaves that are small, mottled, curled, or distorted. This can be virus, which weakens the plant and shrinks the tuber.
Vines dying back too early. If the vine dries long before the usual time, the tuber has not had enough time to fill.
Wilting in the heat despite moist soil. Look for root damage, rot, or nematodes.
Cracked, hard, or compacted mounds. The tuber is struggling to push through.
Heavy weed cover. The weeds are taking the food that should go into the tuber.
If you spot these early, you can still correct the problem. Water, feed, weed, or remove diseased plants before the damage becomes permanent.
What I Would Do Differently If Starting Again Today
I would never again plant poor, undersized seed to save a little money. Good seed is the cheapest investment in the whole season.
I would stake every single plant from the start. In my early years, I staked only some, and the difference at harvest was clear. The staked plants carried the bigger tubers.
I would test my soil before planting and feed with a plan, not a guess. Random fertilizer wastes money, and sometimes harms the crop.
I would rotate crops strictly. Planting yam after yam on the same ground fed pests and disease for years, and I paid for it every season.
I would keep a record for each field. Variety, planting date, seed size, fertilizer, and harvest result. After 2 or 3 seasons, the notebook shows exactly which choices give the biggest tubers on my land.
And I would try a small side-by-side test each year. For example, half a plot with larger setts and half with smaller ones, or one section staked early and another late. Small experiments teach you what works on your own soil, which no leaflet can fully do.
Frequently Asked Questions
Does seed yam size affect tuber size?
Yes, in general. Larger, healthy setts give the plant more stored food at the start, which usually leads to stronger growth and bigger tubers. Very small setts often produce small tubers, though the best size depends on your variety and budget.
Does staking really make yams bigger?
In my experience, yes. Staking lifts the vine into the sun, improves airflow, reduces disease, and lets the leaves make more food for the tuber. Plants left on the ground generally do worse.
What fertilizer is best for big yams?
A balanced fertilizer with good potassium, together with compost or manure, works well. Avoid too much nitrogen, and base your rates on a soil test or local extension advice.
How many months does a yam need to produce a big tuber?
It depends on the variety and the climate, but most yams need roughly 6 to 9 months for the main harvest. Cutting that time short reduces size.
Can I make small yams bigger after planting?
You cannot fully fix a bad start, but you can still help by staking, weeding, correcting nutrient shortages, watering in dry spells, and controlling pests. The earlier you act, the more it helps.
Why are my yams long and thin instead of big and round?
Often the soil is hard, shallow, or full of stones, so the tuber grows in the path of least resistance. A tall, loose mound and deep tillage usually improve the shape. Variety also plays a role.
The Advice Worth Bookmarking
Big yams are not grown in the last month. They are built in the first week, in the seed you choose, the mound you shape, and the stake you plant. Do the early work well, and the soil will pay you back with interest at harvest.