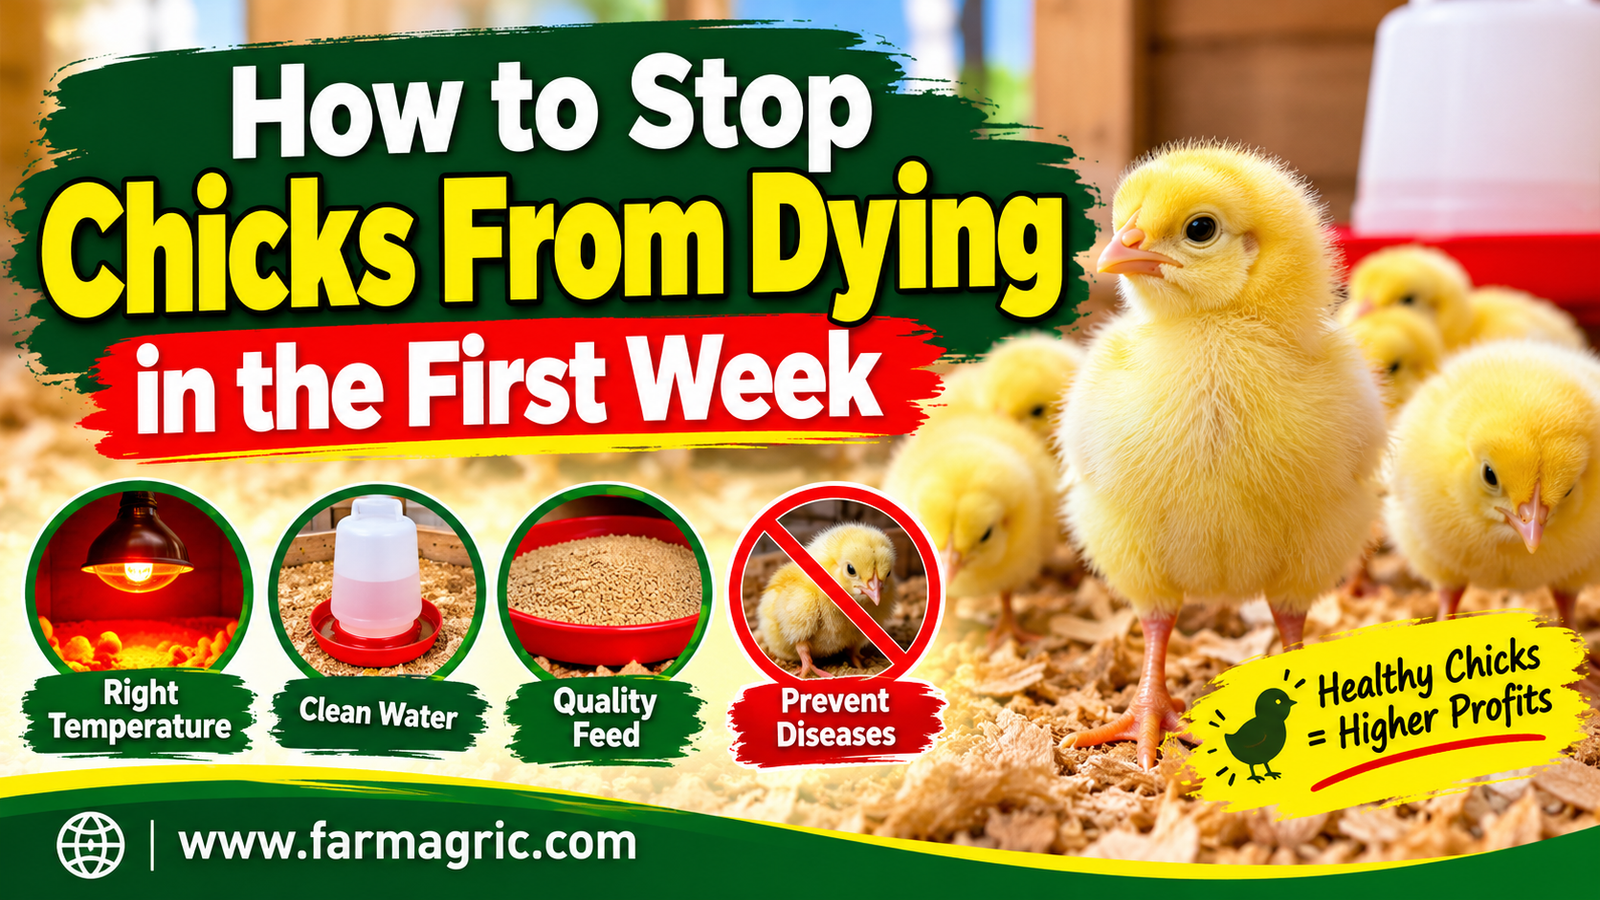
How to Stop Chicks From Dying in the First Week
How to Stop Chicks From Dying in the First Week: A Farmer’s Guide to Getting Through the Most Fragile Days
I lost nearly a third of a batch of two hundred day-old chicks once within their first five days, and what made it so frustrating was that I had done the thing most new poultry keepers are told matters most, I had bought healthy-looking chicks from a source I trusted. What I had not paid nearly enough attention to was the brooder itself, the temperature swinging more than I realized overnight, the feeder and drinker setup crowding chicks together in ways that let the weaker ones get pushed away from both food and warmth, and a draft along one side of the brooder that I only discovered when I finally crouched down to chick height and felt it myself. That loss taught me something that has stuck with me through every batch since, that the first week of a chick’s life is decided far more by the environment I build for it than by anything inherent in the chick itself, and that most first-week deaths are entirely preventable once you understand what is actually killing them.
So let me answer you straight, because I know you have chicks dying in those first critical days and you are trying to figure out what is going wrong before you lose the rest of the batch. Chicks die in the first week mainly from chilling due to inadequate or inconsistent brooder temperature, dehydration and starvation from chicks that fail to find feed and water quickly enough after arrival, overcrowding that lets weaker chicks get pushed away from heat and resources, omphalitis or yolk sac infection from poor hatchery hygiene or a dirty brooder, and smothering from chicks piling on top of each other when they are too cold, and stopping the losses means getting the brooder environment genuinely right from the very first hour rather than assuming healthy chicks will simply manage on their own once they arrive. A day-old chick has almost no ability to regulate its own body temperature and depends entirely on the environment you provide for the first couple of weeks of its life, which means nearly every first-week death traces back to something in that environment rather than to some inherent weakness in the chick itself.
Why the First Week Is So Uniquely Dangerous for Chicks
A newly hatched chick cannot regulate its own body temperature effectively, relying almost entirely on external warmth, normally provided by a mother hen in nature and by a heat source you supply in a brooder, to maintain the body temperature it needs to survive, digest feed properly, and fight off the infections it is naturally vulnerable to during this period. At the same time, a chick’s internal yolk reserve, absorbed just before hatching, provides only a limited buffer of nutrition, generally enough to sustain the chick for roughly the first two to three days of life, which means a chick that fails to find and begin consuming feed and water within that window starts running a genuine deficit it may not be able to recover from. These two vulnerabilities, an inability to self-regulate temperature and a rapidly depleting internal food reserve, combine to make the first week the single period where management mistakes translate most directly and most quickly into dead chicks, which is exactly why the brooder setup matters so much more during this narrow window than it will again at any later stage of the bird’s life.
What Most Farmers Get Wrong
The first mistake, the one behind my own frustrating early loss, is assuming that healthy-looking chicks from a good source will manage reasonably well in whatever brooder setup is readily available, without checking that setup carefully enough for consistent temperature, adequate space, and genuine draft protection at the actual height where the chicks are living.
The second mistake is not confirming that every chick has actually found both feed and water within the first several hours after placement in the brooder, assuming that simply having feeders and drinkers present in the space is enough, when some chicks, particularly if they are stressed from transport, genuinely need to be shown or guided to these resources before they begin using them reliably on their own.
The third mistake is overcrowding the brooder, placing more chicks into a space than it can comfortably hold, which allows stronger, more active chicks to push weaker ones away from the heat source, the feeders, and the drinkers, creating a situation where the weakest chicks in the batch are quietly losing out on exactly what they need most during the period when they can least afford to.
The fourth mistake is not managing brooder temperature with enough precision and consistency, either relying on a heat source that cannot maintain a steady temperature or not checking and adjusting it regularly enough to catch the kind of overnight temperature swings that can chill a whole batch of chicks while nobody is watching.
The fifth mistake is neglecting hygiene in the brooder itself, using bedding, feeders, or drinkers that were not properly cleaned beforehand, or allowing bedding to become damp and soiled during the first week without regular changing, both of which create conditions that favor the bacterial infections responsible for a meaningful share of first-week deaths.
Step-by-Step Plan to Stop Chicks From Dying in the First Week
Prepare your brooder completely before chicks ever arrive, cleaning and disinfecting the space thoroughly, laying down clean, dry bedding, and setting up your heat source, feeders, and drinkers with enough time beforehand to confirm everything is working properly rather than scrambling to finish setup after chicks are already in the box.
Set your brooder temperature to approximately thirty-two to thirty-five degrees Celsius at chick height directly beneath the heat source for the first week, checking this with an actual thermometer placed at the height where chicks will be standing rather than estimating by feel or relying on a reading taken higher up in the brooder space.
Observe chick behavior as your most reliable ongoing temperature guide alongside your thermometer, since chicks huddled tightly together directly under the heat source indicate the space is too cold, chicks spread to the edges of the brooder and panting indicate it is too hot, and chicks spread comfortably and evenly throughout the space indicate the temperature is well set for their current needs.
Check and adjust brooder temperature multiple times a day, including checking overnight during the first few especially critical nights where practical, since temperature swings that happen while nobody is watching are exactly the kind of problem that can chill or overheat a whole batch before a farmer discovers anything wrong the next morning.
Eliminate drafts at chick height specifically, crouching down to check for air movement at the actual level where chicks are living rather than relying on how the space feels while standing, since a brooder can feel perfectly comfortable to an adult while still exposing chicks to a chilling draft along the floor.
Provide adequate space per chick in the brooder, avoiding overcrowding that lets stronger chicks push weaker ones away from heat, feed, and water, and plan for expanding that space as chicks grow over the following weeks rather than keeping them in a fixed, increasingly crowded area throughout the entire brooding period.
Place feed and water within easy reach of every chick immediately upon arrival, using a shallow feeder and drinker specifically designed for day-old chicks, and check within the first few hours that chicks are actually finding and using both, gently dipping a few beaks toward the water if chicks seem slow to discover it on their own.
Use a feed specifically formulated for day-old and young chicks, checking that it is fresh, free of mold, and appropriate for this early life stage rather than assuming any poultry feed will serve the purpose adequately during this particularly sensitive period.
Ensure drinkers are clean and refilled with fresh water regularly throughout each day, since chicks are highly vulnerable to the bacterial contamination that can build up quickly in a dirty or stagnant water source, and dehydration combined with contaminated water intake can compound quickly into serious illness during the first week specifically.
Check bedding daily and change or add fresh material as needed to keep the brooder floor reasonably dry, since damp, soiled bedding creates exactly the kind of environment that favors the bacteria responsible for omphalitis and other early infections, particularly around the still-healing navel area of very young chicks.
Inspect chicks individually during the first couple of days where practical, checking for a properly healed navel, since an open or infected navel area is a common entry point for the bacterial infections responsible for a meaningful share of early chick deaths, and isolating any chick showing swelling, discoloration, or discharge at this site for closer monitoring or treatment.
Monitor for pasty butt, a condition where droppings stick to and block the vent area, particularly common in stressed chicks during the first few days, checking chicks individually and gently cleaning any blocked vent with a warm, damp cloth promptly, since an untended blockage of this kind can become fatal within a short period.
Reduce handling and stress during the first few days beyond what is necessary for checking and caring for the chicks, since excessive handling, noise, or disturbance during this already vulnerable period adds additional stress on top of everything else the chicks are already adjusting to.
Remove any dead chicks promptly upon discovery, and where a pattern of multiple deaths emerges, examine the brooder conditions immediately, checking temperature, crowding, feed and water access, and bedding condition rather than assuming the losses are simply an unavoidable part of raising chicks.
Warning Signs to Watch For During the First Week
Chicks huddled tightly together in a single clump directly under the heat source, peeping loudly and persistently, signal that the brooder is too cold and needs an immediate temperature adjustment before chilling leads to more serious illness or smothering from chicks piling on top of each other. Chicks spread out along the edges of the brooder, away from the heat source, with wings held slightly away from their bodies and showing open-mouth breathing, indicate the space is too hot and needs prompt adjustment in the opposite direction. A chick that is visibly smaller, weaker, or slower moving than its batchmates, often getting pushed aside at the feeder or drinker by more active chicks, deserves separate, closer attention and possibly a temporarily isolated space with easier access to warmth and resources. Droppings stuck to and blocking the vent area, sometimes visible as a hardened clump at the base of the tail, require prompt gentle cleaning to prevent this blockage from becoming fatal. And a chick found lethargic, unresponsive, or struggling to stand, particularly alongside others in the batch showing similar signs, signals a problem significant enough to warrant an immediate, thorough check of brooder temperature, crowding, and hygiene rather than treating it as an isolated, unrelated incident.
What I’d Do Differently If Starting Again Today
If I were starting over, I would crouch down to chick height and personally check for drafts and actual temperature at that level before ever placing a single chick into a brooder, rather than trusting that a space which felt comfortable to me standing above it would be equally comfortable for chicks living right at floor level. I would check brooder temperature far more frequently through the day and especially overnight during those first critical nights, since I now understand how much damage an unnoticed overnight temperature swing can do to a whole batch before anyone discovers anything is wrong. I would personally confirm that every chick had found feed and water within the first few hours rather than assuming the mere presence of feeders and drinkers was doing that job on its own. I would provide more generous space per chick from the very start rather than crowding a brooder more tightly than it could comfortably support, understanding now how directly that crowding let my weakest chicks quietly lose out on exactly what they needed most. And I would check bedding and overall brooder hygiene daily without fail, recognizing now how much that consistent attention protects against the kind of bacterial problems that a damp, neglected brooder floor can quietly build up within just the first few days.
Frequently Asked Questions About Chicks Dying in the First Week
What temperature should a chick brooder be in the first week? The brooder should be maintained at approximately thirty-two to thirty-five degrees Celsius at chick height directly beneath the heat source during the first week, checked with an actual thermometer placed at the level where chicks are standing rather than estimated by feel, since even small, unnoticed temperature swings can seriously harm very young chicks.
How can I tell if my chicks are too cold or too hot in the brooder? Chicks huddled tightly together directly under the heat source and peeping loudly indicate the brooder is too cold, while chicks spread out along the edges of the space, panting with wings held away from their bodies, indicate it is too hot, and chicks spread comfortably and evenly throughout the brooder generally indicate the temperature is well set.
Why do chicks die within the first few days even when they looked healthy on arrival? Day-old chicks cannot regulate their own body temperature and depend entirely on the environment provided for them, and their limited internal yolk reserve only sustains them for roughly the first two to three days, meaning a chick that is chilled, overcrowded, or that fails to find feed and water quickly enough can decline rapidly despite looking perfectly healthy when it first arrived.
What is pasty butt in chicks and why is it dangerous? Pasty butt is a condition where droppings stick to and block the vent area, often caused by stress during the first few days of life, and if left untreated this blockage can prevent normal droppings from passing, which can become fatal within a relatively short period, making daily checking and prompt gentle cleaning of any affected chicks important.
How much space do chicks need in a brooder during the first week? Chicks need enough space to move freely between the heat source, feeders, and drinkers without the stronger chicks crowding out weaker ones, and this space requirement increases steadily as chicks grow, so a brooder that felt adequately spaced on day one may already be too crowded by the end of the first week if space is not expanded accordingly.
If there is one thing I want you to remember from all this, it is that a day-old chick is almost entirely at the mercy of the environment you build for it, so get down to its level, feel for the draft it feels, check the temperature where it actually stands rather than where you stand, and confirm with your own eyes that it has found the food and water it cannot survive long without, because the batch I lost a third of that first hard week was never failed by the chicks themselves, it was failed by a brooder I had not yet learned to see the way a chick actually experiences it.