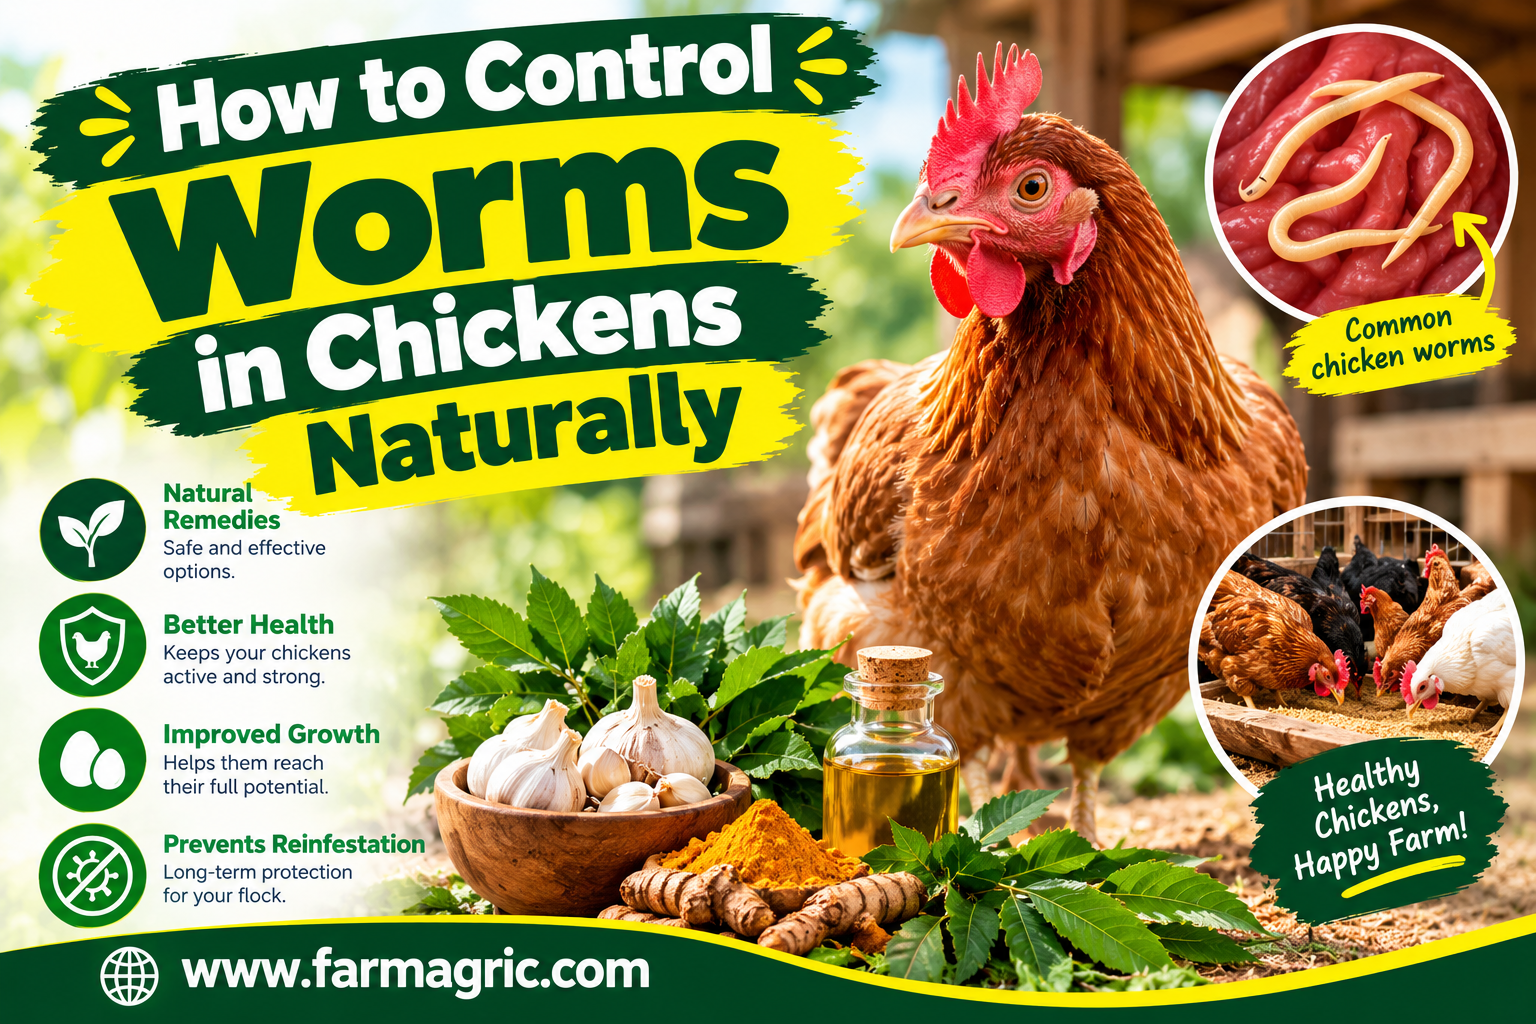
How to Control Worms in Chickens Naturally
How to Control Worms in Chickens Naturally
I used to think a chicken with worms would look obviously sick. In my early years I walked past a whole run of hens that looked fine at a glance, and only noticed something when egg numbers slipped and a few birds started standing apart with ruffled feathers and pale combs. When I finally looked closely at the droppings of one thin hen, I found a pale, thread-like worm lying in plain sight. The worms had been there for weeks. The flock had been quietly paying for them in lost eggs and lost weight, and I had been blaming the weather.
Here is the direct answer. You control worms in chickens naturally by breaking the worm life cycle, because most worms spread when chickens eat eggs from droppings, or eat beetles, snails, slugs or earthworms that carry the worm. That means keeping litter dry and clean, removing droppings often, rotating and resting ground the birds use, keeping feeders and drinkers off the ground and clean, controlling flies and beetles, feeding well so birds resist infection, and quarantining new birds. Natural additions like garlic, pumpkin seeds or herbs may play a small supporting role, but the evidence for them is limited and inconsistent, so they should not replace good management. And when a flock is heavily infected, an approved dewormer used correctly is not a failure of natural farming. It is the responsible thing to do.
The rest of this article shows you how to manage worms step by step, and where most farmers go wrong.
The worms you are dealing with
Chickens can carry several kinds of worms, and it helps to know the main ones. Roundworms are the largest, thick pale worms living in the small intestine, and they spread when birds eat worm eggs passed in droppings. Cecal worms live in the blind pouches of the gut, are usually less harmful on their own, but can carry the organism that causes blackhead disease, a serious illness in turkeys and sometimes chickens. Hairworms, also called capillary worms, are very thin and burrow into the lining of the crop, esophagus or intestine, and can cause serious damage in heavy infections. Tapeworms are flat, segmented worms that need an intermediate host such as a beetle, fly, slug or snail, which the chicken eats. Gapeworms live in the windpipe and cause gasping and coughing, and are often picked up from earthworms, slugs or snails.
All of these produce eggs that pass out in the droppings. Some of those eggs become infective in just days in warm, damp conditions, and many can survive in soil and litter for months or longer. That is the key fact. Worm control is about not letting eggs build up where your chickens live and eat.
What most farmers get wrong
They wait for obvious signs. By the time chickens are visibly thin and weak, the worm burden is already heavy. Mild to moderate infections drain performance quietly, with lower egg numbers, poor growth in young birds, and a slow decline in condition.
They deworm on a calendar without checking. Giving a dewormer every few months to everyone, whether or not there are worms, wastes money and can push worms to become resistant. It is better to base treatment on evidence, such as droppings checks and vet advice.
They believe natural remedies are a full substitute. Garlic, herbs, pumpkin seeds, diatomaceous earth and apple cider vinegar are popular, but the scientific evidence that they reliably clear worms is weak or inconsistent. They may have a small role, but they do not make up for poor hygiene or a heavy infection.
They keep chickens on the same dirty ground all the time. A small yard that never gets a rest becomes a worm egg reservoir. The more droppings per square meter, the more eggs, and the higher the chance every bird picks them up.
They let feeders and drinkers sit on wet ground. Wet, dirty spots around waterers become breeding grounds for worm eggs, flies and beetles. Birds drinking from muddy puddles swallow a lot more than they should.
They ignore the intermediate hosts. Tapeworms and gapeworms need beetles, flies, slugs, snails or earthworms to complete their cycle. If you leave piles of damp litter and manure that breed flies and beetles, you keep feeding the cycle.
They mix ages and bring in new birds without quarantine. Young birds are most vulnerable, and new birds can carry worms into a clean flock. Mixing and moving birds without checks spreads the problem.
How worms spread, and where you can break the chain
Understanding the cycle shows you where to act. An infected bird passes eggs in its droppings. The eggs sit in the litter or soil, develop for days to weeks, and become infective. Another bird then eats them directly while pecking at the ground, feed or water, or eats an insect or snail carrying the immature stage. The worms mature inside the bird, begin laying eggs, and the cycle repeats.
You can interrupt this cycle at several points. You can remove eggs by cleaning droppings and keeping surfaces dry. You can reduce survival by exposing the ground to sun and drying. You can reduce contact by resting ground and by raising feeders and waterers. You can reduce intermediate hosts by controlling flies, beetles and slugs. And you can reduce the damage worms cause by keeping birds well fed and low in stress, so that their bodies cope better.
Step-by-step: how to control worms naturally
Step 1: Know your flock’s baseline. Look at your chickens regularly, and note body condition, comb color, droppings, egg production and growth in young birds. Pale combs, weight loss, diarrhea, ruffled feathers, falling egg production, slow growth and birds that stay apart are all possible signs of worms or other problems. Gaping, coughing and head shaking may point to gapeworm. Sometimes you can see worms in the droppings. Many other diseases look similar, so do not assume it is worms. A fecal egg count, done by a veterinarian or laboratory, tells you whether worm eggs are present and how heavy the burden is, and is the best way to decide whether treatment is needed.
Step 2: Keep litter and floors dry and clean. Dry litter is hostile to worm eggs and to the insects that carry them. Fix leaking drinkers, avoid overfilling waterers, ensure good ventilation, and stir or turn the litter regularly so that it dries and the sun and air can reach it. Remove wet, caked patches promptly and replace them with fresh dry litter. Clean out heavily soiled areas completely, and between batches, remove all litter, scrub and disinfect the house, and let it dry and rest before new birds arrive.
Step 3: Remove droppings often. The more often droppings are removed from areas where chickens feed and drink, the fewer worm eggs build up. Clean under roosts, around feeders and drinkers, and in the sleeping areas regularly. Compost the manure properly in a heap away from the birds, since a well-managed hot compost helps kill eggs, and do not spread fresh manure where chickens will forage.
Step 4: Rest and rotate the ground. If your chickens use a run or pasture, divide it into sections and move the birds between them, giving each section a long rest. A rest period of several weeks to months helps reduce worm eggs and larvae through exposure to sun and drying, though some eggs can survive for a long time, so rotation reduces the problem but does not eliminate it. Keep the grass short so that sunlight reaches the soil. Avoid keeping too many birds on a small area, and avoid bare, muddy patches around gates, feeders and waterers. After long wet spells, give extra rest, because worm eggs survive and develop best in damp, warm conditions.
Step 5: Raise feeders and drinkers, and keep them clean. Hang feeders and waterers at back height so birds cannot stand in them or soil them with droppings. Put them on concrete slabs, gravel or wire mesh so that spilled water drains away instead of forming mud. Wash drinkers frequently with clean water. Clean, dry feeding areas reduce the chance of birds swallowing eggs with their feed.
Step 6: Control flies, beetles, slugs and snails. Since tapeworms and gapeworms use these animals, reducing their numbers reduces the risk. Keep litter and manure dry, because flies and beetles breed in damp waste. Remove spilled feed, which attracts insects and rodents. Clear piles of rotting vegetation, damp debris and tall weeds around the house where slugs and snails shelter. Good drainage around the house helps, and so does tidiness.
Step 7: Feed for strength. Birds that eat a complete, balanced ration with enough protein, vitamins and minerals handle worm burdens better. Vitamin A and vitamin E deficiencies have been associated with more severe worm effects, so make sure your feed supplies them. Avoid sudden changes in feed and prevent crowding at feeders so that every bird eats enough. Reduce stress from overcrowding, heat, cold or rough handling, because stressed birds fare worse.
Step 8: Quarantine new birds. Keep new birds separate from your existing flock for at least two to four weeks, watch them closely, and check their droppings. Do not mix young chicks with older birds, because older birds can shed worm eggs, and young chicks are the most vulnerable. Buy birds from clean, reputable sources.
Step 9: Limit contact with wild birds and rodents. Wild birds and rodents can bring worms, parasites and diseases into poultry areas. Keep feed stored in closed containers, remove spilled grain, and use netting or wire where practical to reduce wild bird contact.
Step 10: Use natural supports sensibly. Many farmers add garlic, pumpkin seeds, certain herbs or apple cider vinegar to the diet or water. Some of these have long traditional use, and a few have shown limited effects in laboratory studies, but good evidence of reliable worm control in chickens is thin. Treat them as extras, not as treatments, and never rely on them when birds are sick. Be careful with diatomaceous earth as well. Food-grade diatomaceous earth is often promoted as a natural dewormer, but the evidence for it is mixed, and the dust can irritate the lungs of both birds and people, so avoid creating clouds of it and wear a dust mask when handling it.
Step 11: Deworm properly when you need to. When egg counts are high, or birds show clear signs, use a dewormer approved for poultry in your country, and follow the label and your veterinarian’s advice on dose, duration and repeat treatment. Different products work on different worms, so the right choice depends on what you have. Pay close attention to withdrawal periods, which tell you how long to wait before eating the eggs or meat. Treat the whole flock together when advised, clean the house at the same time because droppings will contain many worms and eggs after treatment, and avoid repeated, unnecessary use that encourages resistance. Using medication when it is needed is part of responsible, humane flock care, not a failure of natural methods.
Step 12: Check again and keep records. After any treatment and management changes, watch the flock for improvement and consider a follow-up egg count to confirm the burden has dropped. Keep notes on cleaning dates, ground rotation, treatments, egg numbers and body condition. Patterns over several months tell you more than any single observation.
Warning signs that call for action
Take action if you see weight loss despite good appetite, pale combs and wattles, diarrhea or droppings with mucus or blood, visible worms in droppings, ruffled, dull feathers, drops in egg production, slow growth in young birds, or birds that stay apart and look weak. Gaping, gasping, coughing and head shaking suggest gapeworm and should be checked quickly. If birds are very sick or dying, contact a veterinarian right away, because worms may not be the only problem and several diseases look alike.
What I would do differently if I were starting again today
I would build worm control into the design of the house and run from the start. I would raise the feeders and drinkers on gravel or slabs, put dry litter and good drainage first, and divide the run so I could rest sections. I would never skip quarantine for new birds, and I would keep chicks and older birds apart. I would take a droppings sample to a lab or vet once or twice a year instead of guessing, and I would deworm based on results. And I would keep honest about the herbs and home remedies, using them as a bonus and never as a reason to delay real treatment.
The farmers with the healthiest flocks are not the ones with the cleverest remedies. They are the ones with the cleanest ground and the driest floors.
FAQ
What are the signs of worms in chickens?
Common signs include weight loss, pale combs, diarrhea, ruffled feathers, reduced egg production, slow growth in young birds, and sometimes visible worms in droppings. Gapeworm can cause gasping, coughing and head shaking. Because many diseases look similar, confirm with a droppings test or a vet.
Do garlic and pumpkin seeds really kill worms in chickens?
Evidence that they reliably kill worms is limited and inconsistent. They may offer small supporting benefits, but they should not replace good hygiene, ground management or proper treatment when worms are confirmed.
How often should I deworm my chickens?
It is better to base deworming on fecal egg counts and flock condition than on a fixed calendar. Routine blanket treatment can encourage resistance. Ask your veterinarian for advice suited to your flock and region.
Can I eat eggs from chickens that were dewormed?
It depends on the product. Each dewormer has its own withdrawal period for eggs and meat, and some are not approved for laying hens in certain countries. Always check the label and local regulations, and ask your vet.
Does rotating pasture help with chicken worms?
Yes, resting and rotating ground reduces the build-up of worm eggs, especially when combined with short grass,
How to Control Worms in Chickens Naturally
and drying. It does not eliminate worms completely, since some eggs survive a long time, so combine rotation with hygiene and monitoring.
Bookmark this
You cannot out-medicate dirty ground, so keep the floor dry, the water clean and the droppings away from the birds, and the worms starve.