How to Improve Soil for Better Yam Yield
How to Improve Soil for Better Yam Yield
Early in my yam farming, I rented a piece of land that looked perfect. It was flat, dark on top, and covered in thick grass that told me the ground was “rich.” I planted my best seed, built neat mounds, and fed the crop on schedule. At harvest, the tubers were short, forked, and small. When I dug a pit beside the mounds, I understood why. Two hand-widths below the dark surface, the soil was packed hard as a floor. My yams had spent the whole season fighting their way through it.
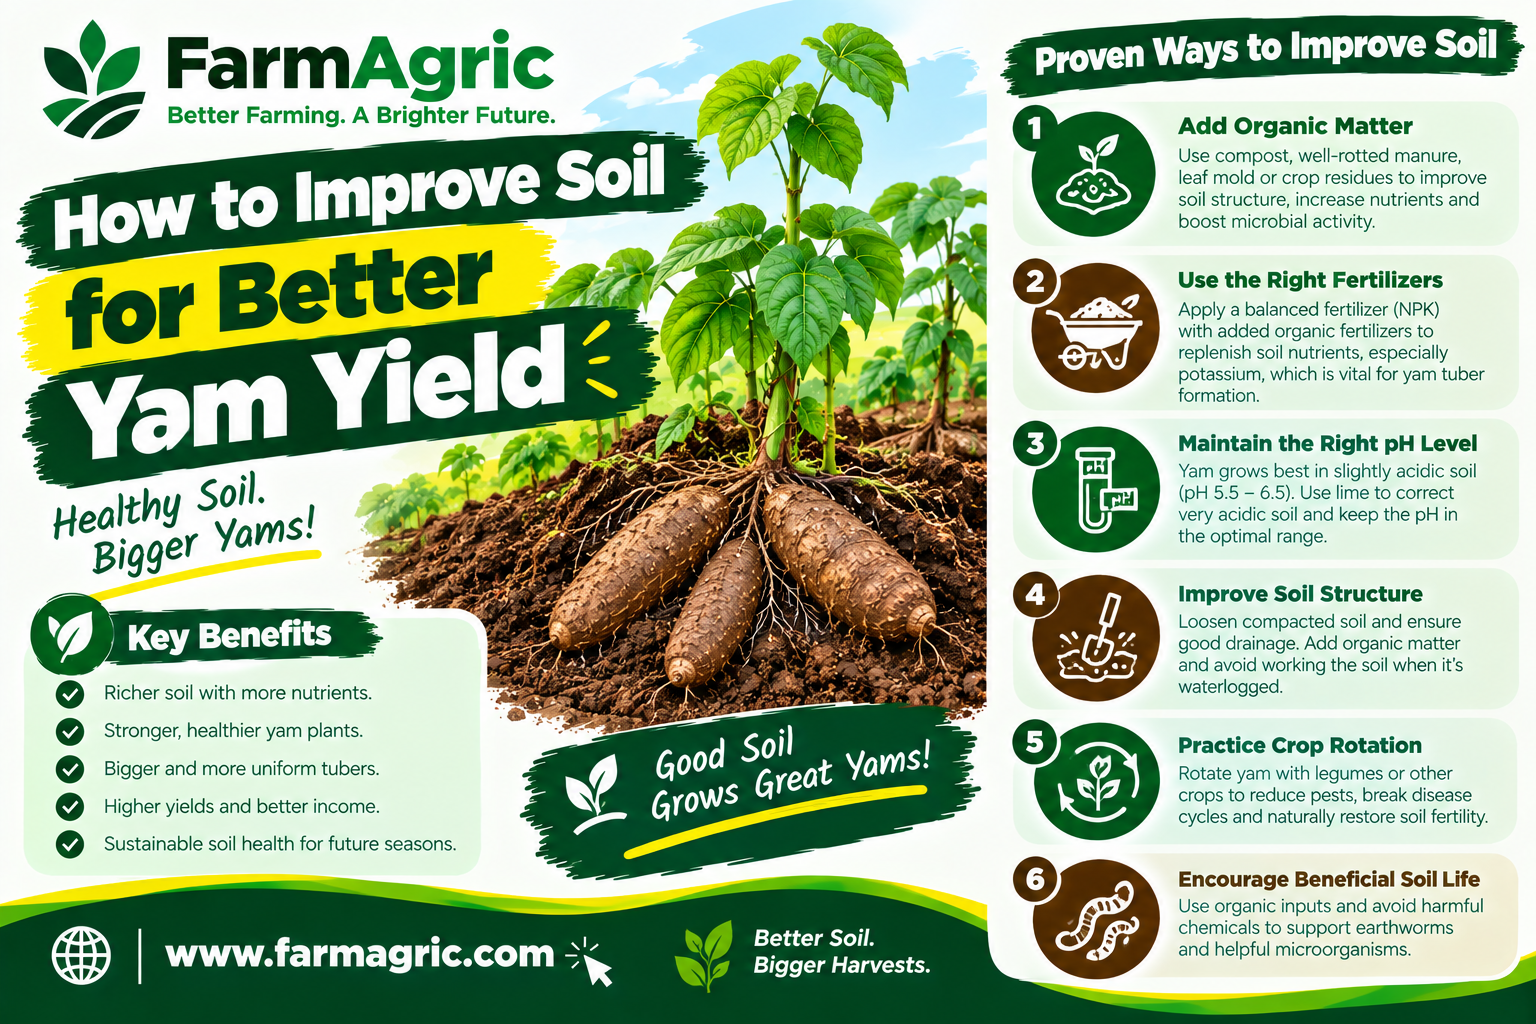
Here is the direct answer. To improve soil for better yam yield, aim for deep, loose, well-drained, loamy soil with plenty of organic matter and a pH of roughly 5.5 to 6.5. Break up hard layers by deep tillage, build tall mounds or ridges, add compost or well-rotted manure every season, correct acidity with lime only if a soil test shows you need it, feed potassium and phosphorus based on a soil test, rotate with cereals and legumes, and keep the ground covered with mulch. Yam is a root crop that swells underground, so the soil is not just where it stands. It is the space the tuber has to grow into.
Here is how I do it, step by step, with the mistakes I have already paid for.
What Most Farmers Get Wrong
The biggest mistake is judging soil by the top few centimeters. Dark, crumbly topsoil can sit on a hard, compacted, or stony layer that stops tubers from growing down. Always dig a pit and look at the profile.
The second mistake is relying on fertilizer to fix a physical problem. Fertilizer feeds the plant, but it cannot loosen hard ground or drain a swamp. I have watched farmers pour money into NPK on compacted soil and harvest forked, stunted tubers anyway.
The third mistake is planting yam year after year on the same land. Yam is a heavy feeder and a magnet for nematodes and soil diseases. Without rotation, fertility drops and pests build up quietly.
The fourth mistake is burning every bit of plant residue and leaving the soil bare. Fire releases a quick flush of nutrients, but it destroys the organic matter that keeps soil loose and alive. Soil with no cover also bakes in the sun and washes away in rain.
The fifth mistake is guessing on lime and fertilizer. Too much lime pushes pH too high and locks up nutrients. Too much nitrogen gives you a jungle of vines and a modest tuber. Without a soil test, you are throwing money at a problem you have not measured.
The sixth mistake is using land that floods or holds water. Yam tubers rot in waterlogged soil. No amount of feeding fixes wet feet.
What Yam Wants From the Soil
Think of the tuber as a fist pushing through the ground. It needs five things.
Depth. Loose soil at least 30 to 50 centimeters down, with no hard pan or heavy stones in the tuber’s path.
Loose structure. Crumbly, friable soil that lets the tuber swell evenly and lets roots breathe. Hard or sticky clay produces twisted, small tubers.
Good drainage. Water must move through. Yam likes steady moisture but never standing water.
Organic matter. It holds moisture, feeds the plant slowly, keeps soil loose, and supports the soil life that helps protect roots.
Balanced fertility and pH. Yam does best in slightly acidic to near-neutral soil, roughly pH 5.5 to 6.5, with enough potassium for tuber filling and enough phosphorus and nitrogen for a strong start. Exact needs vary with variety and region, so confirm with a soil test and your extension officer.
Step 1: Read Your Soil Before You Touch It
Spend an hour on this before every new field.
Dig a pit. Dig a hole about 50 centimeters deep and look at the wall. Note the color, the layers, and the roots. Is there a hard, pale, or gravelly layer? Is the soil wet at the bottom? Can you push a stick down easily?
Do a squeeze test. Take a handful of moist soil and squeeze. If it forms a sticky, shiny ball that will not crumble, it is heavy clay. If it falls apart immediately and feels gritty, it is sandy. A ball that holds and then crumbles when poked is a good loam.
Do a drainage test. Dig a small hole, fill it with water, let it drain, then fill it again and time how long it takes to empty. If water is still standing after many hours, drainage is poor.
Look at what grows. Healthy, tall, green growth suggests decent fertility. Pale, stunted plants may point to hunger or poor soil. Some weeds hint at acid or wet ground, but I treat that as a clue, not proof.
Test the soil. A proper laboratory soil test tells you pH, organic matter, and key nutrients. It costs little compared to a failed crop. Ask your extension office where to send samples, and collect them from several spots across the field, mixed together, from the top 20 centimeters or so.
Step 2: Fix Compaction and Depth
If the soil is hard or layered, nothing else matters until you fix it.
Till deeply. Plough or dig the field well before planting, ideally in the dry season or when the soil is moist enough to break but not sticky. Go as deep as your tools and soil allow. Breaking up a hard layer lets roots and tubers go down.
Remove stones and roots. Pick out large stones, stumps, and thick roots from the mound area. Anything hard in the tuber’s path can cause forking or damage.
Avoid working wet soil. Tilling clay when it is soaked smears and compacts it. Wait until it is moist but crumbly.
Stop heavy traffic. Where you use tractors or heavy loads, keep to set paths so the planting area is not pressed down.
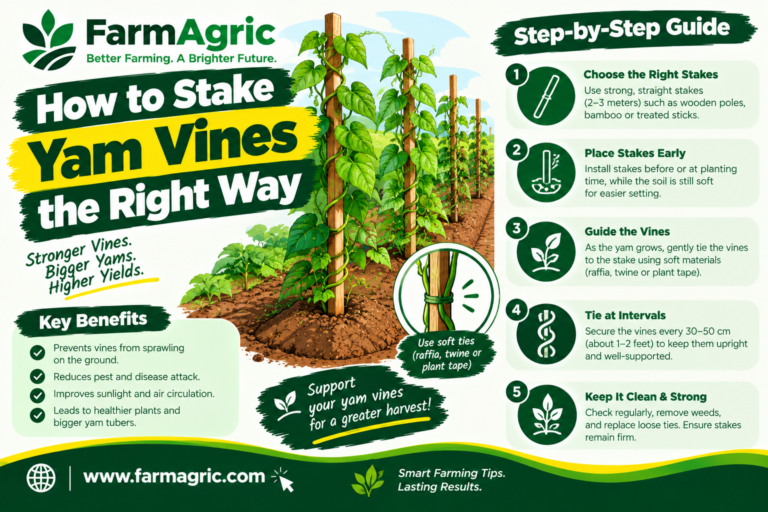
Build tall mounds or ridges. A mound about knee-high or a little more, built from loosened soil, gives the tuber a loose, deep place to grow even where the natural topsoil is shallow. It also improves drainage. This is the single most useful physical fix I know. Spacing of about 1 meter between mounds is common, though your variety and local advice may differ.
Step 3: Build Organic Matter
Organic matter is the closest thing to a magic ingredient in farming, and it is cheap if you plan ahead.
Compost. Add well-made compost to the mound or planting hole. I mix it into the soil that goes into the mound, so the tuber grows in rich, crumbly material.
Well-rotted manure. Cattle, goat, sheep, or poultry manure works if it is properly rotted. Fresh manure can burn roots, bring in weed seeds, and encourage termites and grubs, so let it age first. Keep it from touching the seed yam directly.
Crop residues and mulch. After harvest, leave maize stalks, leaves, and other residues on the field or chop them into the soil, rather than burning everything. During the season, mulch the mounds with dry grass, leaves, or crop residue to hold moisture and keep the surface from crusting.
Cover crops and green manure. Growing a legume such as cowpea, mucuna, or other suitable cover crop in the off-season, then cutting it and mixing it into the soil, adds organic matter and, in the case of legumes, some nitrogen. Check which species suit your area and avoid any that become weeds or harbor pests that attack yam.
Rotation with cereals and legumes. Following yam with maize, sorghum, or legumes helps rebuild the soil and breaks pest cycles.
How much to add depends on your soil and what you can get. As a rough guide, I try to add a generous amount of compost or manure to each mound or planting area every season, but I confirm rates with local extension advice because soils and materials differ.
Step 4: Correct pH and Feed the Soil Sensibly
Check pH first. Yam generally grows well in slightly acidic to near-neutral soil. If your soil test shows the pH is too low, adding agricultural lime or dolomitic lime raises it and can also supply calcium and magnesium. If the pH is already in the right range, do not add lime. Follow the soil test and the lab’s recommended rate rather than guessing.
Feed to the test, not the habit. A balanced NPK fertilizer is common, with extra attention to potassium during tuber filling. Too much nitrogen late in the season encourages vines over tubers. Phosphorus supports early root growth. Exact rates depend on your soil test, variety, and yield goal, so I will not give you one number to copy. Ask your extension officer for local recommendations.
Split the feeding. I apply fertilizer in two or three smaller doses, such as a modest amount a few weeks after sprouting and another during tuber bulking, rather than one heavy dose. Place it in a ring a hand’s width from the vine, not against the sett or stem, and cover it with soil.
Use organic and mineral together. Compost and manure build the soil. Mineral fertilizer tops up what the crop needs quickly. The combination usually works better and lasts longer than either alone.
Add wood ash carefully. Wood ash carries some potassium and can raise pH. It helps on acidic soils but can overdo it on soils that are already neutral or alkaline, so use it lightly.
Step 5: Manage Water and Drainage
Choose well-drained land. Avoid hollows where water collects. If you must use wetter ground, build higher mounds or raised ridges and dig drainage channels between rows.
Keep moisture steady. Yam needs regular moisture while the tuber swells. Mulch helps hold water in dry spells and shields the mound in heavy rain.
Protect against erosion. On slopes, plant along the contour, keep the ground covered, and use grass strips or ridges across the slope to slow runoff. Topsoil is the most valuable thing on your farm, and a few heavy storms can carry it away.
Step 6: Rotate and Rest the Land
Yam takes a lot from the soil and invites pests. Do not plant yam on the same ground year after year.
I follow yam with a cereal such as maize or sorghum, then a legume, before returning to yam. A rest of several seasons is better still where land is available. Rotation restores soil structure and fertility, reduces nematodes and other soil pests, and lowers disease pressure.
Also, avoid following yam with crops that share the same pests where possible, and ask your extension officer which rotations suit your area.
Step 7: Control Soil Pests and Disease
Healthy soil is not only about nutrients. It also needs to be free from pests that damage tubers.
Nematodes. These tiny worms damage the tuber and open it to rot. Rotation, organic matter, clean seed, and resistant varieties are the main defenses. Soil solarization, covering moist soil with clear plastic during a hot period, can reduce them on small plots.
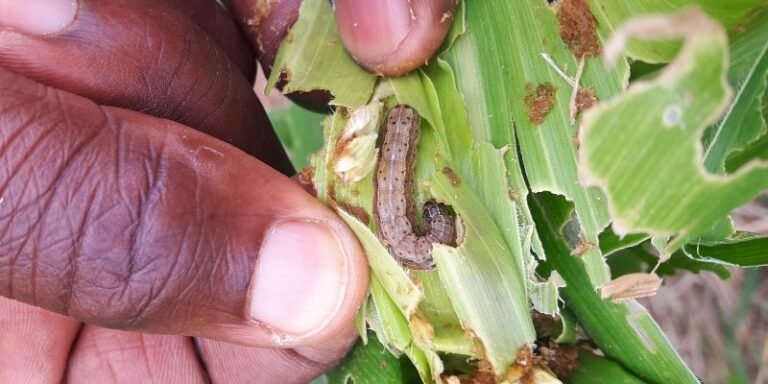
Grubs and beetles. Deep tillage in the dry season exposes them to sun and birds. Keep the field clean of rubbish heaps.
Soil-borne fungi. Good drainage, clean seed, and avoiding wounds help. Do not plant sick seed into good soil.
Where chemical treatment seems necessary, use only products registered for yam in your country, follow every label instruction, and talk to your extension officer first.
Warning Signs Your Soil Is Holding Back Your Yam
Watch for these during the season and at harvest.
Short, forked, twisted, or knobbly tubers. The soil is hard, stony, or compacted.
Pale, stunted vines and yellowing leaves. Possible nutrient shortage, poor drainage, or root damage.
Plants wilting in wet weather. Waterlogging or root rot.
Mounds that crust, crack, or wash away. Poor structure and too little organic matter or mulch.
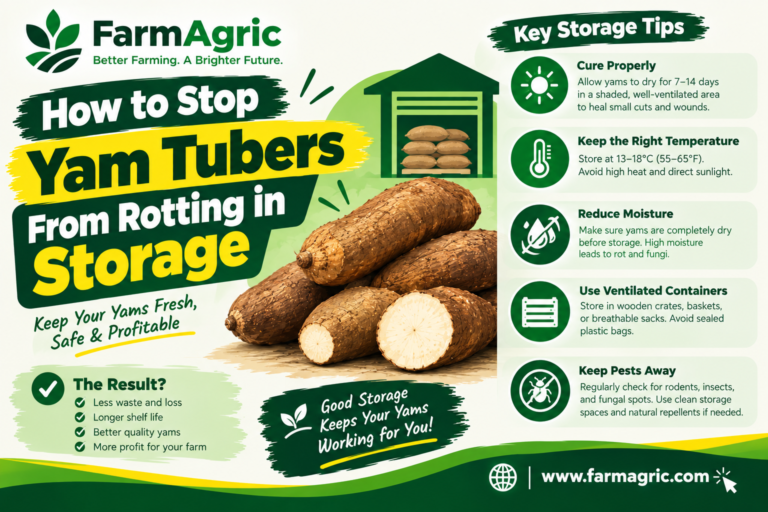
Rotting tubers with soft, dark patches. Poor drainage or soil disease.
Tubers with dry, cracked, brown patches under the skin. Possible nematode damage.
Steadily falling yields on the same field. Fertility is running down, or pests are building up.
Lush vines but small tubers. Too much nitrogen or too little potassium.
What I Would Do Differently If Starting Again Today
I would dig a pit in every new field before paying rent or buying seed. The soil profile tells you more than the price of the land.
I would test my soil every couple of seasons and write down the results, so I can see whether my efforts are working.
I would build up organic matter every single year and never burn residues without a good reason. Soil that was dark and crumbly in year three saved me money in year five.
I would stick to proper rotations and rest fields on schedule. Greed for one more yam crop cost me yields.
I would plant a cover crop in the off-season, rather than leave the ground bare.
I would invest in tall, well-made mounds from the very first season, because I have never regretted making a mound too good.
And I would try small test plots. For example, one plot with extra compost and one without, side by side. The results on my own land beat any advice from outside.
Frequently Asked Questions
What type of soil is best for yam?
Deep, loose, well-drained loamy soil rich in organic matter is best. Heavy clay, very sandy, stony, or waterlogged soils reduce yield or quality unless they are improved with tillage, organic matter, and good mounds.
What pH does yam need?
Yam generally does well in slightly acidic to near-neutral soil, roughly pH 5.5 to 6.5. Test your soil before adding lime, and follow the recommended rate.
Which fertilizer is best for yam?
A balanced fertilizer with good potassium, together with compost or manure, works well for many farmers. Too much nitrogen gives vines instead of tubers. Use a soil test and local extension advice for exact rates.
Can I grow yam on poor soil?
You can improve it, but you must work at it. Deep tillage, tall mounds, plenty of compost or manure, mulch, and good drainage can make a big difference, though very poor, stony, or waterlogged land may not be worth the effort.
How can I improve clay soil for yam?
Add plenty of compost and well-rotted manure, till when the soil is moist but not sticky, build tall mounds, and improve drainage with channels. Avoid working it wet.
How can I improve sandy soil for yam?
Add organic matter to hold water and nutrients, mulch heavily, split fertilizer into smaller doses so it is not washed out, and keep moisture steady.
Should I burn crop residue before planting yam?
I advise against burning routinely. Burning destroys organic matter and exposes soil to sun and erosion. Leaving residues as mulch or mixing them into the soil builds fertility over time.
How often should I rotate yam?
As a general rule, avoid yam on the same land for consecutive seasons. A rotation with cereals and legumes, with yam returning after a break of a year or more, helps soil health and reduces pests. Ask your extension officer for the best plan for your area.
The Advice Worth Bookmarking
You do not grow yam on top of the soil. You grow it inside it. Loosen the ground, feed it with organic matter, and give the tuber room, and the harvest will answer what the soil was never allowed to say.