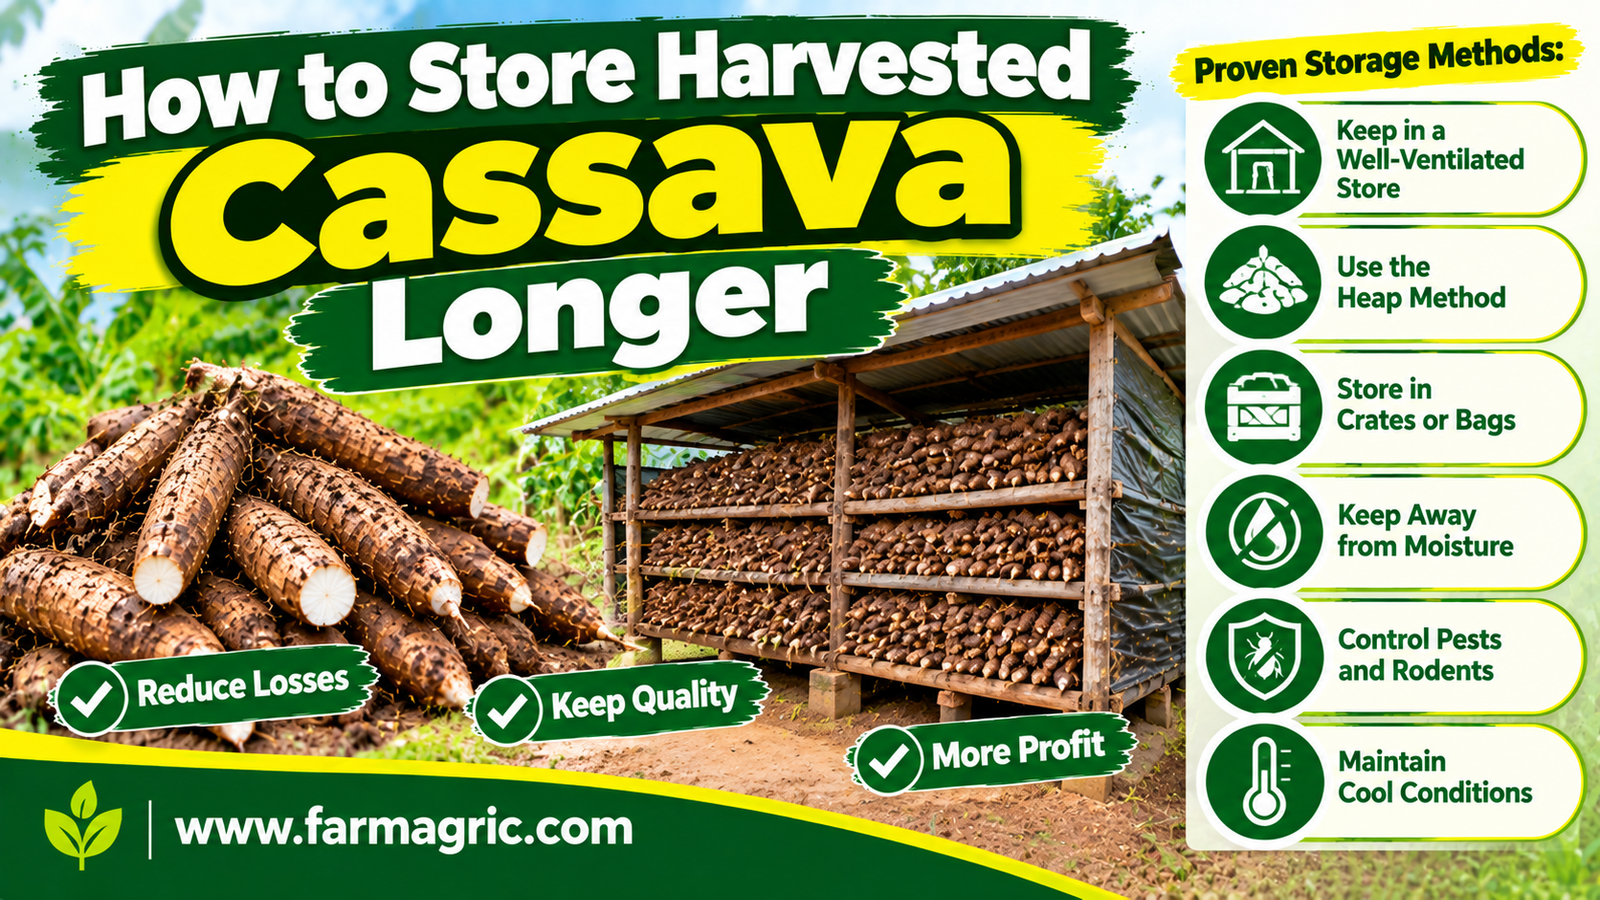
How to Store Harvested Cassava Longer
How to Store Harvested Cassava Longer: A Farmer’s Guide to Beating the Clock After Digging
I learned the hard way just how little time cassava actually gives you once it is out of the ground. I dug a full basin of roots one afternoon, more than I could sell that same day, and left the rest stacked in the shade of my kitchen wall thinking a day or two would not matter much. By the third morning, when I finally got a buyer to come look, half of those roots had already developed dark streaks running through the flesh when I cut one open to show him, and he walked away without buying a single tuber. That loss taught me something that every experienced cassava farmer eventually learns one way or another, that fresh cassava is not like maize or rice sitting quietly in a sack. It starts breaking down within hours of leaving the soil, and if you do not know how to slow that process down, you can lose a harvest faster than almost any other crop I have grown.
So let me answer you straight, because I know you have roots sitting somewhere right now and you are trying to figure out how to keep them good for longer than the usual day or two. You store harvested cassava longer by minimizing damage to the roots during harvest and handling, keeping them cool, shaded, and out of direct sun and wind, using simple methods like burying roots in moist soil or sand, wrapping them in damp sacks or leaves, or storing them still attached to a short section of stem, and by processing roots you cannot sell or use quickly into a more stable form such as chips, flour, or garri rather than trying to hold fresh roots in storage for more than a few days. Fresh cassava roots are simply not built for long storage the way grain is, and the farmers who manage this crop successfully after harvest are the ones who either slow the deterioration down through careful handling and simple traditional methods, or who accept that quantity and move quickly into processing rather than fighting a losing battle against a clock that starts ticking the moment the root leaves the soil.
Why Cassava Spoils So Much Faster Than Other Crops
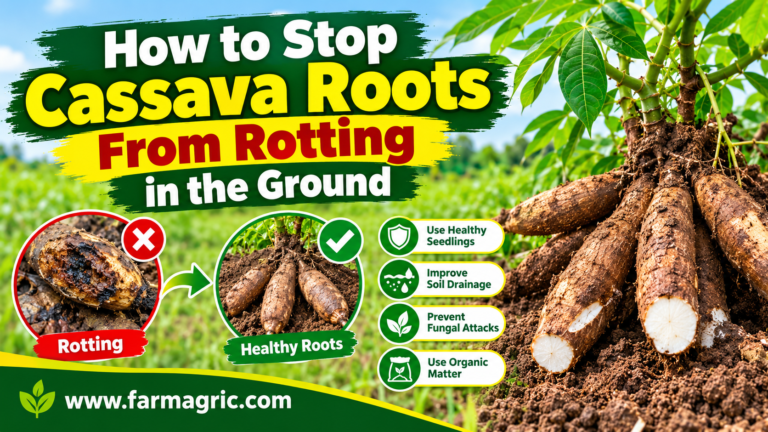
Cassava roots are living tissue right up until the moment they are eaten or processed, and once separated from the plant, they respond to that injury the same way any cut plant tissue does, by triggering a rapid physiological reaction at the wound site. Within a day or two this shows up as the dark streaking farmers call vascular streaking, a discoloration that runs through the flesh starting from the cut ends, and this is often followed within another few days by actual microbial rot if conditions are warm and humid. This process happens whether or not any fungus or bacteria is involved at all in the earliest stage, which is part of why cassava spoils so much faster and so much more predictably than grain crops, where deterioration depends mainly on moisture and pests rather than an internal biological clock that starts the moment the root is dug. Understanding that this is a built-in response of the root itself, not simply a matter of keeping pests and moisture away, is the foundation for understanding why the storage methods that work for maize or rice do almost nothing for cassava.
What Most Farmers Get Wrong
The first mistake, the one that cost me that basin of roots, is assuming fresh cassava can simply sit for a few days in a shaded corner without any real consequence, treating it casually the way you might treat a sack of grain. Cassava does not forgive that kind of casual handling, and by the time visible spoilage shows, a meaningful part of the harvest is already unsellable.
The second mistake is damaging roots during harvest and handling without realizing how directly that damage accelerates deterioration. Every cut, bruise, or crack in the outer skin becomes an additional site where the internal breakdown process starts, so rough digging, careless stacking, or throwing roots into a cart rather than placing them gently all shorten the window you have before spoilage sets in.
The third mistake is harvesting more than can realistically be sold, eaten, or processed within a day or two, simply because the whole field looked ready or because a large harvest felt more satisfying to bring in at once. A big pile of roots that cannot move fast enough is not a big harvest, it is a countdown that usually ends badly.
The fourth mistake is ignoring simple traditional storage methods that genuinely extend the window, such as burying roots in moist soil or leaving them attached to a short piece of stem, either because these methods seem too basic to matter or because farmers have never been shown how effective they actually are compared to doing nothing at all.
The fifth mistake is delaying the decision to process surplus roots until spoilage has already begun, rather than deciding at harvest time which roots are destined for fresh sale and which should go straight into chips, flour, or garri production before the clock even starts running against them.
Step-by-Step Guide to Storing Harvested Cassava Longer
Begin by minimizing damage during the harvest itself. Loosen the soil carefully around each plant before pulling, rather than yanking roots free and risking cracks or breaks in the skin, and handle roots gently when lifting them out and moving them, since bruises and cuts are the entry points that speed up the internal breakdown process far more than most farmers realize.
Leave a short section of stem attached to each root where practical, rather than cutting the roots completely free at the very base of the plant. Roots left with a piece of stem still attached tend to hold their freshness a little longer than roots separated completely, since this seems to slow the physiological signal that triggers the breakdown response.
Keep freshly dug roots out of direct sun and wind immediately after harvest. Move them into shade as quickly as possible, since heat and exposure to moving air both accelerate water loss and speed up the deterioration process, and roots left lying in full sun in the field for hours before being gathered start their decline well before they even reach storage.
Sort your harvest immediately, separating any roots that were damaged, cracked, or bruised during digging from those that came out clean and intact. Set the damaged roots aside for immediate use, sale, or processing first, since they will deteriorate faster than undamaged roots and have the least time available before spoiling.
For roots you intend to hold for more than a day, bury them in moist soil or clean sand, either in a shallow pit dug in a shaded area or in a container filled with damp soil, covering the roots completely. This traditional method, used by farmers for generations before any modern storage technology existed, genuinely slows deterioration by keeping the roots cool, maintaining humidity around them, and limiting their exposure to air.
Alternatively, wrap roots in damp sacks, banana leaves, or another breathable moist covering, keeping them in a cool, shaded spot rather than sealed in plastic, since trapped moisture without any airflow can encourage rot just as quickly as drying out can. Check and re-dampen the covering periodically if you are holding roots this way for more than a couple of days.
Keep stored roots away from direct contact with hard ground or concrete where heat can build up, placing them instead on a bed of leaves, straw, or loose soil that helps regulate temperature and moisture around the roots rather than letting them sit on a surface that traps heat.
Plan your harvest timing around your actual capacity to sell, eat, or process the roots, rather than digging everything at once simply because the field looks ready. Harvesting in smaller, more frequent batches matched to what you can realistically move within a day or two keeps far more of your total crop in good condition than one large harvest that outpaces your ability to use it.
Identify your buyers or processing plan before you dig, whenever possible, so that roots move from the ground to a market, a kitchen, or a processing setup as quickly as possible rather than sitting in storage while you figure out what to do with them after the fact.
Process any surplus you cannot sell or use fresh within your storage window into a more stable form. Peeling, chipping, and drying cassava in the sun produces dried chips that store far longer than fresh roots, and further processing into flour or garri extends storage life even further, turning a highly perishable harvest into something that can be kept for months rather than days.
If you are holding roots specifically for household use over a slightly longer period, consider leaving a portion of the crop unharvested in the field itself rather than digging everything and trying to store it fresh, since a healthy, mature cassava plant left standing a little longer in reasonably dry soil often keeps its roots in better condition than the same roots would stay once dug and sitting in storage.
Warning Signs Your Stored Cassava Is Starting to Spoil
Dark streaks running through the white or cream flesh when you cut a root open are the earliest and most reliable sign of deterioration beginning, often visible well before any smell or softness develops on the outside. A change in smell, a slightly sour or fermented odor developing where the root should smell neutral or mildly starchy, signals that breakdown has progressed further and that root is no longer suitable for most uses. Softening or a slightly spongy feel when you press the root, compared to the firm resistance of a fresh one, indicates the internal structure is already breaking down. Visible mold, whether white, grey, or dark patches on the outer skin or at the cut ends, means active fungal growth has set in, usually following several days of poor storage conditions. And any root that has developed a noticeably lighter weight or a slightly shriveled, wrinkled skin compared to how it looked at harvest has likely lost too much moisture during storage and will be poor quality even if outright rot has not yet developed.
What I’d Do Differently If Starting Again Today
If I were starting over, I would never again dig more cassava in a single afternoon than I had a clear plan to sell, eat, or process within the next day or two, since that oversized basin taught me directly how quickly a large harvest can turn into a large loss. I would handle every root far more gently during digging, understanding now how much a single crack or bruise shortens the window before spoilage compared to a root that comes out of the ground clean and undamaged. I would use the moist soil burial method as a standard practice for anything I could not move immediately, rather than assuming a shaded corner of the kitchen wall was good enough on its own. And I would set up a simple processing routine for surplus roots from the very beginning, turning anything I could not sell quickly into chips or flour before spoilage ever had the chance to take hold, rather than only thinking about processing after I had already lost part of a harvest to streaking and rot.
Frequently Asked Questions About Storing Harvested Cassava
How long can fresh cassava roots be stored after harvest? Without any special handling, fresh cassava roots typically start showing internal discoloration within one to two days and can spoil noticeably within three to five days, though simple methods like burying roots in moist soil or keeping them cool and shaded can extend this window somewhat longer.
Why does cassava spoil so much faster than crops like maize or rice? Cassava roots are living tissue that reacts to the injury of being harvested with a rapid internal breakdown process, starting with discoloration and often followed by microbial rot, which happens on a built-in biological timeline rather than depending mainly on moisture and pest exposure the way stored grain does.
Does burying cassava in soil or sand really help it last longer? Yes, this traditional method genuinely slows deterioration by keeping roots cool, maintaining humidity around them, and reducing their direct exposure to air, and it remains one of the most effective simple storage options available without processing the roots into a different form.
What should I do with cassava I cannot sell or eat within a few days? Processing surplus roots into dried chips, flour, or garri turns a highly perishable harvest into a product that can be stored for months rather than days, and deciding on this plan before or at harvest time, rather than after spoilage has already begun, gets the most value out of roots you cannot move quickly.
Does leaving a piece of stem attached to cassava roots actually help them stay fresh longer? Yes, roots left with a short section of stem still attached tend to hold their freshness somewhat longer than roots cut completely free at the base, likely because this slows the physiological signal that triggers the internal breakdown process following harvest.
If there is one thing I want you to remember from all this, it is that cassava starts working against you the moment it leaves the soil, so handle it gently, keep it cool and shaded, move it quickly to a buyer, a pot, or a processing basin, and never dig more than you can actually use within a day or two, because a harvest left sitting is not cassava waiting patiently for you, it is cassava already spoiling while you decide what to do with it.