How to Stop Yam Tubers From Rotting in Storage
How to Stop Yam Tubers From Rotting in Storage
One December I tied up about 2,000 big tubers in my barn and went to sleep proud. By March, the smell reached me before I reached the barn door. A rot that began with 3 sick tubers had crept through a whole section, and I lost nearly a third of my stock. The tubers I lost were not poor yams. They were some of my best. What killed them was how I harvested, cured, and stacked them.
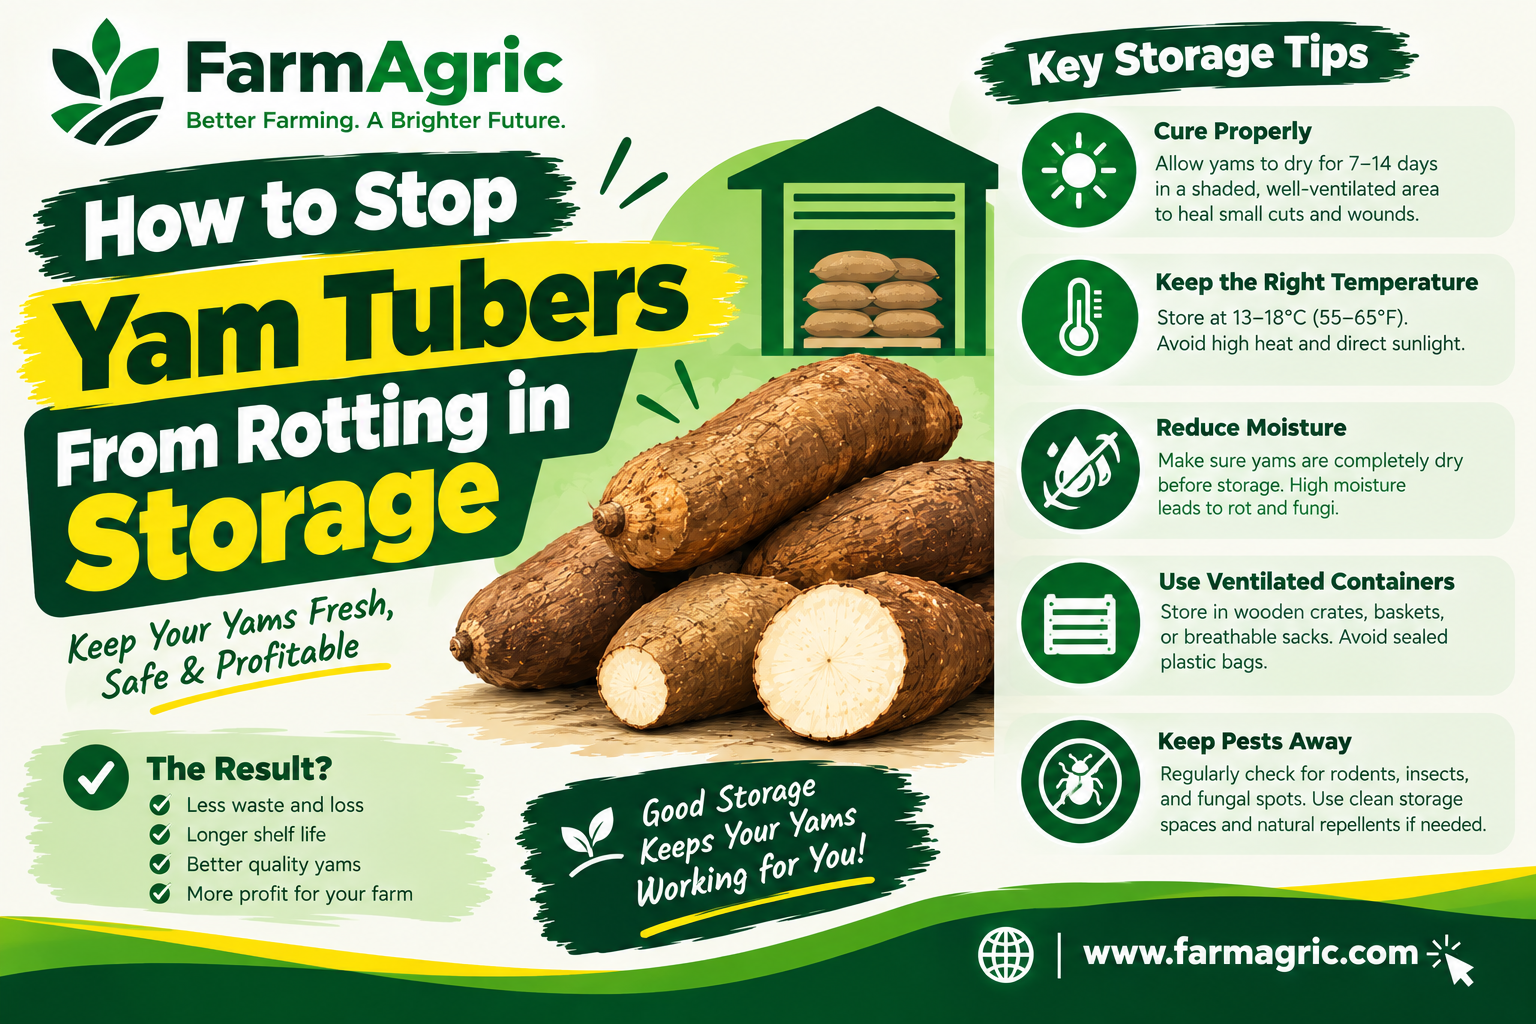
Here is the direct answer. To stop yam tubers from rotting in storage, harvest at full maturity without cutting or bruising the tubers, cure them in the shade for a few days so wounds can heal, store them in a clean, shaded, well-ventilated barn with each tuber hanging or standing apart from the next, and inspect weekly to remove any tuber showing soft spots or mold before it infects its neighbors. Rot in storage is almost never bad luck. It is the result of wounds, moisture, heat, and poor airflow, and you control all four.
That is the short version. Let me take you through what I have learned over three decades so your barn stays full until the market price is right.
What Most Farmers Get Wrong
The biggest mistake is blaming the barn when the real damage happened in the field. Most storage rot starts with a wound. A hoe cut, a cutlass nick, a dropped tuber, or a bruise from rough handling opens the skin, and fungi and bacteria walk straight in. The tuber looks fine for weeks and then turns soft and wet in the middle of the dry season. By then you cannot see what started it.
The second mistake is harvesting too early. Yams harvested in the first round, in the rainy months, are meant for quick sale. They have thin skin, high water content, and short dormancy, so they rot or sprout fast. I use early harvest tubers for market within days, and I keep only the late harvest tubers for storage, once the vines have dried and the skin is firm.
The third mistake is skipping curing. Many farmers dig the tuber and tie it up the same day. A freshly dug tuber has a wet, soft skin and fresh scratches. Without a few days to dry and heal, it goes into storage with open doors for rot.
The fourth mistake is crowding. Yams stacked on one another or packed in a heap in a closed room trap heat and moisture. Tubers breathe, and a pile of breathing tubers generates warmth and humidity, which is exactly what rot organisms love.
The fifth mistake is leaving a sick tuber with healthy ones. One rotting yam releases spores and moisture that spread to the neighbors within days. I have seen a single tuber ruin a whole row because nobody checked.
Know Your Enemy: What Rots Yams in Storage
You do not need a laboratory to understand the main causes.
Fungal rots. Several fungi, including those that cause dry rot, soft rot, and wet rot, attack yams through wounds. Dry rot makes the flesh turn brown to black and hard. Soft rot makes it watery, smelly, and mushy. Both begin at damage points and spread inward.
Nematodes. Tiny worms called yam nematodes live in the soil and feed on the tuber, leaving dry, cracked, brownish patches under the skin. They do not rot the yam by themselves, but they open it to fungi. A tuber that looked clean outside may be riddled inside.
Insects. Yam beetles and scale insects damage the surface, creating more entry points. Rats and termites chew the skin and spread rot.
Sprouting and weight loss. When the tuber ends its dormancy, it sprouts. Sprouting burns the tuber’s food reserve, making it light, soft, and bitter, and a sprouted tuber is much more likely to rot.
Heat and humidity. Hot, wet, and poorly ventilated conditions speed up everything above. Cool, dry, and airy conditions slow it down.
Step-by-Step: How I Store Yams Without Heavy Losses
This is my routine every season.
Step 1: Prepare the field early. Healthy tubers begin in healthy soil. Rotate yam with cereals or legumes so nematodes and soil diseases do not build up. Use clean, healthy seed yams, and avoid planting the same field with yam year after year.
Step 2: Harvest at the right time. For storage, I wait until the vines have dried and the skin of the tuber is firm, usually in the later part of the season. The tuber should feel solid, with no soft, wet patches. Harvest on a dry day, not right after rain, because wet soil clings to the skin and carries disease.
Step 3: Dig carefully. Use a digging tool with a smooth blade, and dig well around the tuber, not close to it. Loosen the soil and lift. Do not cut or stab. If a tuber gets cut, set it aside for quick sale or cooking. It will not store.
Step 4: Handle gently. Never throw, drop, or drag tubers. Carry them one by one, or place them in padded containers. A tuber that hits the ground hard may look fine but carry an internal bruise that rots later.
Step 5: Sort immediately. In the shade, I separate tubers into 3 groups. Clean, whole, firm tubers go to storage. Cut, scratched, or slightly damaged tubers go to market or the kitchen within days. Any tuber with soft spots, mold, or strange smell is removed and discarded far from the barn.
Step 6: Remove soil without scrubbing. Gently brush off loose soil with a dry cloth or soft brush. Do not wash yams before storage, and do not scrape the skin. Water and scratches both invite rot.
Step 7: Cure the tubers. Spread the sorted tubers in a single layer in a shaded, airy place and leave them for 3 to 7 days, longer in cooler weather. Never leave them in direct sun, which can scorch the skin and cause sunburn damage. During curing, the skin dries, small wounds begin to heal, and the tuber becomes tougher. Where conditions are warm and humid, this process works best. I turn the tubers once a day so they dry evenly.
Step 8: Treat any small wounds. If I see tiny cuts on a tuber I still want to keep, I rub them with dry wood ash. Ash dries the wound and creates a barrier. For larger operations, some farmers use approved fungicide dips, and I follow the label carefully and only with products registered in my area. Wood ash is the cheaper starting point for smallholders.
Step 9: Store in the barn the right way. Tie each tuber to a vertical pole or rack, with space between neighbors so air can move all around them. Do not let the tubers touch the ground or the wall. If you are using a platform or shelf, lay them in a single layer, not heaped, with gaps between each one.
Step 10: Inspect every week. I walk through the barn at least once a week. I look, I touch, and I smell. Any tuber that is soft, wet, moldy, or sprouting is removed at once. This habit takes me less than an hour and has saved me hundreds of tubers.
Building or Fixing the Yam Barn
The barn is half the battle. A good one does not need to be expensive.
Location. Choose well-drained ground, away from standing water, in the shade of trees or under a good roof. Avoid hot, open sun.
Roof. A thatch or tall roof with an overhang keeps rain off and heat out. A low zinc roof without any ceiling turns the barn into an oven by midday.
Sides. Leave the sides open or use slats so that wind passes freely. A closed, stuffy barn is the best friend of rot.
Floor. Raise the floor or keep it dry. Damp soil under the yams gives off moisture all season.
Racks and poles. Use clean, sturdy wood. Remove old, rotten, or termite-eaten poles before the season, because they carry disease and insects. I scrub my barn poles and let them dry in the sun before I tie anything up.
Pest protection. Fix rat guards on the support poles, using smooth metal sheets wrapped around the posts so rats cannot climb. Keep the barn area clear of weeds, bush, and garbage, which hide rodents and pests.
Cleaning. At the end of every season, I clear out all old yam, peels, and rubbish, and burn them or bury them deep. Old waste is where next season’s rot is waiting.
Warning Signs Your Yams Are Going Bad
Watch for these early.
A sour or fermented smell in the barn. Something is rotting. Find it today.
Soft, wet, or sunken patches on the skin. Press gently. If it gives way like pulp, the inside is already gone.
White, green, or grey mold near the cut end or on cracks. Fungi have taken hold.
Dark, brown, or black patches visible under the skin. Dry rot or nematode damage. Cut one open and look inside.
Sprouts appearing on many tubers. Dormancy is ending, and the quality will drop fast. Sell or cook those first.
Light, shrunken, wrinkled tubers. They are losing water and weight, which means money is draining away.
Flies, ants, or beetles around the tubers. They are attracted to rotting tissue.
Tubers falling off their ties. The neck may be rotting, so check the top of the tuber too.
If only a small part of a tuber is rotten, cut away the bad section generously, at least a few centimeters into clean white flesh, and use the rest quickly. If the rot has spread through most of the tuber, throw it out far from the barn.
Keeping Weight and Quality While You Wait
Yams lose weight in storage through breathing and water loss, and that loss is your profit. To limit it:
Store at the coolest, driest-but-airy place you can find. Avoid temperature swings between hot days and cold nights if possible.
Sell the earliest and the most vulnerable tubers first, and keep the best, firmest, and largest tubers for last.
Remove sprouts when they are small, by hand, using a clean motion, so they do not drain the tuber. This only delays the loss. It does not stop the clock.
Do not overload the barn. A smaller, well-kept stock beats a huge, neglected one.
What I Would Do Differently If Starting Again Today
I would put more effort into the field than the barn. Clean seed, crop rotation, careful digging, and the right harvest time prevent more rot than any treatment in the store.
I would never again tie up a tuber that I knew had a cut on it. That one shortcut cost me more than any rainy season.
I would keep a simple barn record. How many tubers went in, which variety, which field, the date, and how many I lost each month. After a season or two, you learn which fields and varieties store well and which do not.
I would build a better roof and open up the sides of my first barn. The hot, closed barn of my early years was a mistake I paid for.
I would also try storing a small portion in a different way each year, such as a raised shelf in a cooler corner, and compare. Farmers who experiment with a small portion learn faster than those who change everything at once.
And I would sell part of the crop early. Storing everything for a high price is a gamble, and spreading sales across the season protects you from a bad barn year.
Frequently Asked Questions
How long can yams last in storage?
With good harvesting, curing, and a ventilated barn, healthy yams can last 3 to 6 months, and sometimes longer for the best varieties. Poor handling or a hot, closed barn can reduce that to a few weeks.
Why do my yams rot from the inside while the skin looks fine?
Usually because of a hidden wound or bruise from harvesting, or because of nematode damage that opened the tuber from within. The rot spreads inside, and the skin only shows it at the last stage.
Can I store cut yams?
Not for long. A cut surface is an open wound. If you must keep cut pieces for a short time, dry them in the shade and rub the cut with wood ash, but plan to use or sell them quickly.
Should I wash yams before storing them?
No. Washing leaves moisture on the skin and in small cracks, which promotes rot. Brush off loose soil only, and wash just before cooking or selling.
Is it better to store yams in a barn or on the floor?
A well-built barn with the tubers tied up or racked apart is better. Floor storage in heaps traps moisture and heat, and rot spreads easily. If you must use the floor, use a raised, dry platform and keep the tubers in a single layer.
What should I do when I find one rotten yam in my barn?
Remove it immediately, check the neighbors, and discard or bury the rotten tuber away from the barn. Do not leave it lying around, and do not feed spoiled tubers back into the storage area.
The Advice Worth Bookmarking
A yam does not rot in the barn. It rots because of a wound you made in the field, a habit you skipped at curing, or a check you did not do on Friday. Protect the skin, give it air, and look at it every week, and your barn will pay you in March what it promised you in December.