How to Dry and Store Cowpea Without Pest Damage
How to Dry and Store Cowpea Without Pest Damage
I once sold half a harvest for almost nothing because I rushed the last two weeks of the season. The cowpea had grown well and the pods filled nicely. I picked them, threshed them in a hurry, and bagged them while they were still a little warm and a little damp from a cloudy week. A month later I opened the store and found two problems at once. The bottom sacks had a musty smell and a dusting of grey mould. The top sacks had weevil holes through nearly every bean. I had done the hard work of growing the crop and then lost it in the store room.
Drying and storing is where many farmers give back their profit. In thirty years I have learned that the pest does not win in storage because it is clever. It wins because the beans were wet, dirty, already infested, or kept in a sack that anything could walk into. If you control those four things, the store becomes the safest place on the farm.
The short answer
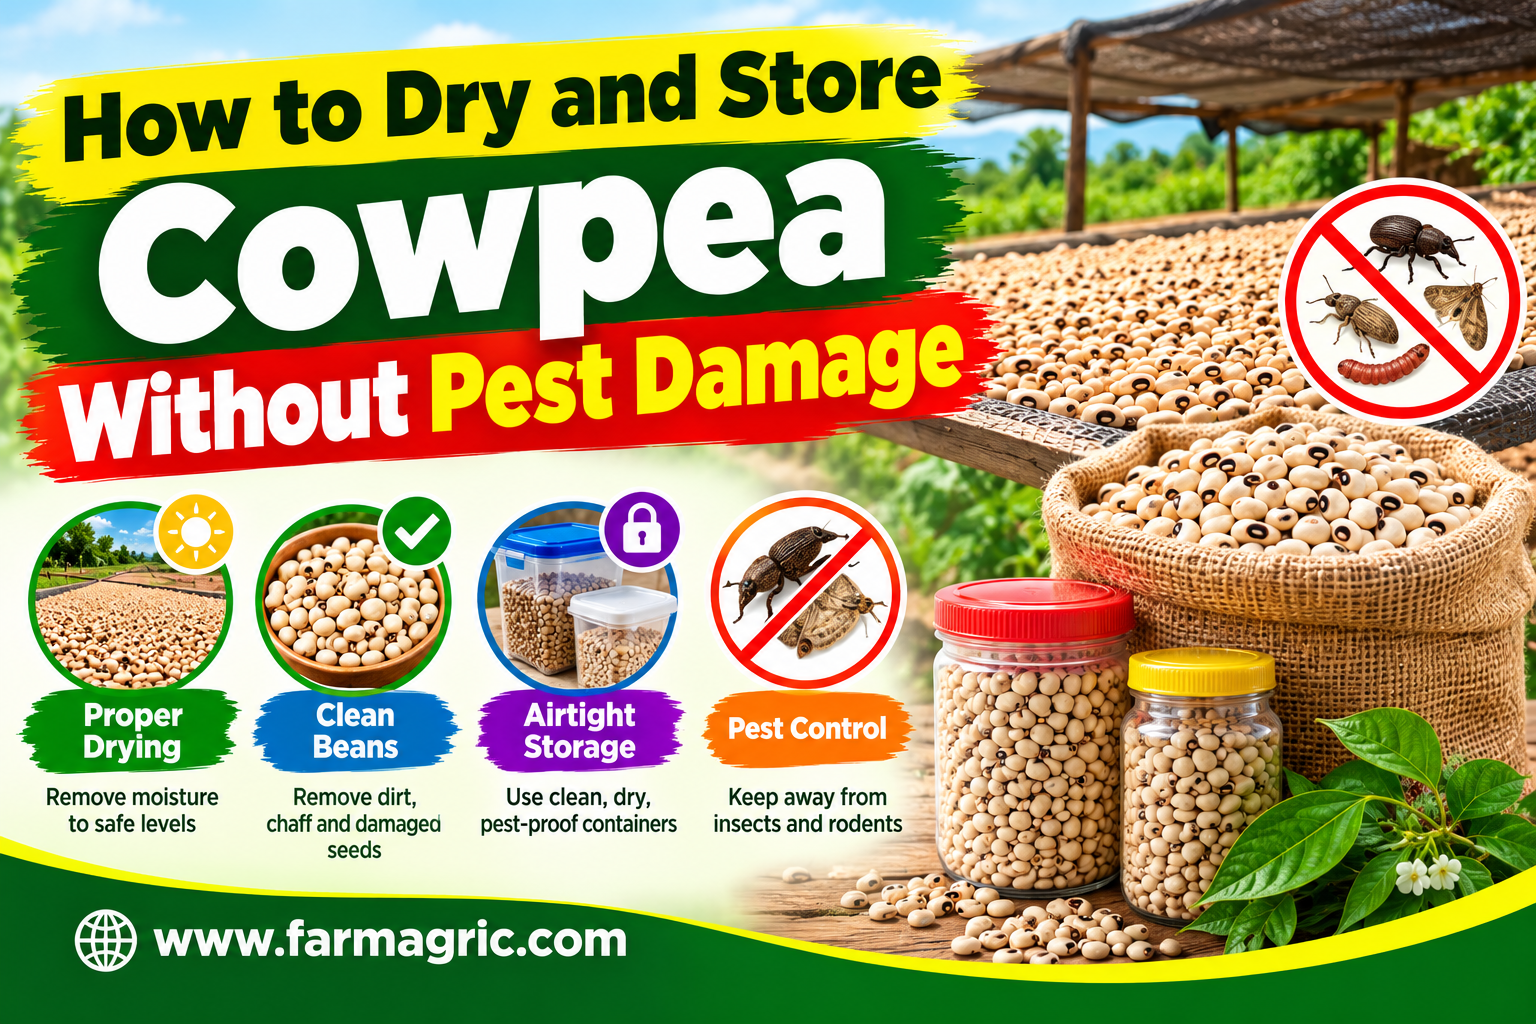
To dry and store cowpea without pest damage, harvest the pods when they are dry, dry them fully in the sun on a tarpaulin or clean concrete, thresh gently, dry the beans again until they reach about 10 to 12 percent moisture, heat treat them in strong sun to kill hidden eggs, clean out broken seed and trash, and seal them in airtight containers filled to the top. Keep the store clean, cool, dry and rat proof, raise the containers off the floor, check them every two weeks, and use oil or ash only as a backup. Beans that go in dry, clean and sealed rarely give you trouble.
What most farmers get wrong
I made nearly all of these mistakes, so I say this without judgment.
They judge dryness by looking. A bean can look and feel dry on the surface and still hold too much moisture inside. Bags of beans that are only nearly dry heat up, sweat and grow mould, and weevils breed fastest in warm grain.
They dry on bare ground. Beans spread on soil pick up moisture from below, collect dirt and stones, and pick up insect eggs and mould spores. Always dry on a tarpaulin, a mat or clean concrete.
They bag the beans while they are still warm from the sun. Warm beans released into a closed sack give off moisture as they cool, and that moisture condenses inside the bag. Let the beans cool in the shade first.
They think the pest comes from the store. A lot of the time the weevil eggs are already on the pods or beans when you bring them home from the field. A clean store does not help if you carry the infestation in with the harvest.
They use ordinary woven sacks and expect them to protect the grain. Weevils, moths and rats pass through a woven sack easily. A sack is a carrier, not a barrier.
They mix new beans with old. One handful of infested old grain can start the problem in a whole fresh store.
Why beans spoil and how pests work
It helps to know what you are fighting, because every good storage method simply takes away one thing the pest needs.
Cowpea storage has two kinds of enemies. The first is living creatures: the bean weevil, called the bruchid, which lays its eggs on the pods and beans and whose grubs eat the inside of the seed, along with moths, flour beetles, rats and mice. The second is moisture and mould, which cause rotting, bad smell and, in some conditions, harmful toxins that make the grain unsafe to eat.
The bean weevil cycle takes about three to four weeks in warm weather. The female glues tiny eggs on the beans, the grubs bore in and feed, then the new adults chew their way out and lay more eggs. A few weevils in September can become thousands by November.
All of these pests depend on three things: air, warmth and enough moisture in the grain. Take away any one of them and the population collapses. Dry beans remove the moisture. A sealed container removes the air. A cool, shaded store reduces the warmth. That is the whole secret, and everything below is just a practical way to do it.
Step by step: how I dry and store my cowpea
Step 1: Harvest at the right time
Pick the pods when they have turned dry and brown and the beans inside are hard. Do not leave mature pods standing in the field for weeks, because that gives field weevils time to lay eggs and rain time to rot the pods. I pick in the early morning, in rounds as the pods ripen, and I set aside any pods with holes or mould so they do not mix with the clean ones.
Step 2: Dry the pods fully before threshing
Spread the pods in a thin layer on a clean tarpaulin, mat or concrete floor in full sun. Turn them several times a day, and cover or move them under a roof before evening and when rain threatens. Dew and night damp can undo a whole day of drying. Depending on the weather, the pods usually need two to four days. They are ready when they feel brittle, crack easily and the beans rattle inside.
Step 3: Thresh gently
Beat the dry pods lightly in a sack or on a clean sheet with a flexible stick, or tread on them gently. Hard beating cracks the beans, and cracked seed rots, attracts weevils and loses its value in the market. Winnow in a light breeze to blow away husks and dust.
Step 4: Dry the beans again
This second drying is the step many farmers skip. Spread the threshed beans in a thin layer, no more than two to three centimetres deep, on a clean tarpaulin in the sun. Turn them often. Two to three sunny days is usually enough, but weather decides. Aim for a moisture content of about 10 to 12 percent for safe storage.
Step 5: Test the dryness
If you have a grain moisture meter, use it. Many agro dealers and extension offices have one. If you do not, use these farmer tests together, because no single test is perfect.
The bite test comes first. Bite a bean. A properly dry bean is hard and cracks sharply, while a damp one dents or feels rubbery. The rattle test is next. Shake a handful in a metal tin or a dry gourd. Dry beans make a clear, sharp sound. The salt jar test is the most useful. Put a handful of beans and a spoonful of dry salt in a clean glass jar, close the lid, shake it, and leave it for a few hours. If the salt stays loose and free flowing, the beans are dry enough. If it clumps or sticks to the glass, the beans still hold too much moisture and need more sun.
Step 6: Cool the beans before packing
Do not pour hot beans straight into a container. After the last drying, spread them in the shade for an hour or two so they cool to the air temperature. Beans sealed in while still warm will sweat inside the container.
Step 7: Heat treat to kill hidden eggs and grubs
This is the step that has saved more of my grain than any other. Spread a thin layer of beans, about a finger thick, on a black plastic sheet in strong afternoon sun for a few hours, and stir every half hour. The heat kills the eggs, grubs and adults hidden inside the seed. Do not overheat, because too much heat for too long can damage beans you want to use as planting seed, so keep a separate sample for seed and treat food grain only. Let the beans cool in the shade before packing.
Step 8: Clean and sort
Pick out broken beans, shrivelled seed, trash, stones and any beans with holes. Broken seed is the easiest entry point for weevils, and the dust from damaged grain feeds the pests. I do this by hand with my family on a tarpaulin in the cool of the evening. It takes time, but it costs nothing, and it is cheaper than any chemical.
Step 9: Choose airtight containers
Sealed storage is the strongest defence I know. Insects inside a closed container use up the oxygen and die, usually within days to a couple of weeks, and no new ones can get in.
The containers I trust are hermetic triple layer grain bags, tight lidded plastic drums, clean metal drums with sealing lids and thick plastic buckets with good gaskets. Fill each container to the top so little air is left inside, and close it firmly. With hermetic bags, tie each layer separately as the instructions say. Never poke holes in them, and keep them away from sharp objects and rats. Ordinary sacks should only be used for short term holding, never for months.
Step 10: Prepare the store room
Before any new beans enter, sweep and wash the store. Remove old sacks, husks, spilled grain and cobwebs, because every scrap of old grain is a hiding place for pests. Fill cracks in the walls and floors where insects shelter. Make sure the roof does not leak. Stand the containers on wooden pallets or planks so air can flow underneath and the damp from the floor cannot creep up. Keep the room cool, dry and dark, and keep a little distance between containers and the walls so you can inspect them.
Step 11: Add a natural backup where needed
If you cannot seal your beans, or you open a container often, a protectant helps. Vegetable oil is the one I trust most. Mix about 5 to 10 millilitres of groundnut, palm kernel or soybean oil per kilogram of beans and stir until every seed has a thin, barely visible coat. It blocks egg laying and stops the grubs from entering the seed. Do not use it on seed beans, because a heavy coat can lower germination. Fine, dry wood ash mixed through the beans at roughly one part ash to ten parts beans, or a layer of clean dry sand over the top, also helps, and neem seed powder can support them, though it works best as an extra, not the only defence.
I do not use field pesticides on food beans. If a chemical is truly needed, use only one registered for stored grain in your country, follow the label exactly, and respect the waiting period. For large stores, fumigation should only be done by trained, licensed people.
Step 12: Keep out rats and mice
Rodents do not just eat beans, they chew through bags and soil the grain with droppings and urine. Keep the store clean, close gaps and holes, fit metal sheeting at the base of wooden doors, and keep containers on pallets away from walls. Keep grain and animal feed in separate places, and never leave open sacks on the floor.
Step 13: Inspect every two weeks
Every two weeks I check my stores. I look at the top of each container, run my hand through a sample, and look for fine dust, small round holes, live beetles, a musty smell or warm spots. Finding a problem early gives you time to act. Finding it late means losing the lot. Take care to reseal each container firmly after you open it, because every opening lets in fresh air.
Step 14: Use the oldest stock first
Label each container with the date and the variety. Sell or eat the oldest stock first. Do not mix new beans into old containers, and do not let a half used old sack sit next to fresh grain.
Warning signs of trouble in storage
The first signs of weevils are small round holes in the beans, fine powder like flour at the bottom of a sack, tiny white specks on the surface of the beans, and live beetles on the top layer or along the walls. Beans that float when you drop a handful in water are often hollowed out by grubs. Moisture trouble shows up as a musty or sour smell, beans that stick together in clumps, a grey, green or white mould, and a warm patch in the middle of the sack, which means heat is building. Signs of rodents include droppings, gnawed bags, and trails of spilled grain.
If you find mould, do not eat the affected beans or feed them to animals. Some moulds produce toxins that heat and cooking do not remove. Throw them away safely, and check the rest of the stock closely.
What I would do differently if I started again today
If I were starting over, I would buy hermetic bags before I bought any other harvest supplies. One saved harvest pays for years of bags.
I would dry in two stages, the pods first and the beans second, and I would never trust my eyes alone. The salt jar test and the bite test would be part of every harvest.
I would heat treat every batch of food grain without exception, because that one habit would have saved me the worst season of my life.
I would keep the store room cleaner than my own kitchen, and I would keep new and old grain in separate places, always.
And I would write the date and the variety on every container and keep a small notebook of what I stored, what I checked and what I found. Records turn guesses into knowledge.
Frequently asked questions
How dry should cowpea be before storage?
Aim for about 10 to 12 percent moisture. If you have no moisture meter, use the bite test and the salt jar test together. Beans should crack sharply when bitten, and salt kept with them in a closed glass jar for a few hours should stay loose.
How do I dry cowpea without a machine?
Spread the pods or beans in a thin layer on a clean tarpaulin or concrete floor in full sun, turn them several times a day, and cover them at night or when rain threatens. Dry the pods before threshing and dry the beans again after threshing.
What is the best container for storing cowpea?
Airtight containers such as hermetic triple layer bags, sealed plastic or metal drums and thick plastic buckets with tight lids work best. Fill them to the top and seal them firmly. Ordinary woven sacks do not stop weevils or rats.
How long can I store cowpea without pest damage?
Properly dried, cleaned and heat treated beans in a sealed hermetic bag or airtight drum can stay in good condition for a year or more. In open sacks, damage can begin within weeks in warm weather.
Can I use ash or oil to protect stored cowpea?
Yes. A thin coat of vegetable oil, about 5 to 10 millilitres per kilogram, or fine dry wood ash mixed in at about one part to ten parts beans, helps keep weevils away. They work best as a backup to airtight storage. Do not use oil on beans you intend to plant.
The one thing to bookmark
Storage is won in the sun before the beans ever see a sack, so dry them hard, clean them well, seal them tight, and the pests have nothing to feed on.