How to Know When Groundnut Is Ready for Harvest: A Farmer’s Guide
How to Know When Groundnut Is Ready for Harvest
One year I got impatient. My groundnut was 85 days old, the leaves were still mostly green, and the neighbor down the road had already started lifting his. I thought I was behind, so I pulled mine. The pods looked fine from the outside. But when I shelled them, the kernels were wrinkled, pale, and light, and the buyer weighed them and gave me a price that hurt. Two seasons later I made the opposite mistake. I waited for the rain to soften the ground, the rain came late, and I left a good part of my crop in the soil because the pegs had rotted and the pods stayed behind when I pulled.
Groundnut punishes you both ways. Harvest too early and you lose weight, oil, and quality. Harvest too late and you lose pods in the ground, and you invite mold. The good news is that the crop tells you when it is ready, if you know where to look.
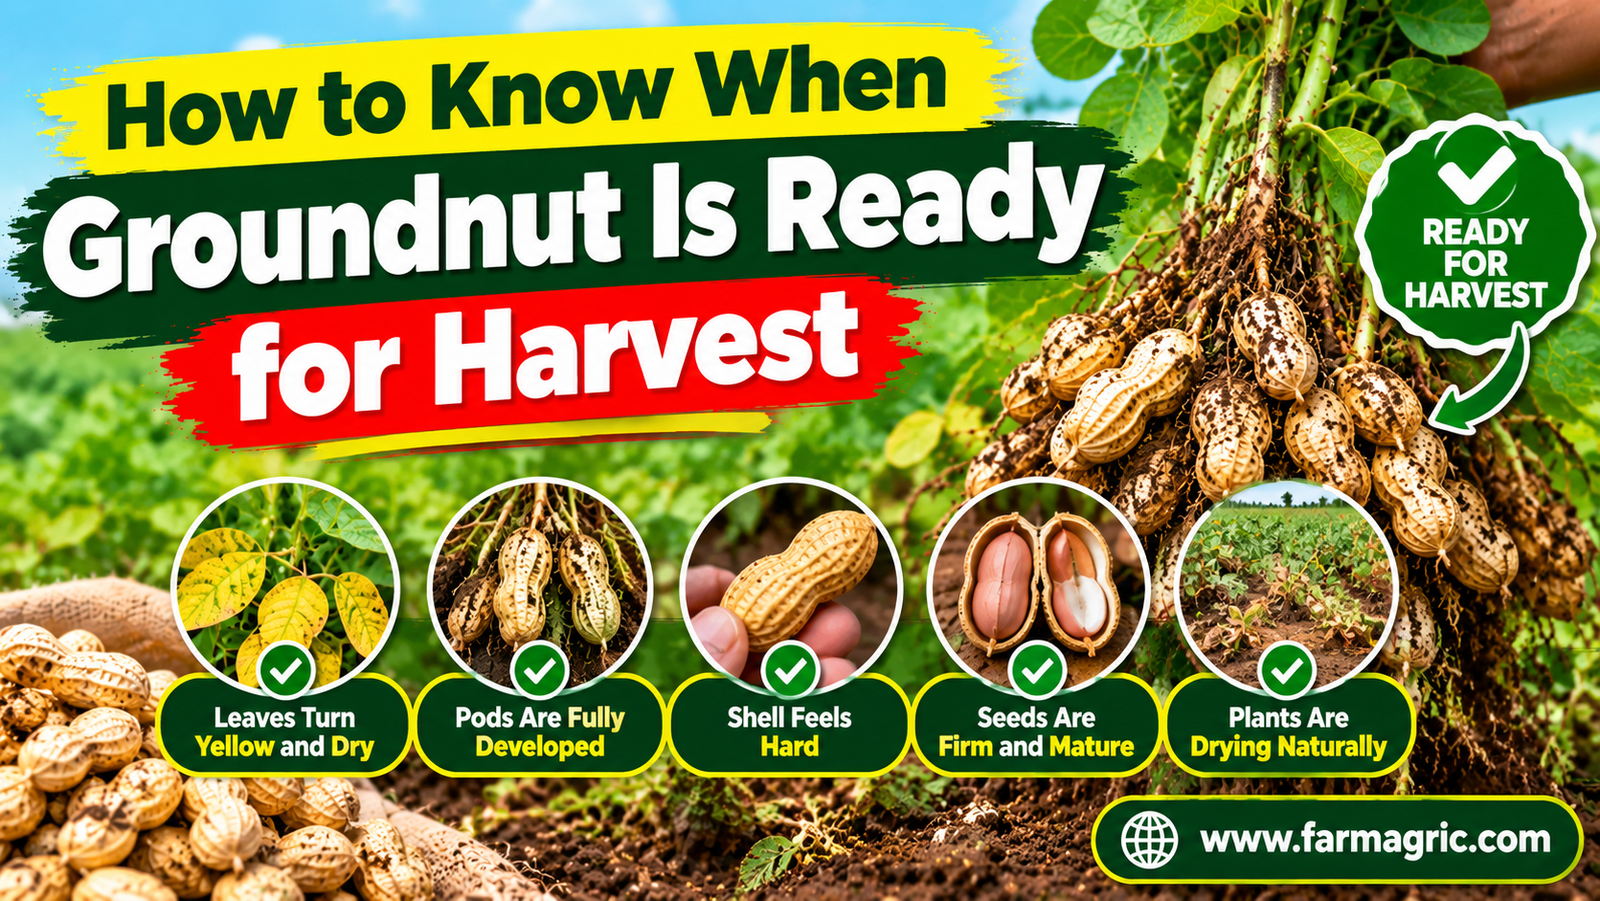
Here is the plain answer. Do not trust the calendar alone and do not trust the leaves alone. Dig up a sample of plants, crack open the pods, and look at the inside of the shell and the skin of the kernel. When most of the pods have a dark, netted pattern on the inside of the shell, the kernels fill the shell tightly, and the skin on the kernels has taken its proper color, the crop is ready. The leaves yellowing and the older ones dropping off is a supporting sign, not the main one.
This one habit of digging a sample and checking it has saved me more money than any fertilizer. I will show you exactly how I do it, step by step, and what to do when the signs disagree with each other.
What most farmers get wrong
The biggest mistake is harvesting by the number of days. Seed packets and neighbors say 90 days, or 100 days, or 120 days, and farmers count on their fingers and start digging. But the real number depends on the variety, how warm the season was, how much rain you got, and whether the crop suffered a dry spell. A crop stressed by drought can ripen early and unevenly. A crop that had plenty of rain and cool weather can take another two weeks. Days are a guide for when to start checking, nothing more.
The second mistake is judging by the top of the plant. Groundnut is strange because the part you sell is hidden underground and the part you can see does not always match it. Some varieties stay green and leafy even when the pods are fully mature. Others turn yellow from leaf spot disease long before the pods are ready, and a farmer sees the yellow and thinks it is harvest time. I have seen whole fields pulled early because the leaves were sick, not because the crop was ripe.
The third mistake is pulling just one plant, or checking only the plants at the edge of the field. Edges dry out faster, get more sun, and ripen differently from the middle. One plant tells you almost nothing.
The fourth is waiting for the whole crop to ripen. It never does. Groundnut flowers over several weeks, so pods form at different times, and there will always be some young pods on the plant. If you wait for every pod to be perfect, the oldest pods will already be rotting or sprouting. You are looking for the best moment for most of the crop, not all of it.
The fifth is ignoring the soil. A crop can be perfectly mature, but if the ground is rock hard, the plants snap and pods stay behind. A farmer who knows the crop is ready and still harvests at the wrong soil moisture can lose a fifth of the pods without realizing it.
Step 1: Know your variety and start checking early
Before the season starts, I write down the expected maturity period for the variety I planted. Early bunch and Spanish types often mature in around 90 to 100 days. Longer season and spreading types can take 120 days or more. Ask your seed supplier or your local extension agent for the number that applies in your area, and write down your planting date.
When the crop reaches about a week or two before that expected date, I start checking. I do not start digging on the last day. I start early, because weather can bring the harvest forward, and I would rather check three times than miss the window once.
Step 2: Dig a proper sample
On the day I check, I walk into the field and pick spots from different areas: the middle, the sides, the high ground, and the lower ground. At each spot I carefully dig up a plant with a hoe or fork, loosening the soil first so I do not snap off the pods. I take at least ten plants, and twenty is better. Shake off the soil and strip every pod from those plants into one pile.
If I only grab the easy plants, or the ones that look best, I fool myself. A fair sample is the whole point.
Step 3: Crack the pods and read the inside
This is the real test. I take pods from the pile, crack each one open, and look at two things.
First, the inside of the shell. A young pod has a clean, pale, white or light inside. As the pod matures, the inside of the shell darkens and shows a brown or black netted pattern, almost like veins or a faint stain. When most of the pods in my pile show this dark pattern, I know the pods are close to or at maturity. Pods that are still white inside are young. Pods with a heavily dark, almost black inside can be overripe, so look at the whole pile and not a single pod.
Second, the kernel. A mature kernel fills the shell and feels firm. The skin on the kernel has taken its proper color for the variety, which might be pink, red, tan, or another shade, so learn what color your own variety should be. A young kernel is soft, small, watery, and the skin is pale or white. If the kernels rattle loose in the shell when the pod is dry, it may mean they have shrunk, which can happen when the crop was drought-stressed.
Sort your pile into three groups in your head: young, mature, and overripe. My rule of thumb is that when somewhere around seventy to eighty percent of the pods are in the mature group, it is time to harvest. If you are at fifty percent, give it another week and check again. If you are seeing a lot of overripe pods, start immediately.
Step 4: Use the plant as a second opinion
After checking the pods, I look at the plant. A ready crop usually shows leaves turning yellow, and the older leaves at the bottom drop off. The plant looks tired, and the green has faded. The pegs may feel weaker where they join the stem.
This is where I use the plant to confirm what the pods already told me, never the other way around. If the pods say ready and the plant says ready, I go. If the pods say not ready but the leaves are yellowing, I look for disease. Leaf spot or rosette can age a plant early without ripening the pods. In that case I may still need to harvest soon, because a dying plant cannot keep feeding the pods, but I accept that the quality will be lower and I plan to sort carefully.
Step 5: Check the soil and the weather
When the pods say go, I check the ground. I push a hoe in near the plants. If the soil is moist enough that the plant lifts easily with the pods attached, I harvest. If the ground is baked hard, I wait for rain, or I water lightly if I can, and I do not wait more than a few days after the soil softens.
I also look at the weather. If heavy rain is coming, I think about harvesting a day or two early rather than leaving mature pods sitting in wet soil. If a long dry stretch is coming, I have time. Planning the drying is part of the harvest decision. Pulling a big crop and then having it rained on for a week in the stack is a disaster.
Warning signs that you have waited too long
There are signs I never ignore, because they mean pods are already being lost.
If you pull a plant and many pods stay behind in the soil, the pegs have weakened and you are already late. If you find pods that have sprouted with a little white shoot coming out, you have waited too long, especially in varieties that have little or no dormancy. If the shells feel soft, look rotten or moldy, or have dark patches outside, the pods have been sitting in wet soil too long. If the insides of most shells are almost black and the kernels shrunk away from the shell, the crop is overripe. And if you see ants, termites, or grubs boring into the pods, the damage is happening faster the longer you wait.
Warning signs that you are too early
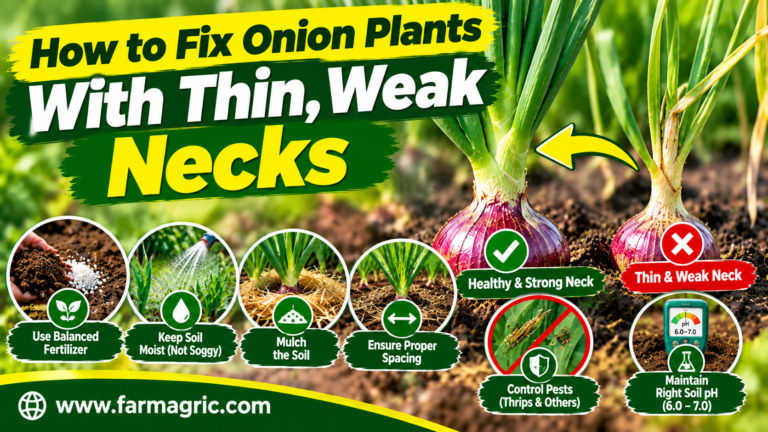
The other side matters just as much. If most shells are still pale inside, you are early. If the kernels are small, soft, and watery with pale skin, you are early. If many pods show ridges and are not fully filled, you are early. And if the plant is still bright green with lots of new flowers and fresh pegs, a few more days of waiting will add real weight.
An early harvest usually gives wrinkled kernels, low oil content, and a lower price, and it also dries poorly and stores badly. You cannot fix this after the fact.
Step 6: Lift, cure, and dry properly
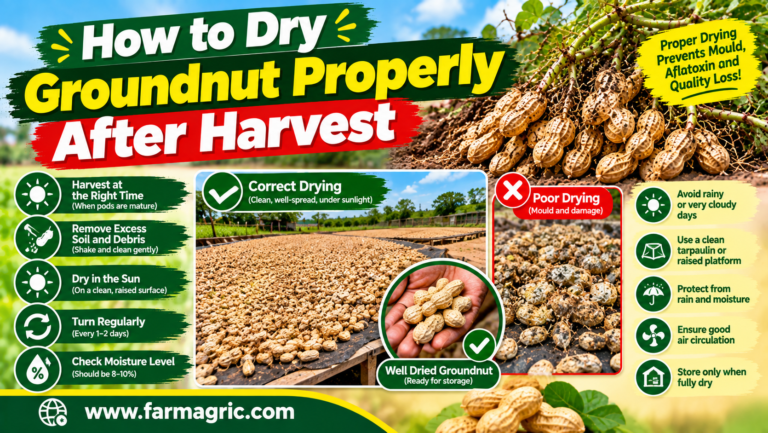
Once I decide to go, I loosen the soil along the row and lift the plants carefully, trying not to snap the pods. I shake off the loose soil and leave the plants to dry in the field for a few days in neat stacks or windrows, with the pods facing up and off wet ground if possible. This field curing lets the pods dry slowly and evenly.
Then I strip the pods and spread them thinly on tarpaulins, raised racks, or clean concrete, never on bare earth. I turn them often. The pods are properly dry when the kernels rattle inside the shell and snap cleanly when bent. A good target is about eight to ten percent moisture for stored pods, but if you have no meter, rely on the rattle and snap test and be patient. Wet groundnut grows mold, and some molds produce aflatoxin, a poison that makes the crop unsellable and unsafe to eat. Never rush the drying.
What I would do differently if I started again today
I would write the planting date and the expected maturity days on a board in my shed, and I would start sampling a week before. I would take twenty plants from different parts of the field and crack at least fifty pods every time. I would stop trusting my neighbor’s harvest date, because his soil, his variety, and his planting date are not mine. I would keep a notebook with the dates I checked, what I found, when I harvested, and what the yield and quality turned out to be. After three seasons that notebook becomes better than any advice from anyone, because it is about your own land.
I would also plan the drying space before harvest day, not after. Tarpaulins, racks, and bags ready and waiting. A perfect harvest date means nothing if you have nowhere dry to put the crop.
Frequently asked questions
How many days does groundnut take to be ready for harvest?
It depends on the variety. Many early types are ready in about 90 to 100 days, while longer season types can need 120 days or more. Use the days only to know when to start checking, then confirm by opening the pods.
What color should the inside of a mature groundnut shell be?
The inside of a mature shell shows a dark brown or black netted pattern. A young pod is pale or white inside. When most of your sampled pods show the dark pattern and the kernels are firm and colored, the crop is ready.
Can I harvest groundnut when the leaves are still green?
Yes, sometimes. Some varieties stay green even when the pods are mature, so always judge by the pods, not the leaves. If the pods pass the check, harvest even if the plant still looks green.
What happens if I leave groundnut in the ground too long?
Pegs weaken and pods get left behind when you pull. Pods can rot, sprout, or be attacked by termites and grubs, and mold risk goes up, including aflatoxin. You lose both quantity and quality.
How do I know when harvested groundnut is dry enough to store?
The kernels rattle inside the shell and snap cleanly when bent. Dry to about eight to ten percent moisture for pods if you can measure it. Store in clean, dry bags raised off the floor.
The one thing to remember
The leaves tell you the plant is tired, but only the pod tells you the crop is ready.