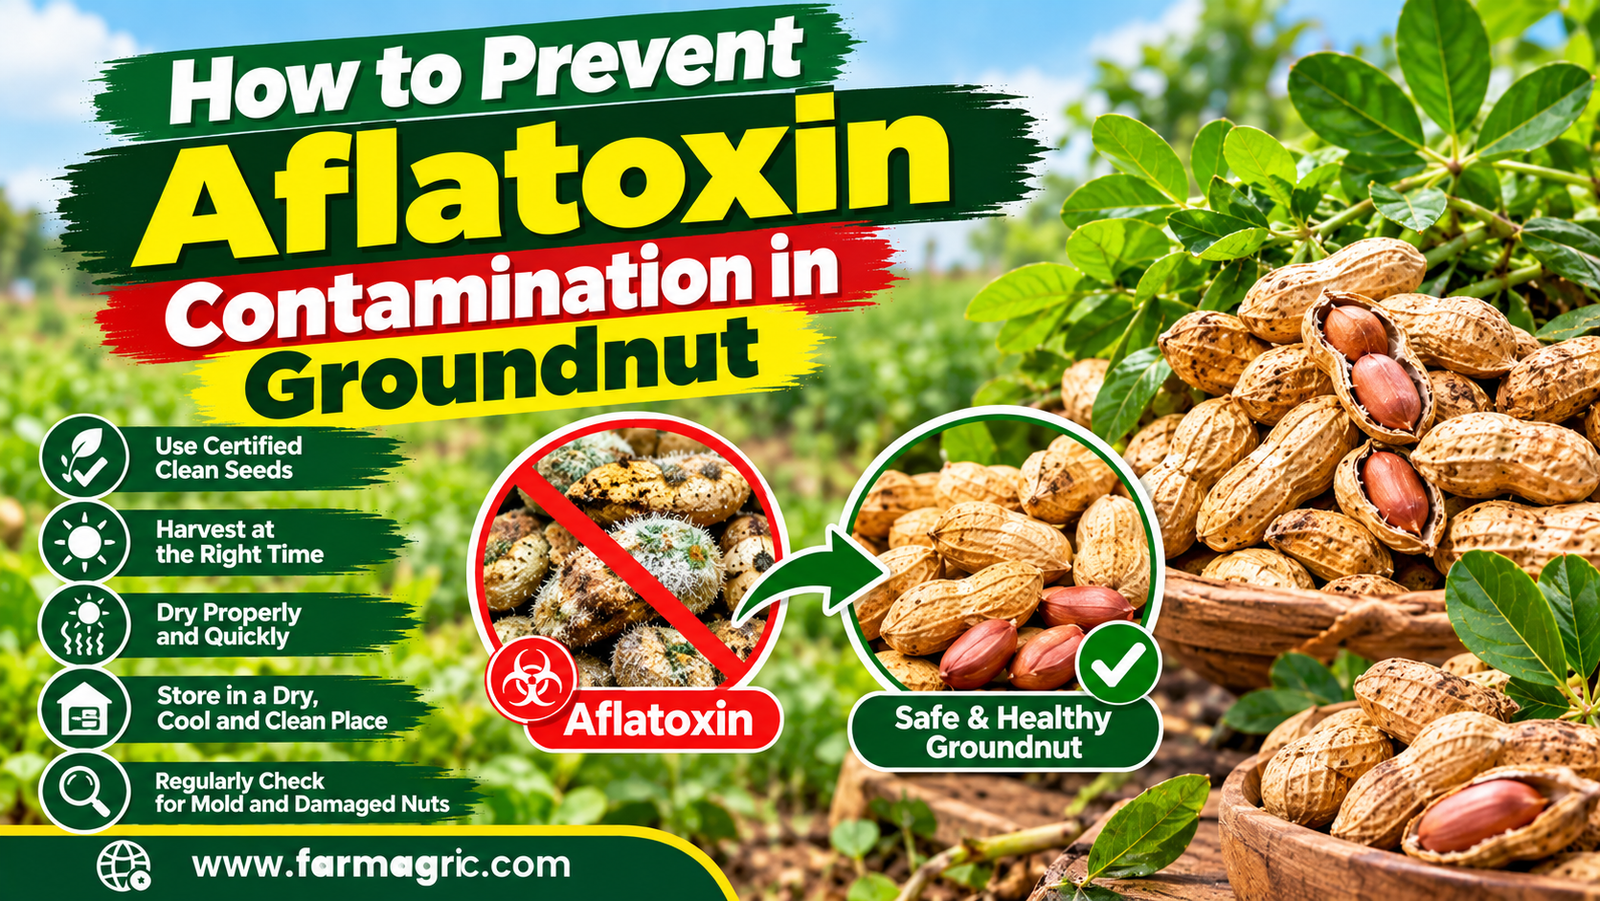
How to Prevent Aflatoxin Contamination in Groundnut
How to Prevent Aflatoxin Contamination in Groundnut
One year I sold a good lot of groundnuts to a buyer who tested a handful from my bags and turned the whole load away. The nuts looked perfect to me. Clean shells, nice color, no smell I could notice. What I could not see was the mold that had started in the field and then gotten comfortable in my store. That rejection cost me a season’s profit, and it taught me that aflatoxin is a problem you make or prevent months before you ever see a buyer.
Here is the plain answer. Aflatoxin is a poison made by a mold called Aspergillus flavus, and it cannot be seen, smelled, or washed off. You prevent it by controlling three things: drought stress and pod damage in the field, slow or wet drying after harvest, and damp, dirty storage. Harvest at the right maturity, dry the pods fast and fully, remove damaged and moldy nuts, and store them dry, off the floor, and protected from insects. Once the toxin is in the nuts, you cannot remove it by cooking, so all of the work is prevention.
The short version of what I do is this. I plant at the right time with certified seed, keep the crop from suffering drought during pod filling, avoid injuring the pods, harvest on time, dry the pods quickly on clean sheets until the kernels rattle, sort out bad nuts, and store in clean, dry, ventilated conditions. The rest of this article explains each step and the mistakes that cause most contamination.
What Most Farmers Get Wrong
The first mistake is thinking that nuts that look clean are safe. Aflatoxin can be present in nuts that look perfectly normal. Discolored, shriveled, and moldy nuts are more likely to carry it, but good-looking nuts can be contaminated too. Only testing tells you for sure.
The second mistake is leaving mature groundnuts in the ground too long. When the pods sit in soil after maturity, especially in dry soil, they are open to attack by the mold and by soil insects and termites. Late harvest is one of the biggest causes of contamination I have seen.
The third mistake is slow drying. Farmers pile freshly dug groundnuts in heaps or bags, or leave them out in rain and dew for days. Moist pods in warm conditions are exactly what the mold wants. Fast drying, started right after digging, is the single most important step after harvest.
The fourth mistake is storing nuts that are not fully dry. A bag that feels dry on the outside may still hold too much moisture inside the kernels, and the mold takes over in storage. Many farmers also store nuts in used fertilizer bags, in damp rooms, or on bare floors.
The fifth mistake is ignoring insect and mechanical damage. Cracked pods, broken kernels, and holes from insects give the mold an easy way in. Farmers who thresh roughly or store beside infested grain lose quality fast.
The sixth mistake is mixing good and bad nuts. One handful of moldy nuts in a bag can contaminate the rest. Some farmers keep everything together to avoid the work of sorting, and the whole lot pays for it.
Understand How Contamination Happens
The mold lives in the soil and on crop residue. It becomes dangerous when the crop is stressed. Drought and high soil temperatures during the last weeks before harvest weaken the pods and let the fungus invade, and that is when aflatoxin begins to form. Insect and mechanical injury open the shell and make it easier. After harvest, the mold keeps growing if the nuts stay damp or warm, and storage is where a small problem becomes a large one.
Knowing this tells you where to act: before harvest, at harvest, during drying, and in storage. A weakness at any one stage can undo good work at the others.
In the Field: Before Harvest
Start with good seed. Use certified, healthy seed of a variety suited to your area, and choose an early maturing variety where drought at the end of the season is common, since a crop that finishes before the dry spell is exposed less. Some varieties are bred for lower aflatoxin risk, so ask your extension office or research institute what is available locally.
Plant at the right time so that pod filling does not coincide with the driest period. Water stress in the last few weeks before harvest is a major risk factor. If you can irrigate, give the crop water during pod filling. If you cannot, mulching, good weed control, and building soil organic matter help the soil hold moisture.
Add calcium. Groundnut pods take up calcium directly from the soil, and adequate calcium helps pod development and reduces damage. Gypsum applied at flowering, at the rate recommended for your area, is common practice. A soil test will tell you whether it is needed.
Control insects and nematodes. Termites, millipedes, and soil pests damage pods and open the way for the mold. Rotate groundnuts with cereals such as maize or sorghum, keep the field clean of crop residue from the last season, and use approved control for soil pests where they are a problem. Keep weeds down, since they compete for water and add stress.
Be careful with cultivation late in the season. Hoeing and weeding after the pegs have entered the soil can injure them and the young pods. Finish weeding before pegging and avoid disturbing the soil afterward.
At Harvest
Harvest when the crop is mature, not before and not long after. Signs of maturity include yellowing of the leaves, and the inside of the shell showing dark markings with a firm, fully formed kernel. Pull a few plants and check the pods before deciding. If the weather has been very dry, the soil may harden, and delayed harvest is risky, so plan ahead.
Lift the plants carefully so you do not break pods off in the soil, and remove the pods from the vines soon after. Pods left behind in the ground are exposed to moisture, insects, and mold, and they are a source of infection for next season, so collect them.
Avoid damage in handling. Do not throw sacks, drag them over rough ground, or thresh with heavy force. Each cracked shell or broken kernel is an entry point.
Drying: The Step That Decides the Quality
Start drying immediately after harvest. Strip the pods from the plants and spread them in a thin layer on clean tarpaulins, raised mats, or a concrete drying floor. Never dry on bare soil, where the pods pick up mold spores and moisture. Turn them regularly, protect them from rain and dew, and cover them or gather them at night.
Drying takes several days of good sun, and it must continue until the kernels are truly dry. A common test is that dry kernels rattle inside the shell when you shake the pod, and the kernel skin slips off easily. A more reliable way is a moisture meter. For safe storage, unshelled groundnuts should be dried to roughly 9 percent moisture or lower, and shelled kernels to about 7 percent. Check the figure recommended in your area, since standards can differ. If you do not have a meter, an agricultural office or a buyer may be able to test a sample for you.
In wet weather, do not leave the pods in heaps hoping for sunshine. Use a covered, ventilated space, or a raised drying rack with good airflow, and spread the pods thinly. A solar dryer made from a frame and clear plastic can speed things up and protect from rain. The goal is to get the moisture down quickly, in days, not weeks.
Sorting and Shelling
Sort before storage. Remove shriveled, discolored, moldy, insect-damaged, and broken nuts by hand, and keep them away from the good ones. Discard them safely. Do not feed moldy groundnuts or the cake from bad nuts to animals, and do not sell or use them for oil. Aflatoxin harms livestock and passes into milk and meat.
Hand sorting is slow, but it is one of the most effective ways to cut contamination, and sorted lots command better prices. Many farmer groups share the work, which makes it faster and more enjoyable.
Shell gently, and only shell what you need to sell or process. Unshelled pods generally store better than shelled kernels because the shell gives some protection. Shell just before sale if you can, and dry the kernels again if they have taken on moisture.
Storage
Store only fully dried nuts. Use clean, dry, well-ventilated stores with a sound roof and walls that keep out rain and rodents. Stack bags on pallets or wooden platforms, away from the walls and off the floor, so air can circulate and moisture cannot creep in from the ground. Use clean, dry, new or properly washed bags, and avoid fertilizer, chemical, or used sacks. Hermetic or triple-layer storage bags are a good option where available, since they keep out moisture and insects.
Do not store groundnuts next to fertilizer, chemicals, fuel, or heavily infested grain. Check the store regularly for leaks, damp patches, insects, and rodents. If you see signs of dampness or mold, deal with it quickly: remove affected bags, dry the rest, and fix the cause.
Keep the store cool and dry as far as you can, and keep records of what went in and when, so that the oldest nuts are used first. The longer groundnuts are stored, the greater the risk if conditions slip.
Step-by-Step Practical Plan
If I were giving you a plan for the next season, it would run like this.
Use certified seed of an early maturing or recommended variety, and plant at the right time for your area.
Clean the field of old residue and weeds before planting, and rotate with cereals.
Apply gypsum or calcium at flowering as advised by a soil test or local recommendations.
Manage moisture during pod filling with mulching, weed control, and irrigation if you can.
Control soil pests, and avoid weeding or disturbing the soil once pegs are down.
Check maturity and harvest on time, then lift the plants gently and collect every pod.
Dry the pods at once on clean sheets or raised racks until the kernels rattle, and confirm with a moisture meter if possible.
Sort out damaged, moldy, and shriveled nuts and keep them separate.
Store dry nuts in clean bags on pallets in a ventilated, rodent-proof store, away from chemicals and damp, and check them regularly.
Take samples to a recognized lab or agency for testing if you are selling to a demanding buyer.
Warning Signs to Watch For
Learn to catch the problem early. Shriveled, discolored, or moldy kernels, especially with greenish yellow growth, are a clear warning. Pods with insect holes or cracks are at higher risk. A musty smell in the store means moisture and mold. Bags that feel damp or warm in the center are in trouble. Late harvest after a long dry spell, rain on drying pods, and nuts that bend instead of snapping all point to nuts that are not dry enough.
Remember that aflatoxin cannot be seen, so a clean appearance is not proof of safety. If the lot matters, test it.
If you see any of these, act that week, not next month.
What I Would Do Differently If Starting Again Today
If I were starting fresh, I would treat drying and storage as seriously as planting. I would buy tarpaulins and a simple moisture meter before I bought any extra seed. I would harvest on time, even if it meant paying for extra labor, and dry on raised mats from day one. I would sort every lot by hand and keep the rejects out of the food chain. I would store only on pallets in a clean, dry room, and I would test my best lot before selling instead of finding out at the buyer’s gate.
I would also organize with other farmers. A group can share a dryer, a meter, and a testing fee, and one careful farmer cannot protect a market that the rest are damaging.
FAQ
What is aflatoxin and why is it dangerous?
It is a toxin produced by certain molds, mainly Aspergillus flavus, that grow on groundnuts and other crops. It can harm the liver and has been linked to liver cancer and stunted growth in children, and it can affect livestock as well.
Can I remove aflatoxin by cooking or roasting groundnuts?
No. Normal cooking, roasting, and frying do not destroy it. The only safe approach is to prevent contamination and discard suspect nuts.
How dry should groundnuts be for storage?
Roughly 9 percent moisture or lower for pods, and about 7 percent for shelled kernels, though local standards may differ. A moisture meter is the most reliable way to check.
Can I feed moldy groundnuts to animals?
No. Aflatoxin harms livestock and can pass into milk and meat. Destroy moldy nuts safely rather than feeding them to animals or selling them.
How can I tell if my groundnuts have aflatoxin?
You cannot tell by looking or smelling. Moldy, shriveled, or discolored nuts are higher risk, but a laboratory or an approved test kit is the only way to know for sure.
The Advice Worth Bookmarking
Aflatoxin is not caught at the market, it is built in the field and kept out in the store. Dry fast, sort hard, store clean.